
If you got a new Mac device or just updated to macOS Ventura (version 13) and looking for ways to screenshot, you can try the below quick and easy 3 options based on your use-case,
1. How do a Full-Screen Screenshot?
To take a full-screen screenshot simply press the keys Command ⌘ + Shift + 3 on your Macbook or Magic Keyboard.
Step-by-Step Guide
- Make sure you are on the screen which you want to take a screenshot,
- Press keys: Command ⌘ + Shift + 3
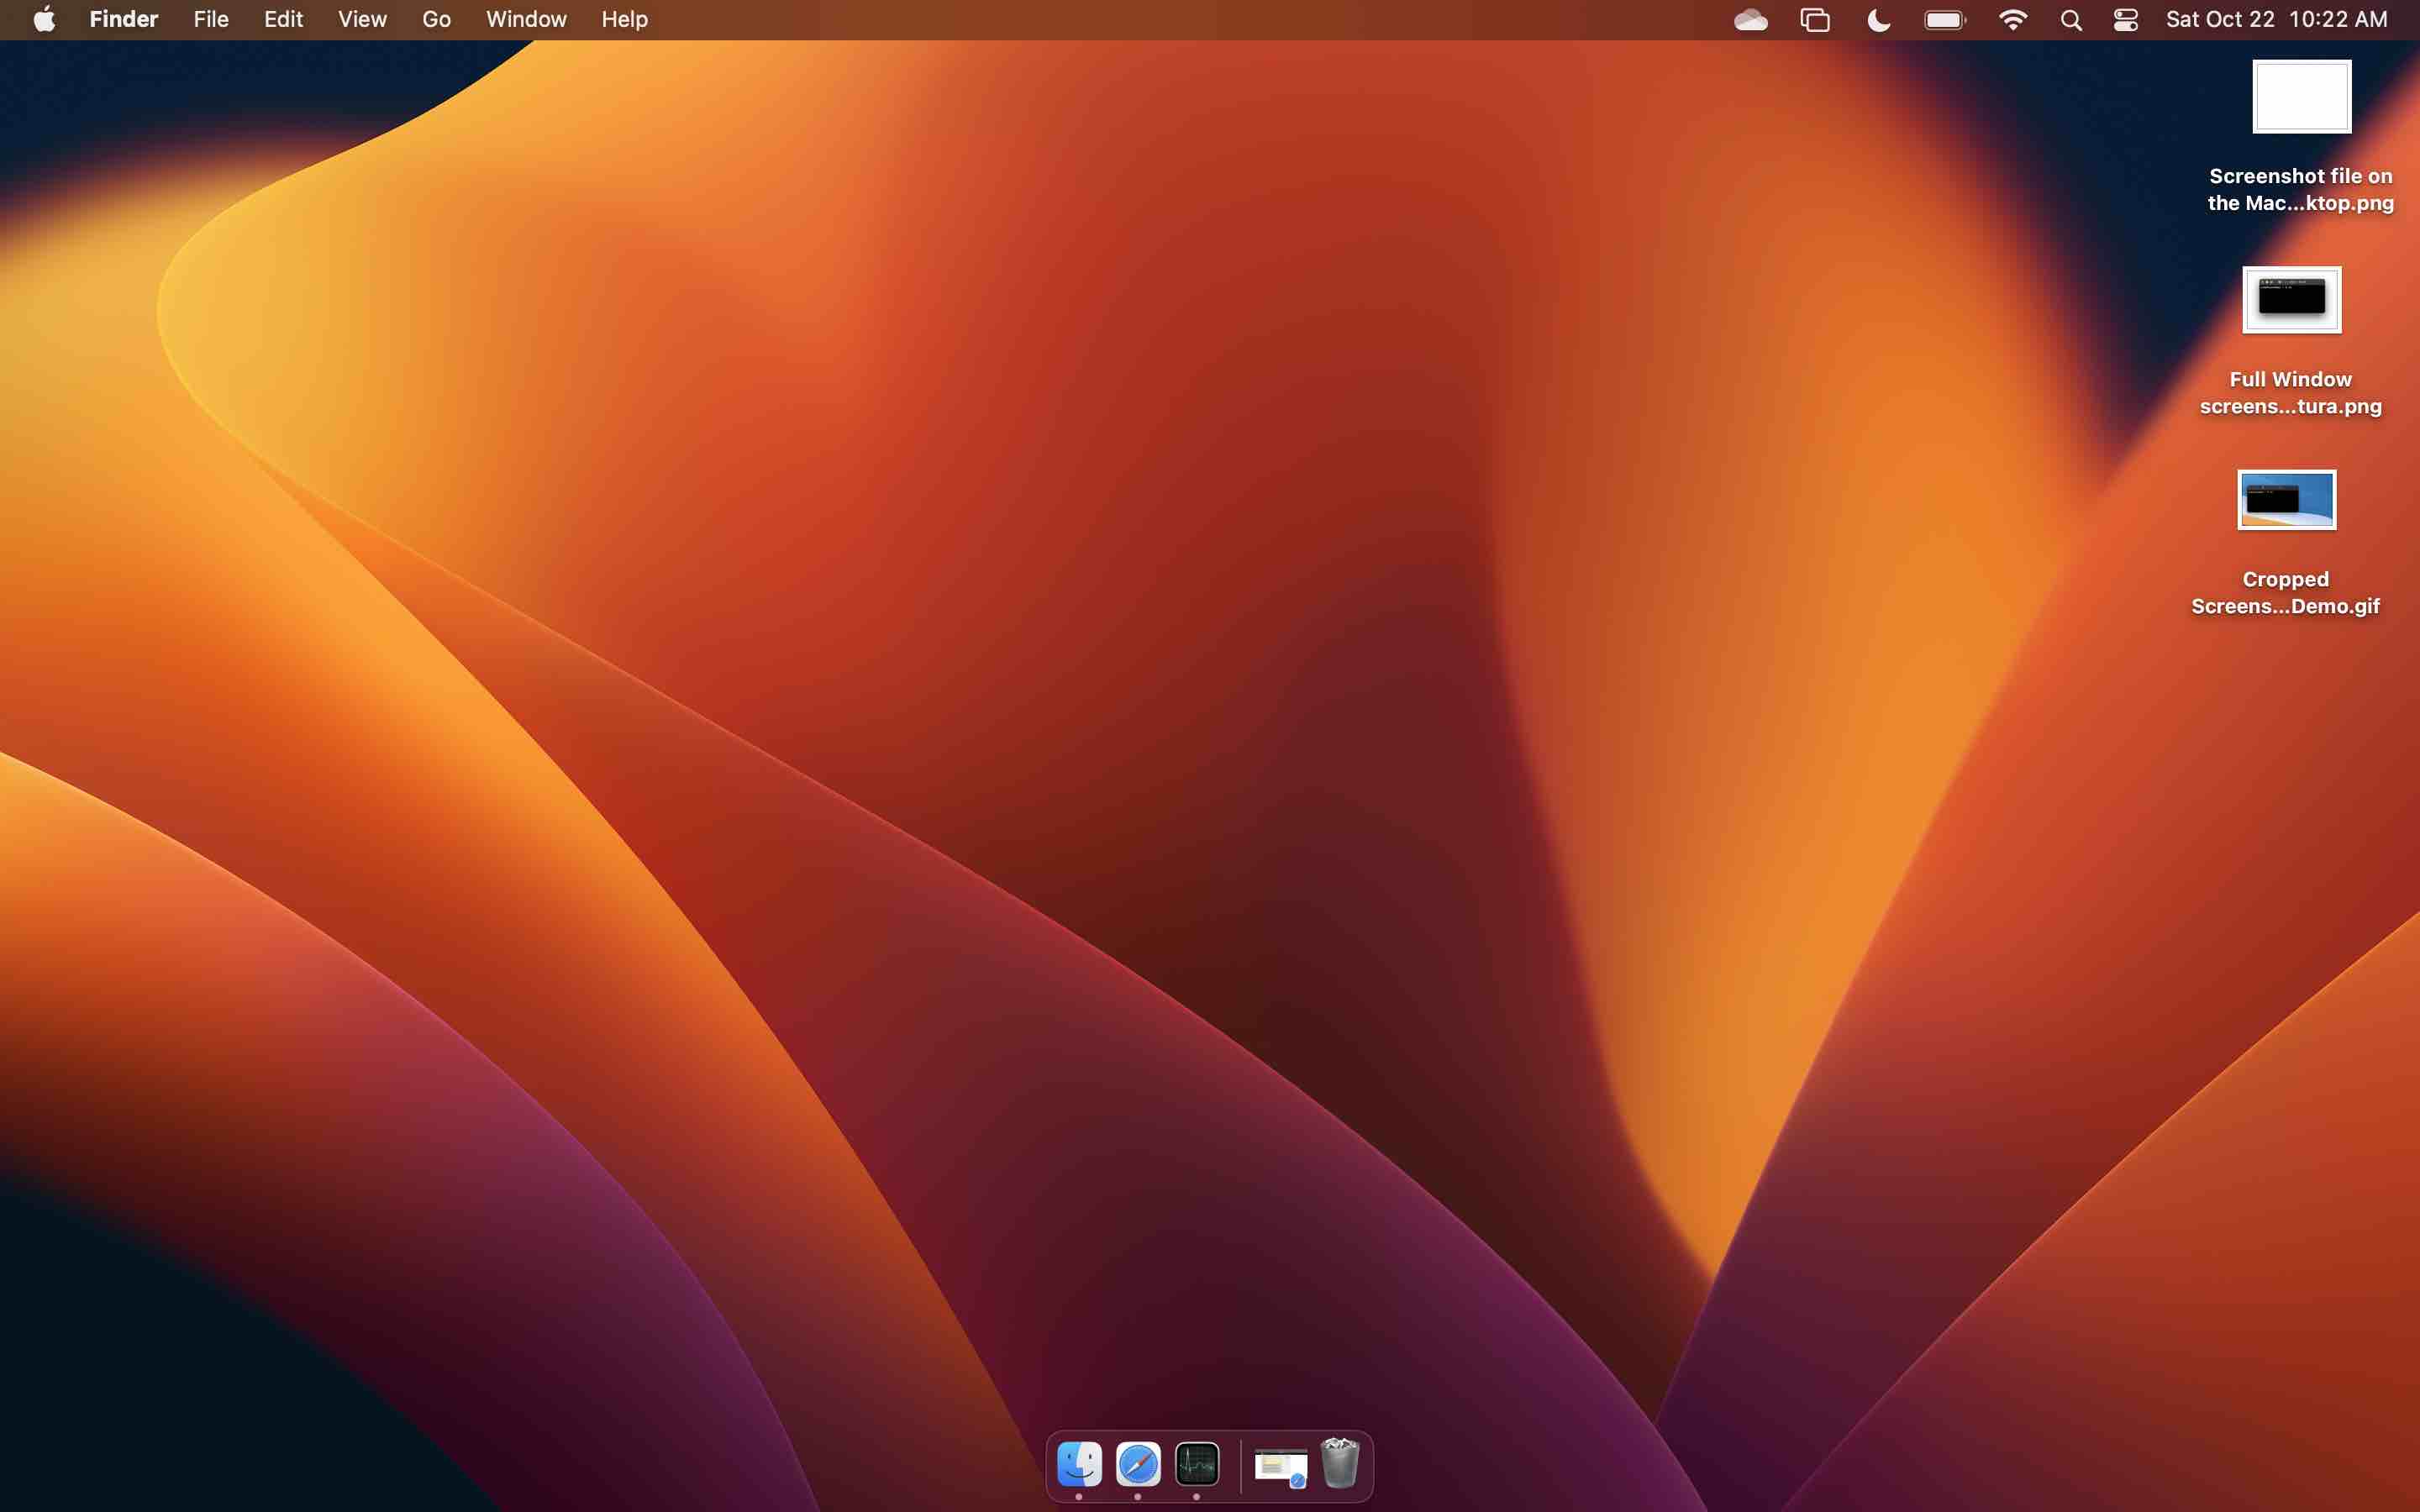
- You will hear a camera click sound and a thumbnail will appear in the bottom right corner of your screen.
- Once the thumbnail disappears (you can even click on it to open it to edit) you will see it on your Desktop as a Screenshot*.png with the timestamp that you too the screenshot.
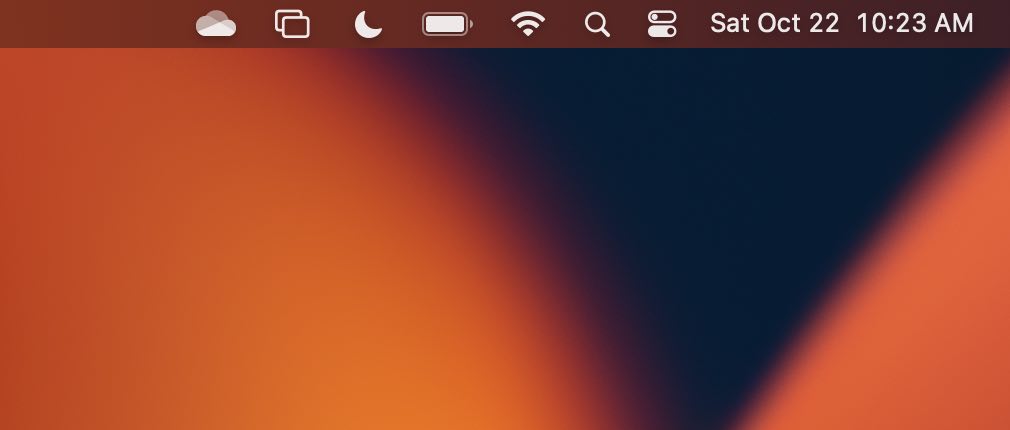
2. How do a Screenshot of a Portion of the Mac Screen?
To take a screenshot of just a portion of the screen simply press the keys Command ⌘ + Shift + 4 on your Macbook or Magic Keyboard.
Step-by-Step Guide
- Make sure you are on the screen which you want to take a screenshot,
- Press keys: Command ⌘ + Shift + 4
- You would see a crosswire curser instead of a pointer, click to initiate a cropped screenshot, and keep pressing your touchpad or mouse and release when you select the portion you want to capture.
- You will hear a camera click sound and the screenshot will get saved on the Desktop.
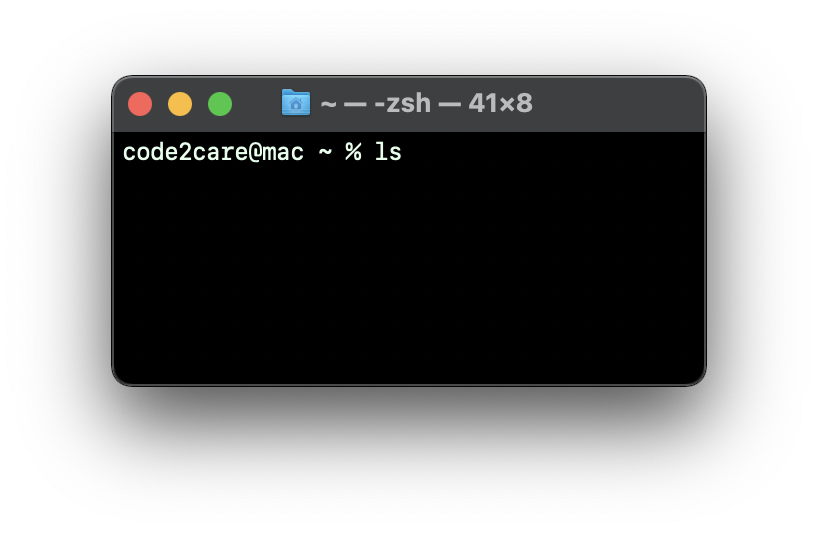
3. How do a Screenshot of a specific Window?
To take a screenshot of a specific Window or a dialog box press the keys Command ⌘ + Shift + 4 followed by Spacebar on your Macbook or Magic Keyboard.
Step-by-Step Guide
- Make sure you are on the Window of which you want to take a screenshot,
- Press keys: Command ⌘ + Shift + 4
- Now press Spacebar,
- A specific window or its dialog box will get captured.
- You will hear a camera click sound and the screenshot will get saved on the Desktop.
Follow this more detailed article of taking screenshots on macOS: link
Provide Feedback For This Article
We take your feedback seriously and use it to improve our content. Thank you for helping us serve you better!
😊 Thanks for your time, your feedback has been registered!
Comments & Discussion
Facing issues? Have questions? Post them here! We're happy to help!