In order to install RabbitMQ - an open-source multi-protocol messaging broker on Docker, you can make use of the official RabbitMQ docker image from the docker hub.
Offical RabbitMQ Docker Image:

Link: https://registry.hub.docker.com/_/rabbitmq/
Steps to install RabbitMQ on Docker:
- Open Docker Desktop Application (make sure Docker Desktop is running),
- Go to Terminal (macOS/Linux) or Command Prompt (Windows),
- Run command to install the latest image:
docker pull rabbitmq:management
You would see something like below on the console when you run this command,
% docker pull rabbitmq:management Using default tag: latest latest: Pulling from library/rabbitmq 11e23ac719b3: Pull complete 431d6e9b403d: Pull complete 39626ae8f80b: Pull complete 25839a1a0b4b: Pull complete d4bcf4e7b118: Pull complete c6bfe8c241c9: Pull complete ed028da66fdd: Pull complete 857399c434b7: Pull complete ec1ad240cb9c: Pull complete Digest: sha256:11cee94fde46c4ec32a54ae8bb2dd9204172e240f9bf8249e7cc99c9e6c956ea Status: Downloaded newer image for rabbitmq:management docker.io/library/rabbitmq:latest - Now lets run rabbitMQ on docker and access it via localhost on the host computer,
docker run -d --hostname uat-rabbitmq --name uat-rabbitmq -p 15672:15672 rabbitmq:management - Open your web browser and type: http://localhost:15672
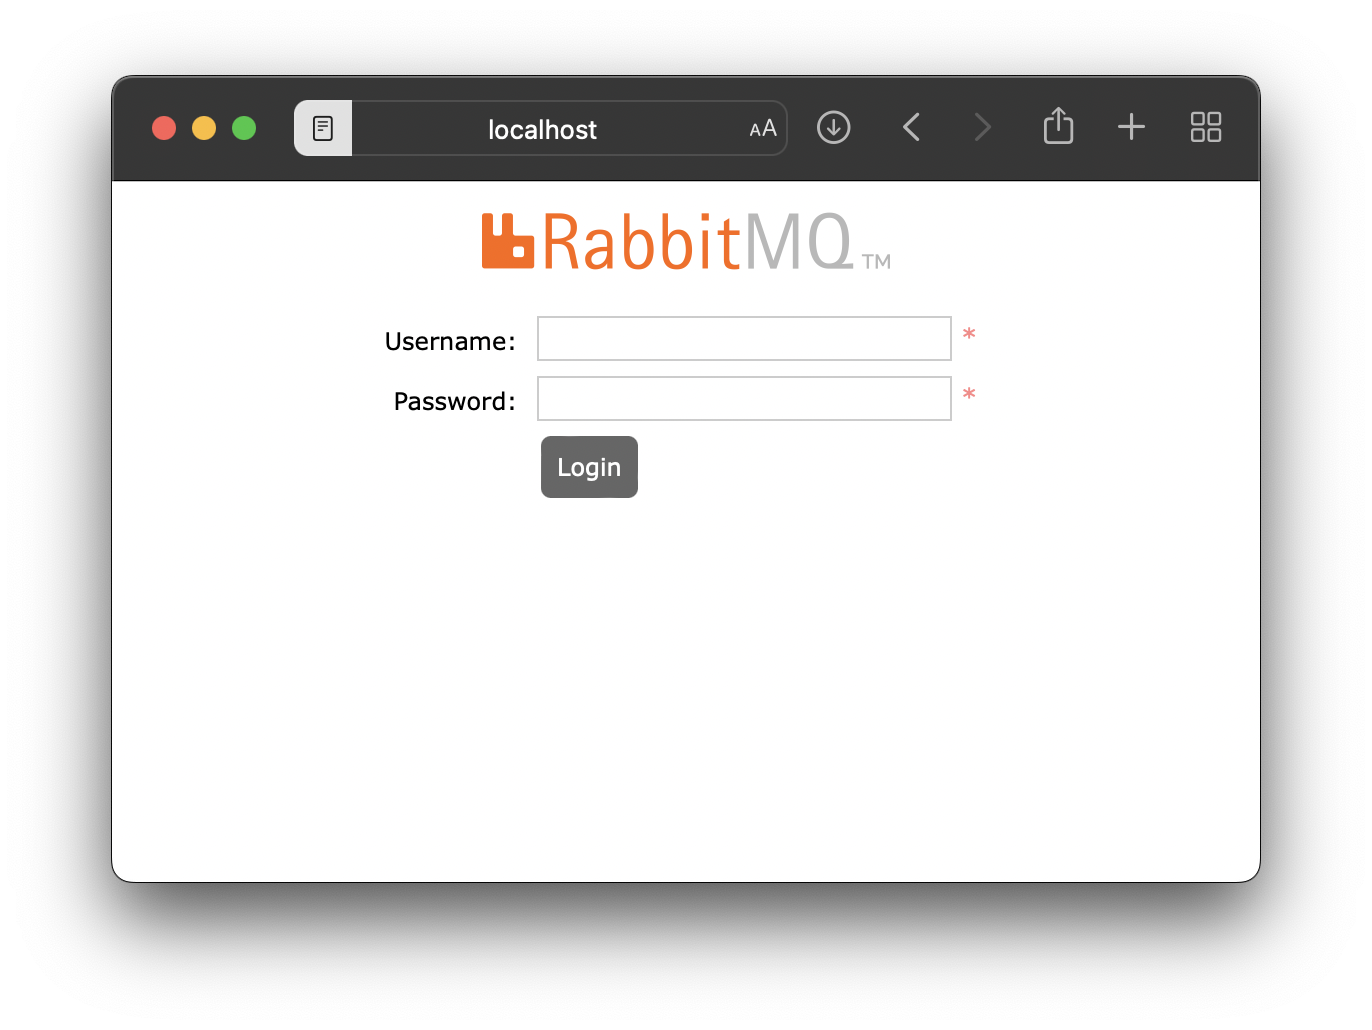
- You should be able to see RabbitMQ Management login page,
- As you have not set the username, password, use the default one,
username: guest
password: guest

To see the logs type: docker logs <name>
Example:% docker logs uat-rabbitmq
2022-06-12 15:20:08.651993+00:00 [info] <0.668.0> Resetting node maintenance status
2022-06-12 15:20:08.662014+00:00 [info] <0.727.0> Management plugin: HTTP (non-TLS) listener started on port 15672
2022-06-12 15:20:08.662132+00:00 [info] <0.755.0> Statistics database started.
2022-06-12 15:20:08.662193+00:00 [info] <0.754.0> Starting worker pool 'management_worker_pool' with 3 processes in it
2022-06-12 15:20:08.667906+00:00 [info] <0.769.0> Prometheus metrics: HTTP (non-TLS) listener started on port 15692
2022-06-12 15:20:08.668017+00:00 [info] <0.668.0> Ready to start client connection listeners
2022-06-12 15:20:08.669802+00:00 [info] <0.813.0> started TCP listener on [::]:5672
2022-06-12 15:20:08.832158+00:00 [info] <0.668.0> Server startup complete; 4 plugins started.
2022-06-12 15:20:08.832158+00:00 [info] <0.668.0> * rabbitmq_prometheus
2022-06-12 15:20:08.832158+00:00 [info] <0.668.0> * rabbitmq_management
2022-06-12 15:20:08.832158+00:00 [info] <0.668.0> * rabbitmq_web_dispatch
2022-06-12 15:20:08.832158+00:00 [info] <0.668.0> * rabbitmq_management_agent
completed with 4 plugins.
More Posts related to Docker,
- Install Docker on Mac using brew cask
- How to know the Docker Sandbox ID of a Container Network?
- How to Rename Docker Image with none TAG and REPOSITORY?
- How to know list of images available on your device
- Docker Alpine Linux and Apache2 Example
- Install Bash on Alpine Linux - Docker
- Docker Run Command Examples - Part 1
- Install the minimal Linux on Docker (only 5 mb Alpine Linux)
- [fix] docker: Error response from daemon: dial unix docker.raw.sock: connect: no such file or directory.
- Install RabbitMQ on Docker
- How to know docker Engine details
- [Fix] Docker Error response from daemon: manifest for :latest not found: manifest unknown
- How to stop and start a docker container
- How to create volume in Docker using Command
- How to know the Docker Engine Version
- [docker] Error response from daemon: No such container
- Install Docker for Mac using Home-brew Cask
- Docker - Incompatible CPU detected - M1/M2 Mac (macOS Sonoma)
- [fix] Docker Desktop App not starting on Mac (macOS)
- Unable to find image docker latest locally
- How to Stop/Cancel/kill docker image pull
- List of what's new in Docker 4.23
- [Docker M1/M2 Mac] qemu-x86_64: Could not open /lib64/ld-linux-x86-64.so.2: No such file or directory AWS CLI
- Install Docker Desktop on M1/M2 Apple Silicon ARM Chip Mac
- Docker - Running in Resource Saver mode
More Posts:
- Outlook and Hotmail not working - email issue, message not delivered, send receive problem - Microsoft
- How to Screenshot on Mac Ventura 13 - Step by Step Guide - MacOS
- How to Gracefully Close Jupyter Notebook - Python
- [Fix] Microsoft Store Error Code: 0x803F8001 - Microsoft
- How to Go To /usr/local/bin on Mac Terminal? - MacOS
- Android Emulator Screenshot saved location - Android-Studio
- How to download and install macOS 13 Ventura - MacOS
- Add Line Number before each line in Notepad++ using Column Editor - NotepadPlusPlus