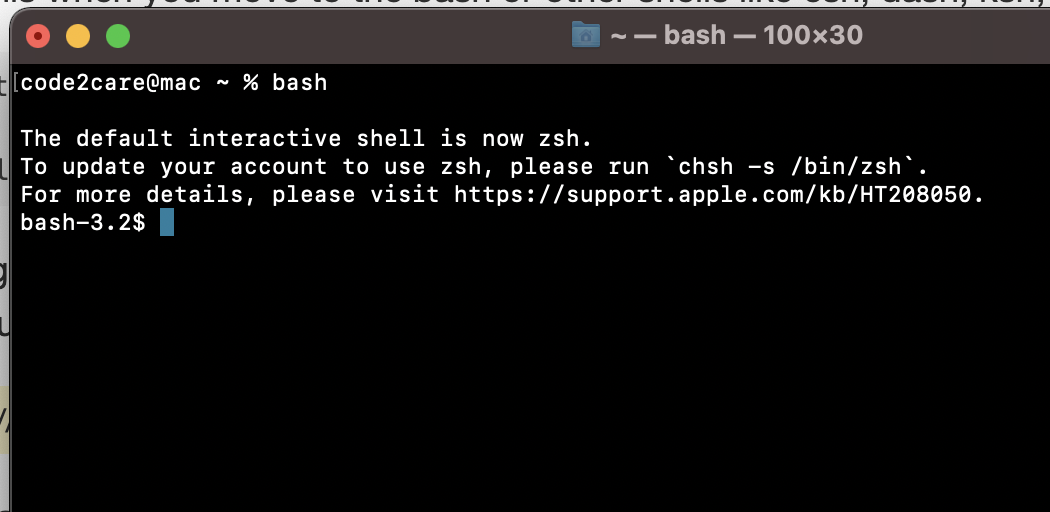
If you open the terminal after upgrading macOS to Catalina, Big Sur, or Monterey, you would see something like this when you move to the bash from Zsh or other shells like csh, dash, ksh, sh, tcsh.
The default interactive shell is now zsh
To update your account to use zsh, please run `chsh -s /bin/zsh\`.
For more details, please visit https://support.apple.com/kb/HT208050
If you were using Mojave or below, Bash was the default shell, from Catalina onwards zsh (Z shell) is the default shell.
⛏️ Follow https://support.apple.com/kb/HT208050 to change the default shell other than zsh.
If you want to make bash the default command-line shell for macOS, you can do so by following the below steps,
- Click on the apple Logo on the menu bar ie.
- Choose System Preferences... menu option,
- Search for Users & Group,
- Click on the lock you see at the Botton left and enter your account name and password, or use fingerprint unlock,
- Do Control-click on your username and select Advanced Options,
- From the dropdown choose the shell your want to use and click OK.
How to suppress the message: "The default interactive shell is now zsh"
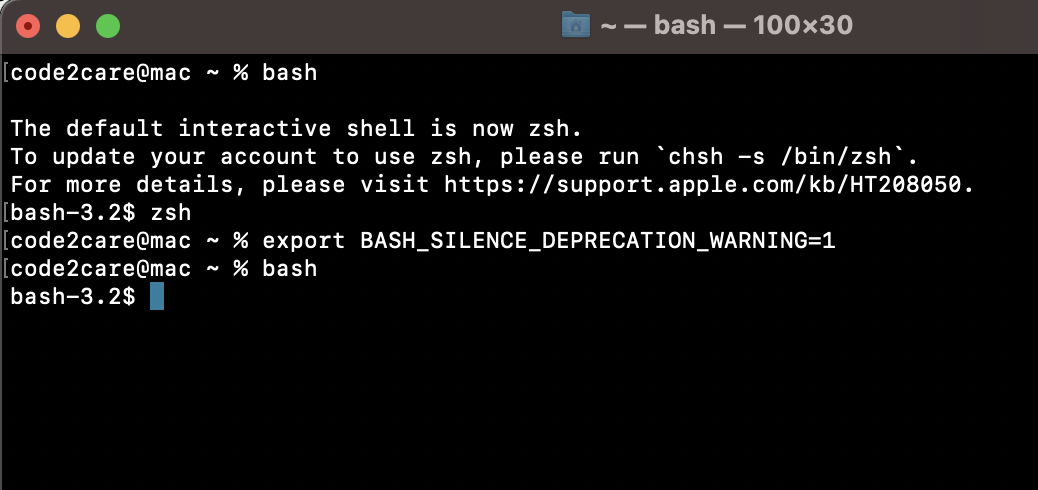
If you want to suppress this warning message every time that you move to any other prompt, you need to set the variable bash silence deprecation warning to a value of 1. i.e BASH_SILENCE_DEPRECATION_WARNING=1. You can do that by running the below command in the Terminal.
export BASH_SILENCE_DEPRECATION_WARNING=1code2care@mac ~ % bash
The default interactive shell is now zsh.
To update your account to use zsh, please run `chsh -s /bin/zsh`.
For more details, please visit https://support.apple.com/kb/HT208050.
bash-3.2$ zsh
code2care@mac ~ % export BASH_SILENCE_DEPRECATION_WARNING=1
code2care@mac ~ % bash
bash-3.2$ Note as this setting will get terminated as soon as to close your terminal, it is better to set this in the profile of zsh shell.
- Open Terminal app,
- On the ZSH Shell type nano ~/.zshrc
- Now append the variable details: export BASH_SILENCE_DEPRECATION_WARNING=1
- Press Control + X, followed by Y to save the file, press enter to exit Nano,
- Now type command source ~/.zshrc to apply changes.

✌️ Update: June 2022, you will see the same message on macOS 13 Ventura
Comments:
- Further comments disabled!
- How to show line numbers in Nano on Mac
- How to install Jupyter Notebook on macOS Sonoma
- How to Disable Remote Management using Mac Terminal
- Test internet speed using macOS Terminal command
- Docker Desktop needs privileged access macOS
- Google Search Hot Trends Screensaver for Mac OS X
- How to do calculations in Mac Terminal
- How to make TextEdit the default text Editor on Mac
- How to Show Full Website Address on Safari for Mac (Ventura/Sonoma)
- The Zsh Shell - Mac Tutorial
- Opening mac Terminal
- How to change the name of your Mac running on macOS Ventura 13
- How to find the Battery Cycle Count on macOS Ventura
- How to set an emoji as Zsh terminal prompt in macOS
- How to access Trash Folder using Mac Terminal Command
- macOS Ventura XCode Command Line Tools Installation
- Hide Bluetooth icon on Mac Menu Bar macOS Ventura 13
- How to run .sh file in Mac Terminal
- Terminal Command to get the list of available shells in macOS
- How to see Storage Information on macOS Ventura
- How to Go To /usr/local/bin on Mac Terminal?
- How to do screen recording on Mac
- How to Find File and Directory Size in Mac Terminal
- Open .bash_profile File in TextEdit using Terminal
- Remove Now Playing icon from macOS Big Sur Menu Bar
- Force Gradle to use specific Java JDK Version - Gradle
- Twitter is down? Issues with Tweet create events affecting APIs - Twitter
- How to do screen recording on Mac - MacOS
- Hyperlink in html (anchor tag) without a underline - Html
- Android : Remove ListView Separator/divider programmatically or using xml property - Android
- Steps to Install Jenkins on M1/M2 Mac - MacOS
- Fix [oh-my-zsh] Cant update: not a git repository - Git
- How to Configure GitHub with Eclipse IDE in 2023 - Eclipse