This article is to provide steps to install R in macOS.
Steps to install R for macOS
- Go to R official website to download the dng setup: https://cran.r-project.org/bin/macosx/
- If your macOS version is 10.11 and higher download: R-3.5.1.pkg
- If your macOS is 10.9 or 10.10 use the download package R-3.3.3.pkg
- If you are using the latest M1 Silicon (ARM) based Mac use the package: R-4.1.0-arm64.pkg
- After the setup is download follow the instructions to install R. You will be asked to agree the software license agreement to continue.

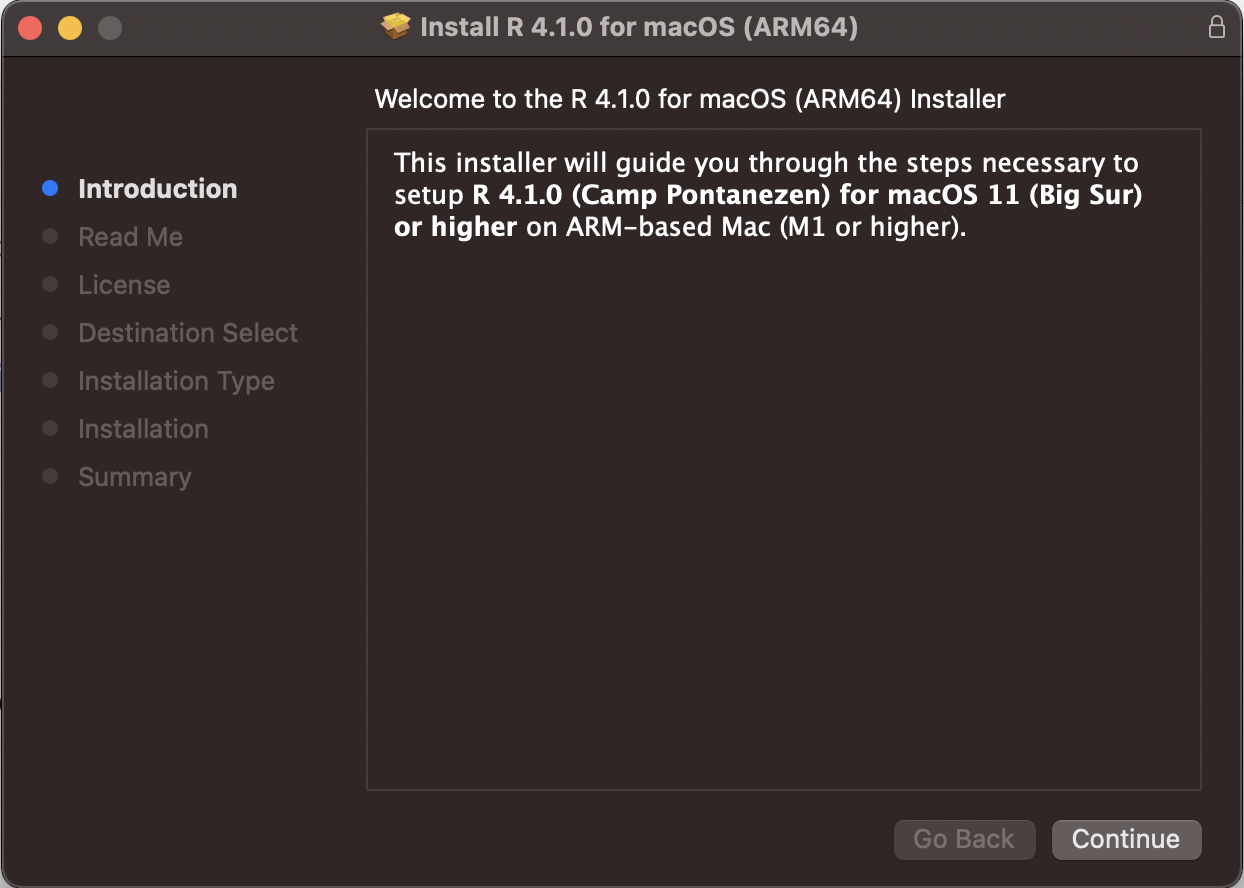
macOS R Installer
Installation Details of 4.1.0:
R 4.1.0
Version 4.1.0 (Camp Pontanezen)
for macOS 11 (Big Sur) and higher ARM64

This multi-package contains the following main components:
- R Framework 4.1.0
- R.app GUI 1.76
- Tcl/Tk 8.6.11 for X11 (optional, needed for the tcltk R package)
- Texinfo 6.7 (optional, needed to build documentation in R packages from sources)

Requirements:
- ARM64-based Mac (M1 or later)
- macOS 11 (Big Sur) or higher

Note: By default the installer upgrades previous Big Sur ARM build of R if present. If you want to keep the previous version, use
pkgutil --forget org.R-project.arm64.R.fw.pkg

The Cocoa GUI called R.app will be installed by default in your Applications folder,
R framework will be installed in /Library/Frameworks and Tcl/Tk and
Texinfo will be installed in /opt/R/arm64
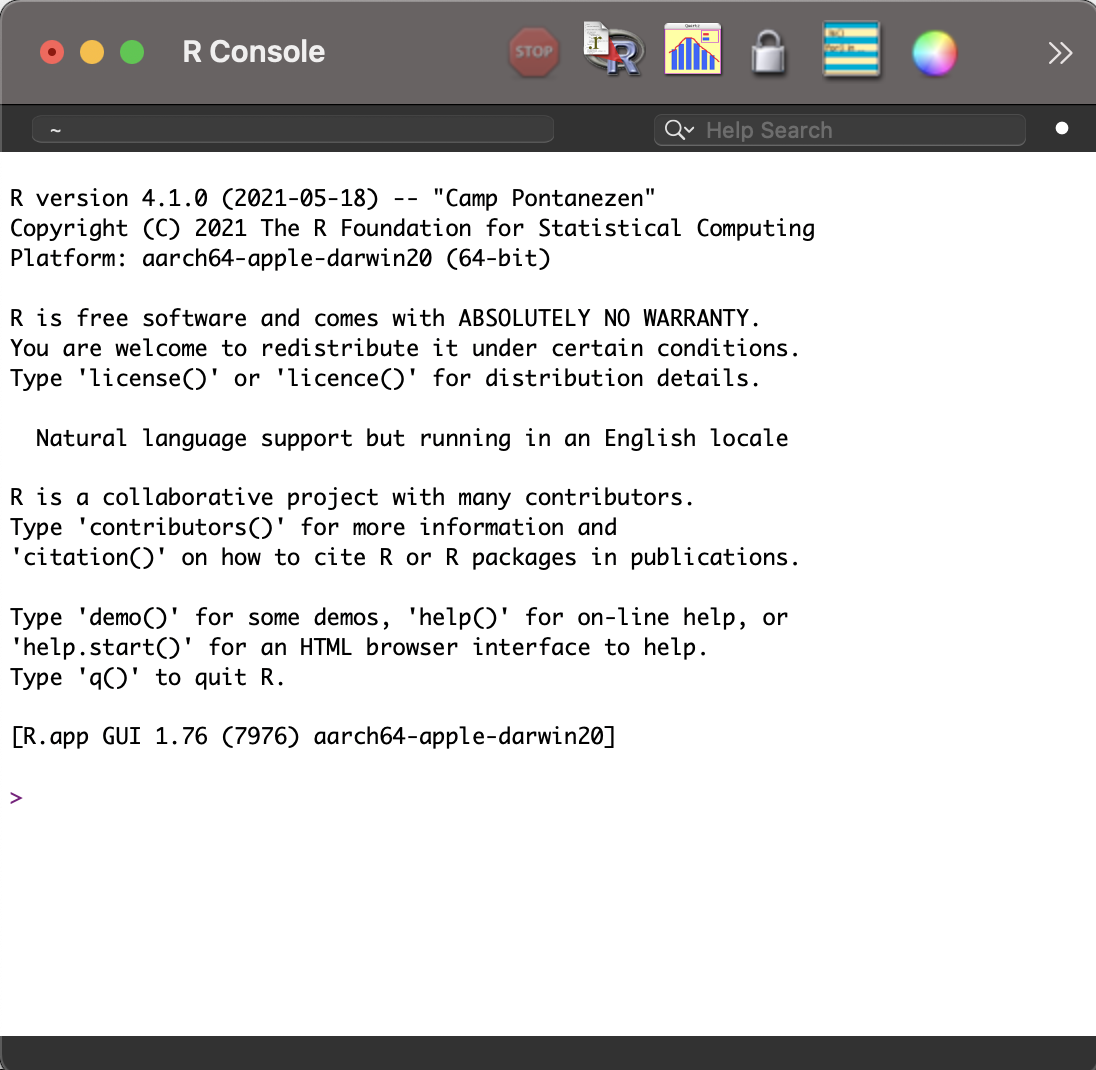
When you type R in Spotlight Search you will see the R application, open it and you must see the macOS R Colonse.

macOS R Console
Have Questions? Post them here!
More Posts related to MacOS,
- Fix: grunt: command not found (Mac/Windows)
- AppleScript Example with TextEdit
- How to copy Password of Wifi on your Mac
- Install OpenJDK Java (8/11/17) versions using brew on Mac (Intel/M1/M2)
- How to check if a port is in use using terminal [Linux or macOS]
- Cut, Copy and Paste Keyboard Shortcuts on Mac Keyboard
- [macOS] NetBeans IDE cannot be installed. Java (JRE) found on your computer but JDK XX or newer is required.
- How to Remove Widgets from macOS Sonoma 14 Desktop
- Turn off Auto-Capitalization on macOS Ventura 13
- How to Go To /usr/local/bin on Mac Terminal?
- How to Open TextEdit on Mac
- Mac: How to Open Android Studio from Terminal
- How to change the default location of Mac Screenshot
- Display Seconds in Digital Clock on Mac Menu Bar [macOS]
- How to install homebrew (brew) on M1 Mac
- Must Know Homebrew Commands for Mac/Linux Users
- Steps to Uninstall Roblox on Mac (macOS)
- How to change the System Settings Sidebar icon size Mac Ventura 13
- How to set Out Of Office (OOO) on Outlook for Mac [Updated 2023]
- Trigger Notification Center Message using Mac Terminal Command
- [fix] macOS Ventura - Python3 xcrun: error: invalid active developer path missing xcrun at CommandLineTools
- How to Install Rust Language on Mac (macOS)
- How to minimize all Windows in Mac
- Display ls command file sizes in KB (kilobytes) MB (megabytes) or GB (gigabytes) [Linux/macOS]
- How to make TextEdit the default text Editor on Mac
More Posts:
- How to know current Ubuntu Linux version via terminal command - Ubuntu
- How to Add Tab in Python - Python
- How to Sort CSV File Data in Notepad++ based on a Column - NotepadPlusPlus
- Read a file and Split using StringTokenizer in Java - Java
- [Python] Fix: TypeError: NoneType object is not subscriptable - Python
- Define an Infinite Number in Python - Python
- Fix: Git Pull Error: unable to resolve reference refs/remotes/origin/master: reference broken - Git
- Notepad++ display files on tab bar as horizontal instead of vertical - NotepadPlusPlus