If you for ways to install Windows 11 on your M1/M2 ARM Apple Silicon Mac/Macbook, you can make use of the below two apps.
Step 1: UTM - Virtual Machine App for Mac
The first thing you do is download and install the free Virtual Machine app called UTM from https://mac.getutm.app

Step 2: CrystalFetch - Create Windows ISOs for macOS
The CrystalFetch can be downloaded from the App Store on macOS for free. It can be used to create Windows® 11 installer ISO images. Once you download the iso It can be used with UTM virtual machines.
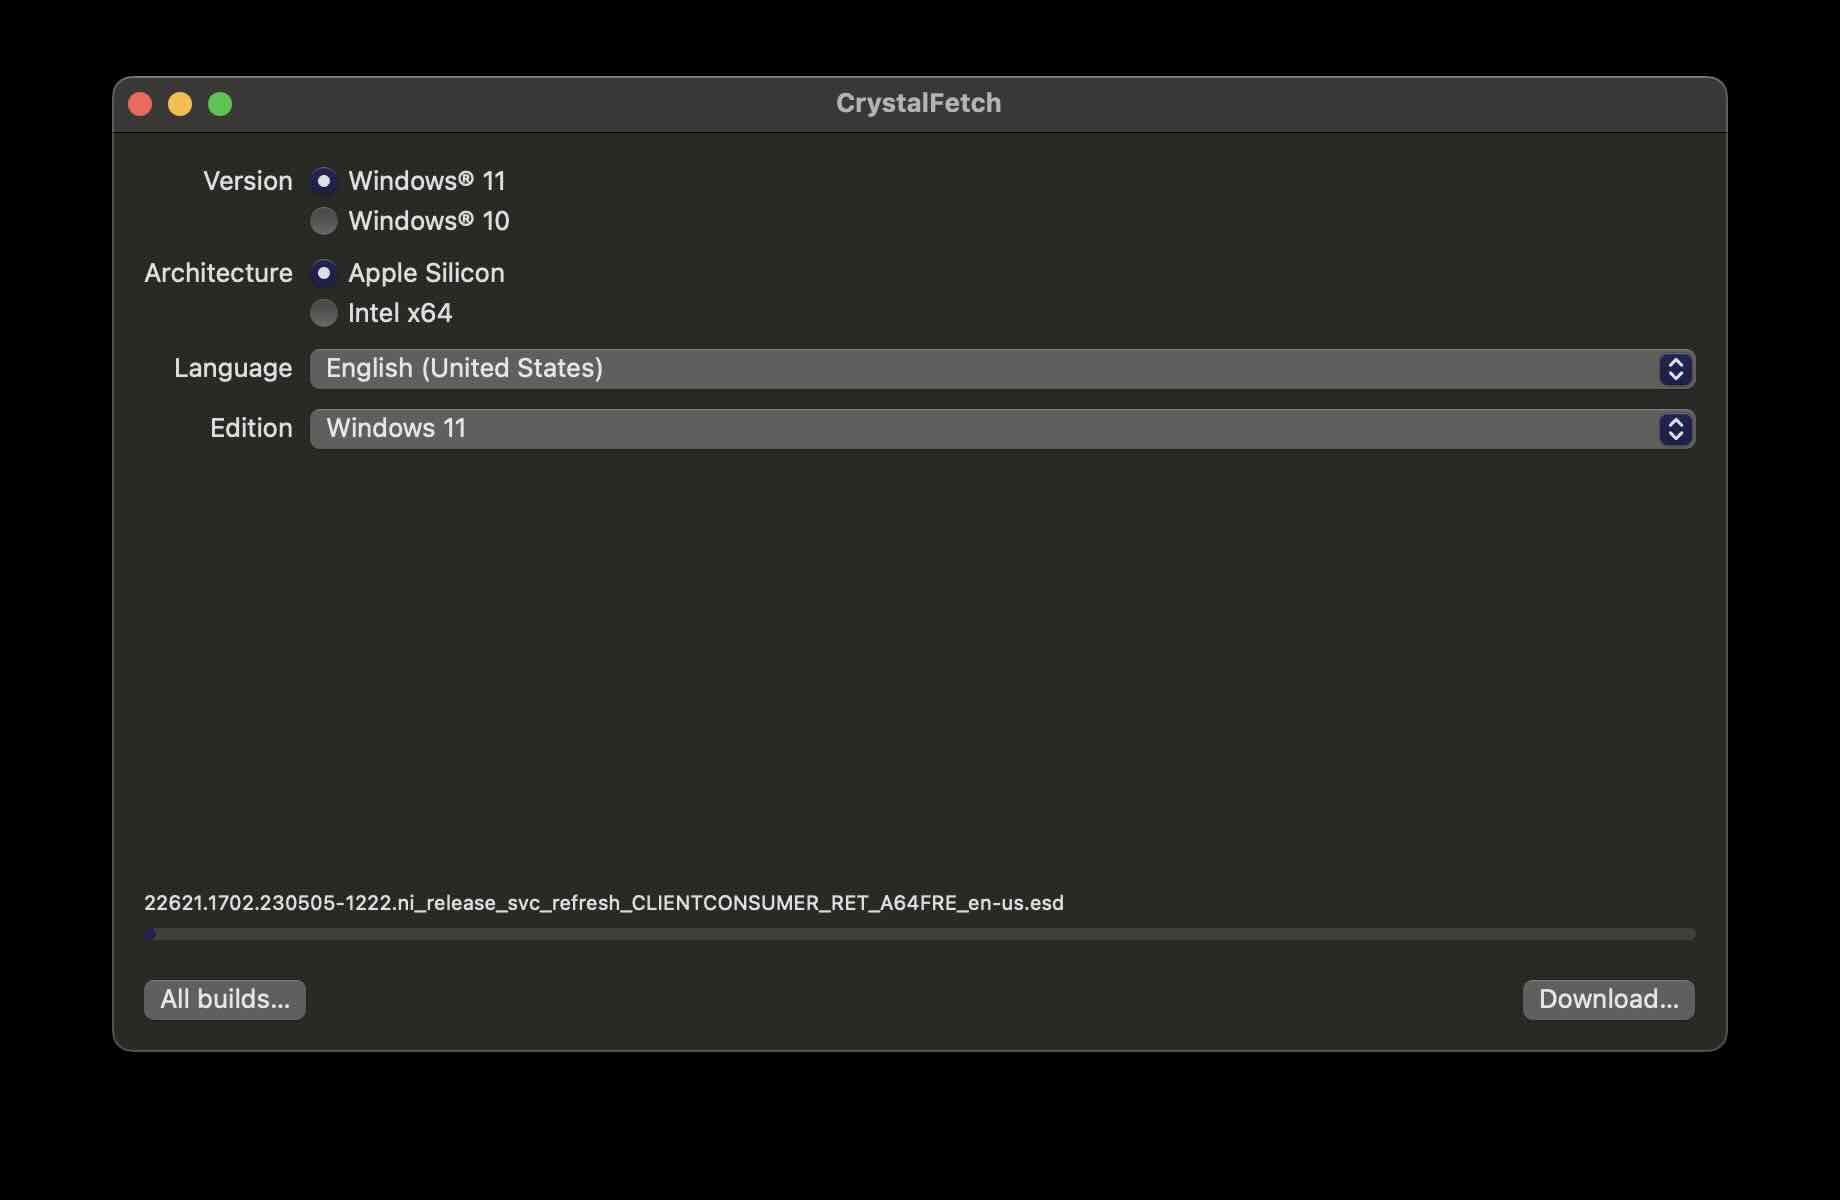
You can download iso's for both Windows 10/11 and Apple Silicon or Intel based Macs.
Steps to install Windows 10/11 on macOS
- Download and install the UTM app on your Mac.
- Download the Windows 10/11 installer ISO using CrystalFetch.
- Open UTM and click the "+" button to create a new VM.
- Choose "Virtualize" and select "Windows."
- Make sure "Import VHDX Image" is unchecked and "Install Windows 10 or higher" is checked.
- Also, check "Install drivers and SPICE tools" and click "Browse" to select the ISO from step 2.
- Set the desired RAM and CPU core allocation and click "Next."
- Specify the maximum drive space to allocate and click "Next."
- Click "Save" to create the VM. Wait for guest tools to finish downloading, then click the "Run" button to start the VM.

This is not an AI-generated article but is demonstrated by a human on an M1 Mac running macOS Sonoma 14.0.
Please support independent contributors like Code2care by donating a coffee.
Buy me a coffee!
Comments & Discussion
Facing issues? Have questions? Post them here! We're happy to help!