Hello there! The easiest way to unzip a file using the Terminal (Command Line) is by making use of the unzip command.
You will get an error "bash: unzip: command not found" if you do not have to unzip the binary installed on your Linux/Ubuntu/macOS.
Step 1: Installing unzip command
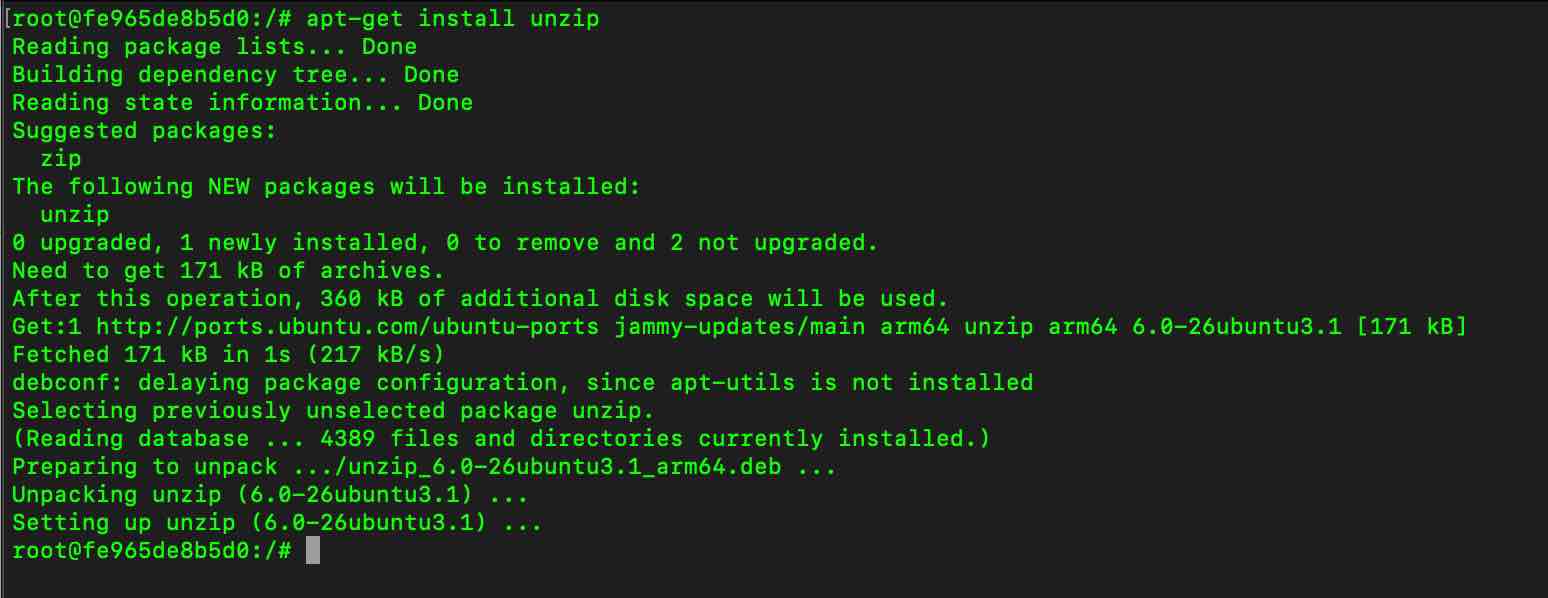
Based on which Operating System you are on, make use of the package manager to get unzip installed. Below is an example using apt-get for Ubuntu,
# apt-get update
....
....

# apt-get install unzip
The following NEW packages will be installed:
  unzip
...
debconf: delaying package configuration, since apt-utils is not installed
Selecting previously unselected package unzip.
(Reading database ... 4389 files and directories currently installed.)
Preparing to unpack .../unzip_6.0-26ubuntu3.1_arm64.deb ...
Unpacking unzip (6.0-26ubuntu3.1) ...
Setting up unzip (6.0-26ubuntu3.1) ...
Note: You may need sudo privileges.
Step 2: Using unzip command to unzip files
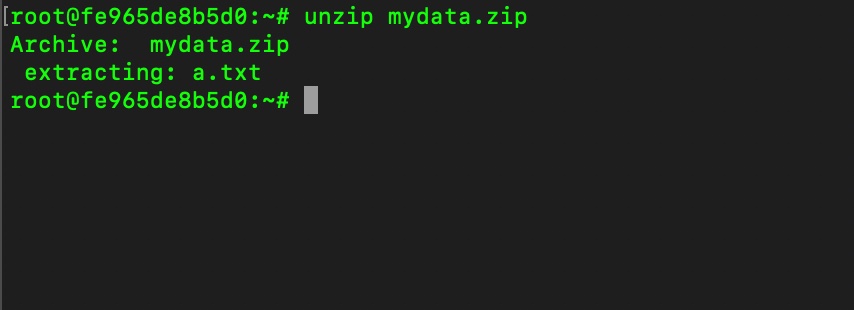
Example 1: Unzip a file in the current location# unzip mydata.zip
Archive: mydata.zip
extracting: a.txt 
Example 2: Unzip a file in a directory
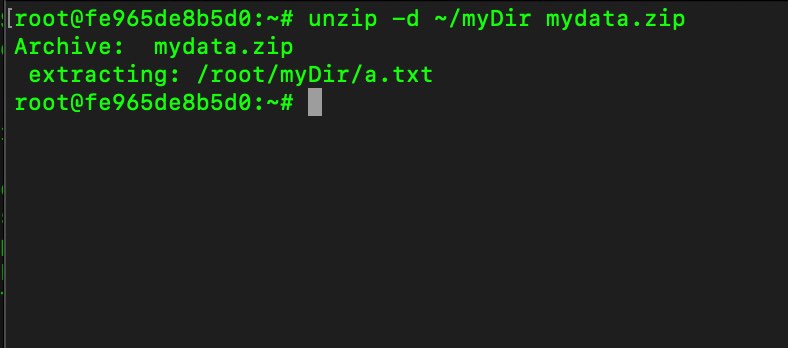
# # unzip -d ~/myDir mydata.zip
Archive:  mydata.zip
 extracting: /root/myDir/a.txt
Make use of the -d flag followed by the directory path where you want to unzip the zip file.

Facing issues? Have Questions? Post them here! I am happy to answer!
Rakesh (He/Him) has over 14+ years of experience in Web and Application development. He is the author of insightful How-To articles for Code2care.
Follow him on: X
You can also reach out to him via e-mail: rakesh@code2care.org
- Command to know the Available Memory on Linux System
- How to install curl on Alpine Linux
- How to backup a file in Linux/Unix
- Install Java Runtime Environment (Oracle or open JRE) on Ubuntu
- What is the Default Admin user and Password for Jenkins
- How to tar.gz a directory or folder Command
- Copy entire directory using Terminal Command [Linux, Mac, Bash]
- Fix: bash: ipconfig: command not found on Linux
- Command to check Last Login or Reboot History of Users and TTYs
- Linux: Create a New User and Password and Login Example
- ls command to list only directories
- bash: cls: command not found
- How to exit from nano command
- Installing and using unzip Command to unzip a zip file using Terminal
- What does apt-get update command does?
- ls command: sort files by name alphabetically A-Z or Z-A [Linux/Unix/macOS/Bash]
- How to remove or uninstall Java from Ubuntu using apt-get
- scp: ssh: connect to host xxxx port 22: Connection refused Error
- Sort ls command by last modified date and time
- Create Nested Directories using mkdir Command
- How to Exit a File in Terminal (Bash/Zsh)
- Command to know the installed Debian version?
- How to connect to SSH port other than default 22
- How to save a file in Nano Editor and Exit
- Install OpenSSL on Linux/Ubuntu
- Android: Maps and Places using Maps SDK - Android
- How to add or remove bookmark on a line in Notepad++ - NotepadPlusPlus
- Okta Hacked - Source Code Stolen from GitHub Repo - News
- Generate Project Dependency tree using Gradle Command - Gradle
- Get MD5 Hash as Checksum of a String in Python - Python
- How to Show Path of Files or App in Mac Spotlight Search - MacOS
- How to insert image into Google Sheets cell - Google
- How to exit from nano command - Linux