Sonoma 14 is the latest edition to macOS family that fuels the Apple Mac devices.
If you got a new Mac/MacBook and looking for steps to install Microsoft OneDrive, then follow the below very easy steps to get it installed.
- Step 1:
One Safari or any other web browser that you use on the Mac.
- Step 2:
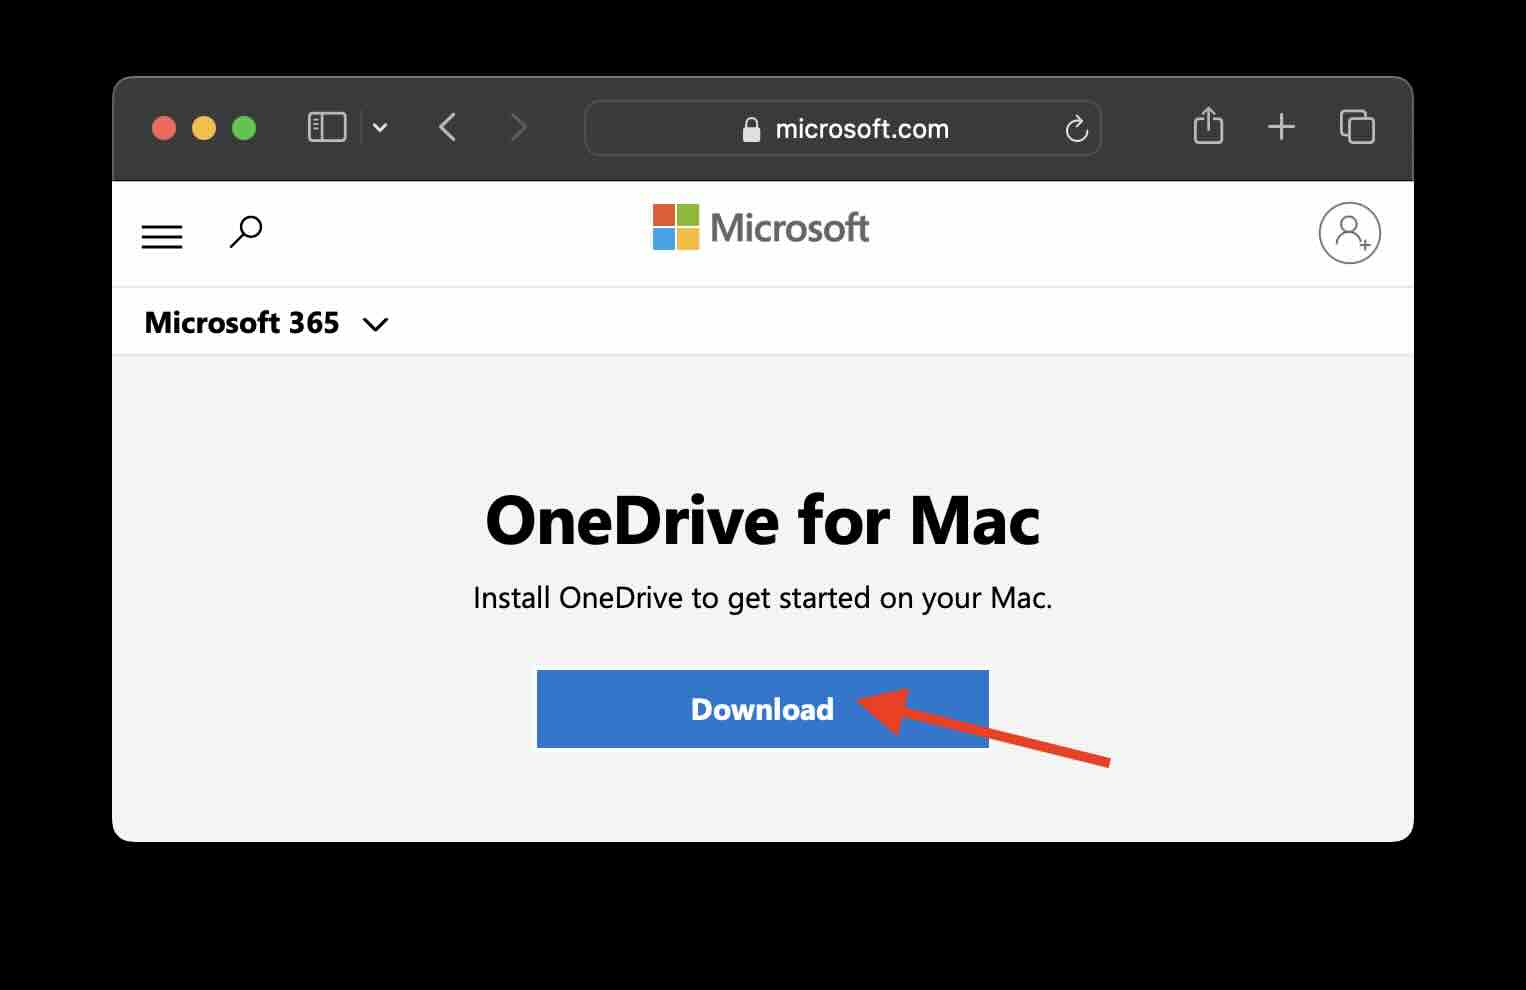
Visit the URL: https://www.microsoft.com/en-in/microsoft-365/onedrive/download
- Step 3:
Click on the Download button.
- Step 4:
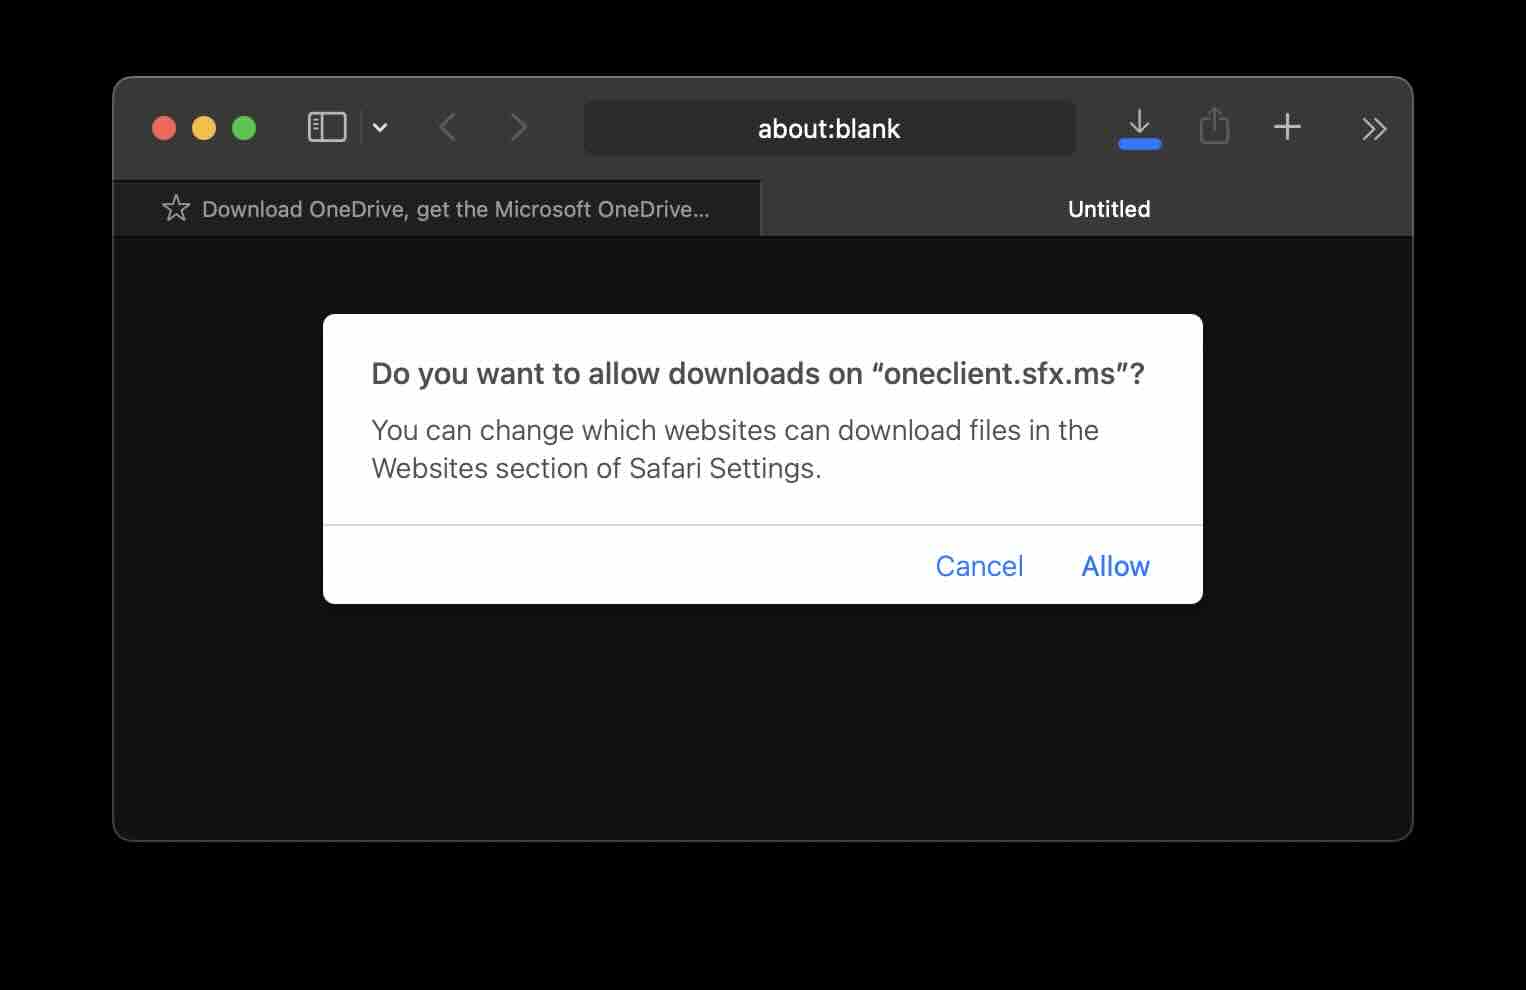
You will see a alert "Do you want to allow downloads on “oneclient.sfx.ms”?" click allow
- Step 5:
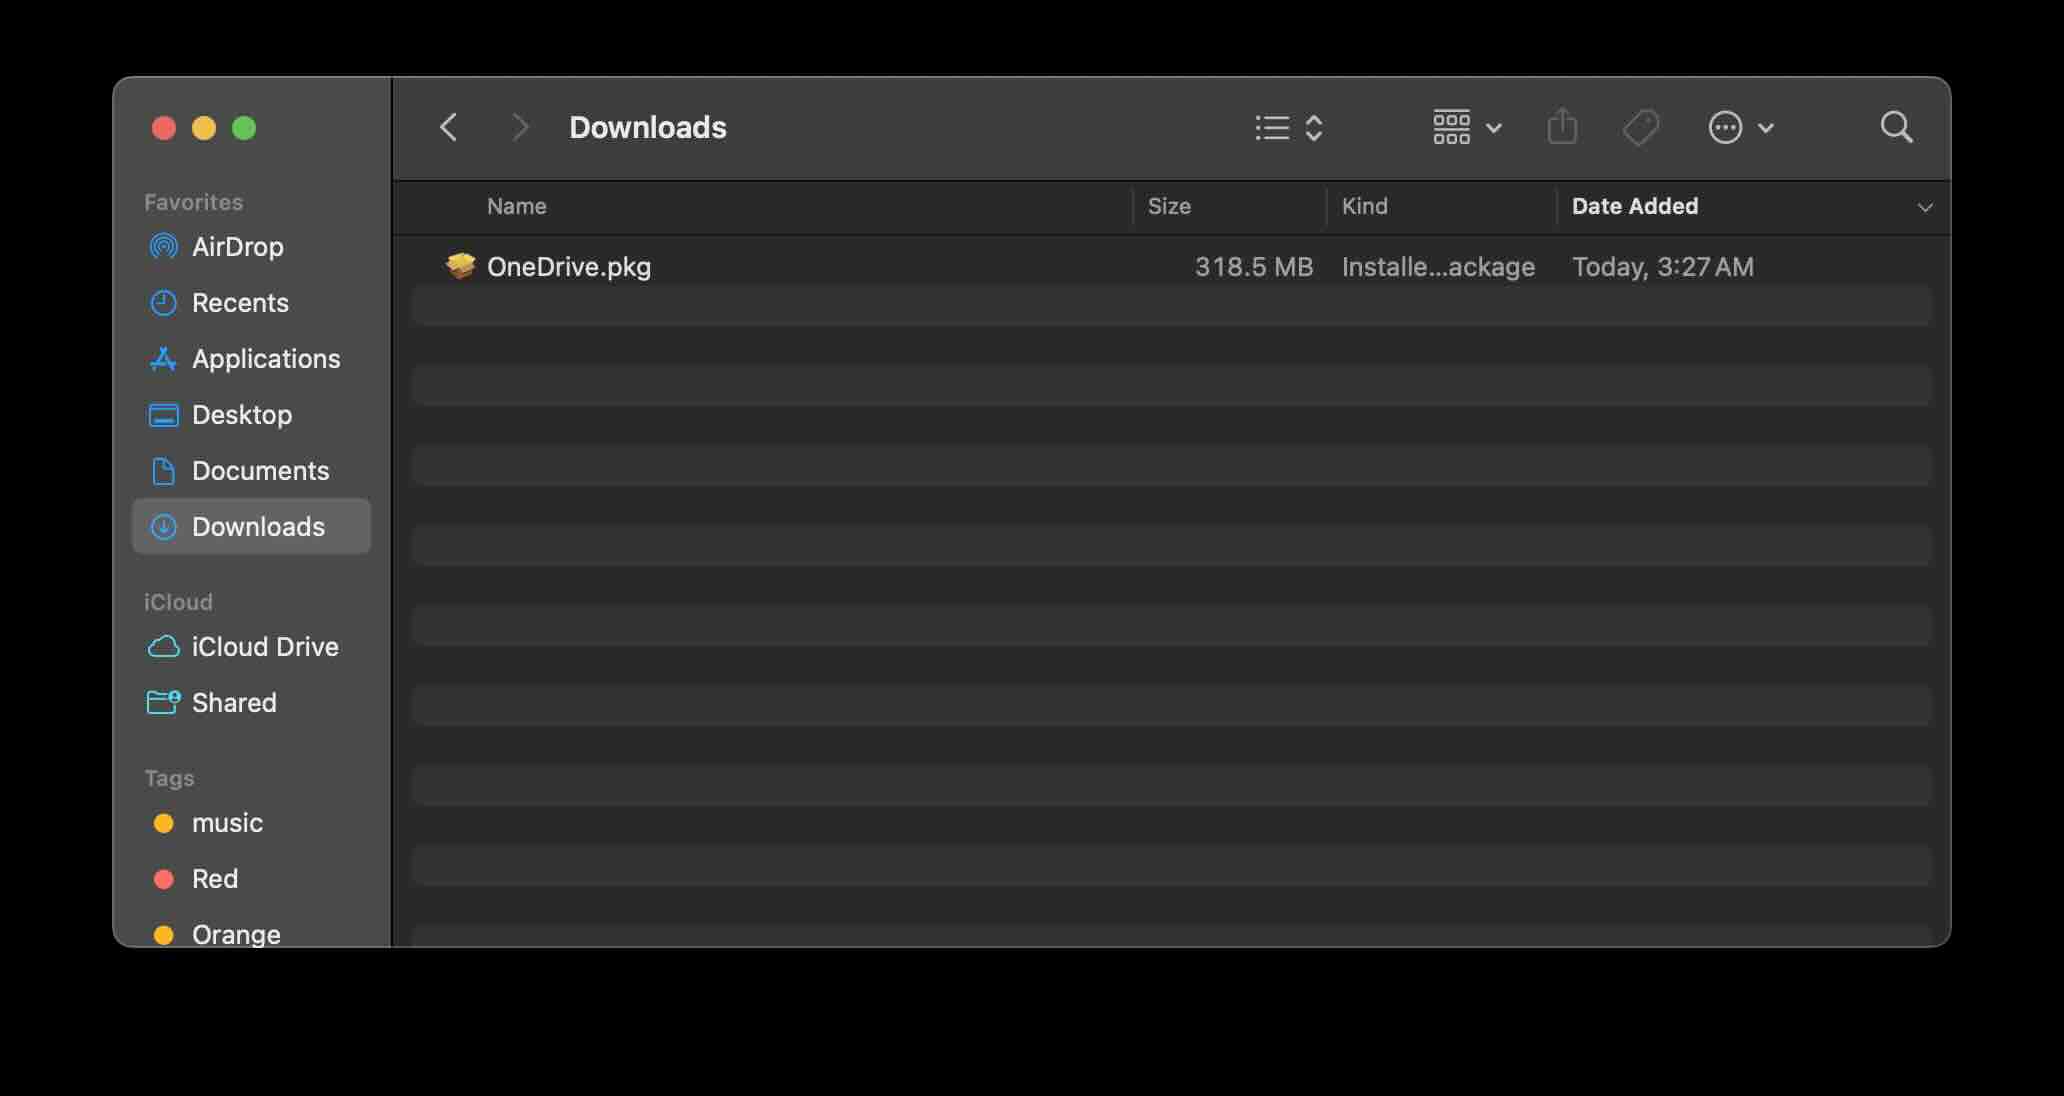
This will download OneDrive.pkg file in your Downloads folder.
- Step 6:
Double click on the OneDrive.pkg file to open the installer.
- Step 7:
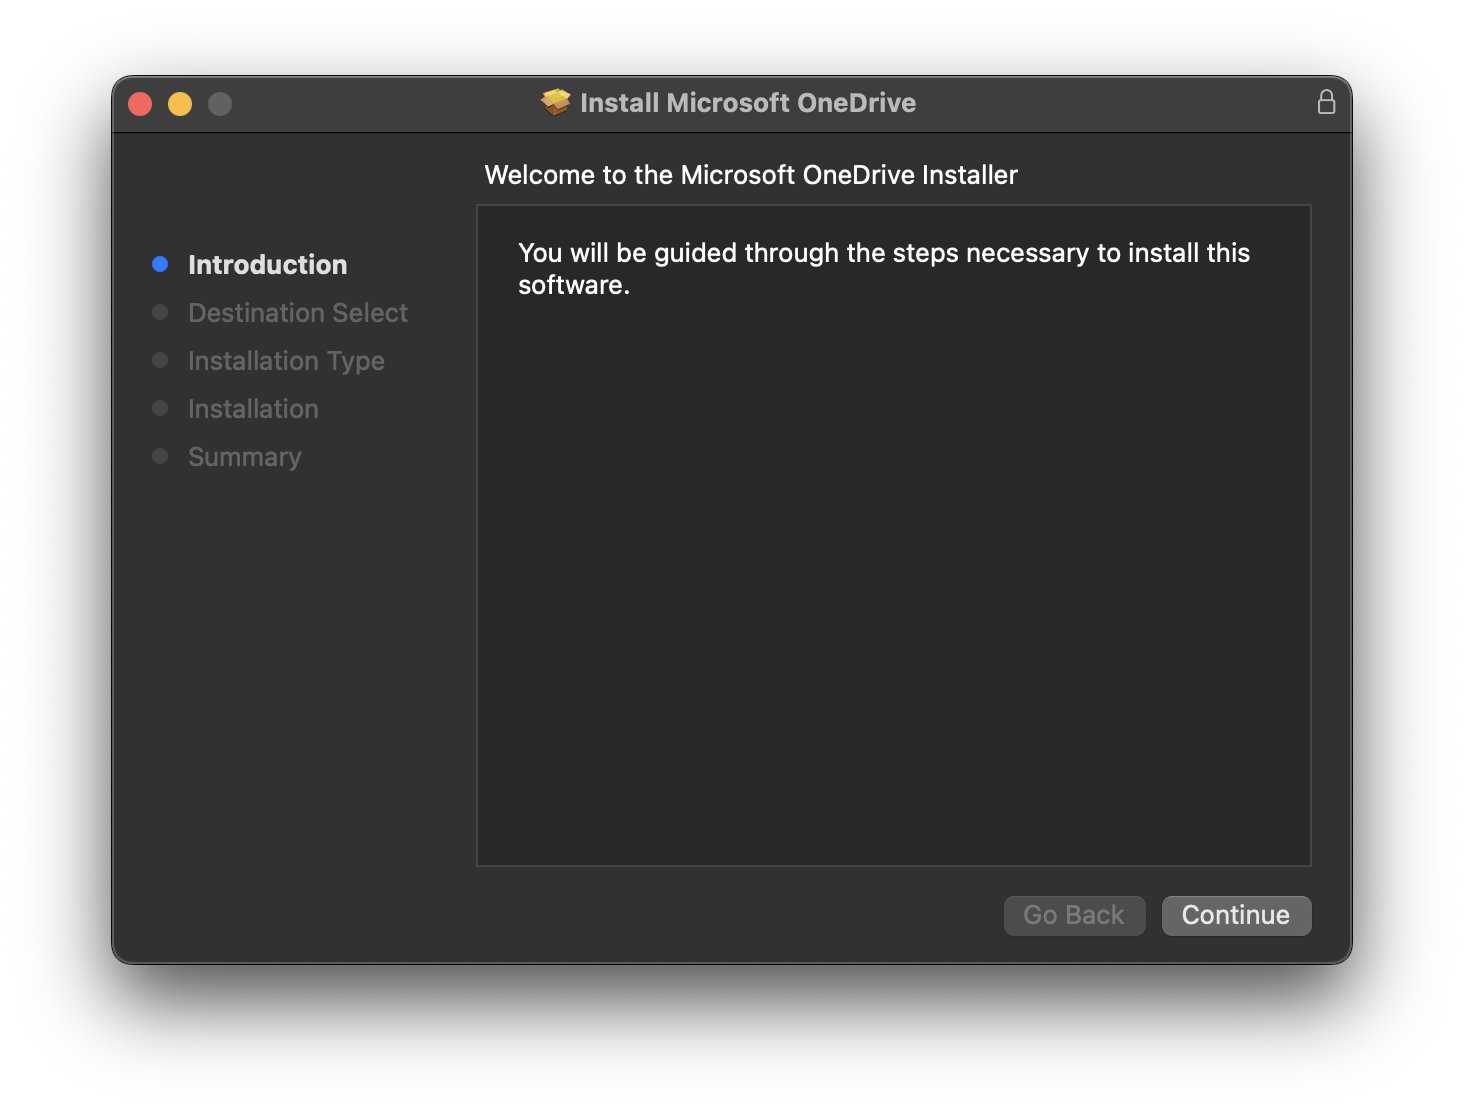
Follow the installer by clicking Continue.
- Step 8:
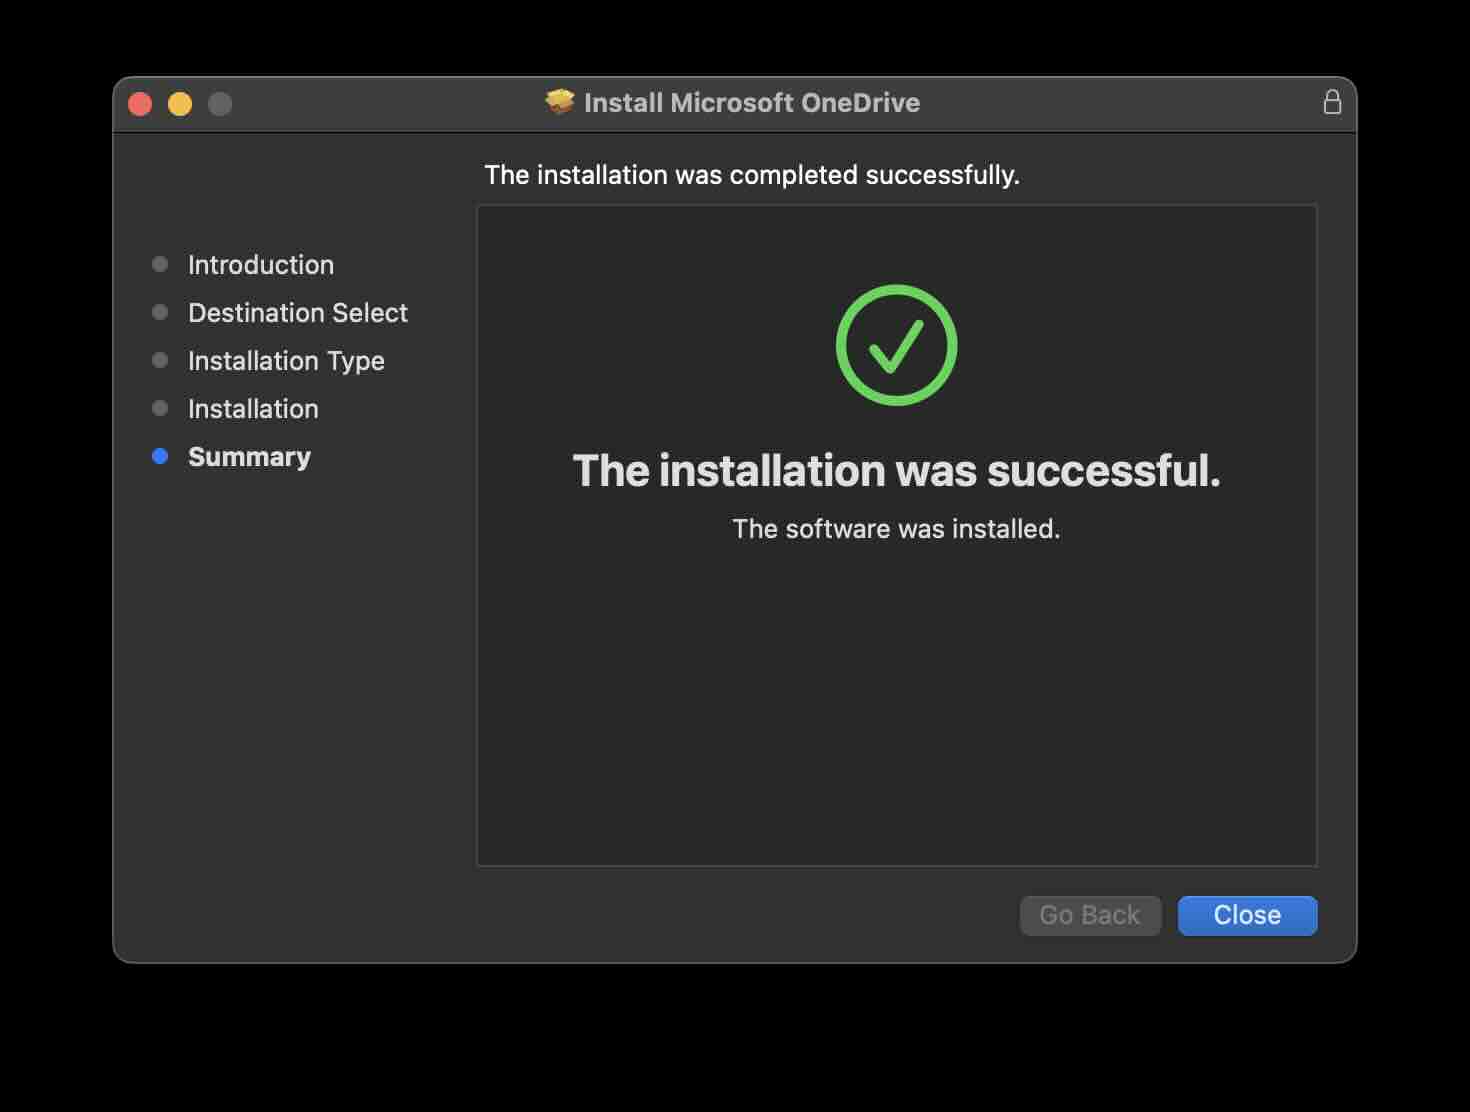
Once the installation is complete you should see a screen "The installation was successful.". Click close and move the installer to Trash when asked.
.
Facing issues? Have Questions? Post them here! I am happy to answer!
Rakesh (He/Him) has over 14+ years of experience in Web and Application development. He is the author of insightful How-To articles for Code2care.
Follow him on: X
You can also reach out to him via e-mail: rakesh@code2care.org
- Fix: grunt: command not found (Mac/Windows)
- AppleScript Example with TextEdit
- How to copy Password of Wifi on your Mac
- Install OpenJDK Java (8/11/17) versions using brew on Mac (Intel/M1/M2)
- How to check if a port is in use using terminal [Linux or macOS]
- Cut, Copy and Paste Keyboard Shortcuts on Mac Keyboard
- [macOS] NetBeans IDE cannot be installed. Java (JRE) found on your computer but JDK XX or newer is required.
- How to Remove Widgets from macOS Sonoma 14 Desktop
- Turn off Auto-Capitalization on macOS Ventura 13
- How to Go To /usr/local/bin on Mac Terminal?
- How to Open TextEdit on Mac
- Mac: How to Open Android Studio from Terminal
- How to change the default location of Mac Screenshot
- Display Seconds in Digital Clock on Mac Menu Bar [macOS]
- How to install homebrew (brew) on M1 Mac
- Must Know Homebrew Commands for Mac/Linux Users
- Steps to Uninstall Roblox on Mac (macOS)
- How to change the System Settings Sidebar icon size Mac Ventura 13
- How to set Out Of Office (OOO) on Outlook for Mac [Updated 2023]
- Trigger Notification Center Message using Mac Terminal Command
- [fix] macOS Ventura - Python3 xcrun: error: invalid active developer path missing xcrun at CommandLineTools
- How to Install Rust Language on Mac (macOS)
- How to minimize all Windows in Mac
- Display ls command file sizes in KB (kilobytes) MB (megabytes) or GB (gigabytes) [Linux/macOS]
- How to make TextEdit the default text Editor on Mac
- What is the Max and Minimum Value of int type in Python? - Python
- PHP Code for sending Emails - PHP
- How to count the files in a directory using Bash Command - Bash
- How to turn off AirPods Nearyby notifications on macOS Big Sur? - Apple
- How to know if you have blocked your friend Number on Android Phone - Android
- Maven : java.lang.ClassNotFoundException: Xmx512m - Android
- How to find the Battery Cycle Count on macOS Ventura - MacOS
- Android : How to make TextView Scrollable - Android