If you are on a Windows 10/11 PC and want to take a screenshot then you can simply press the Windows + Shift + S keys to open the snipping tool.
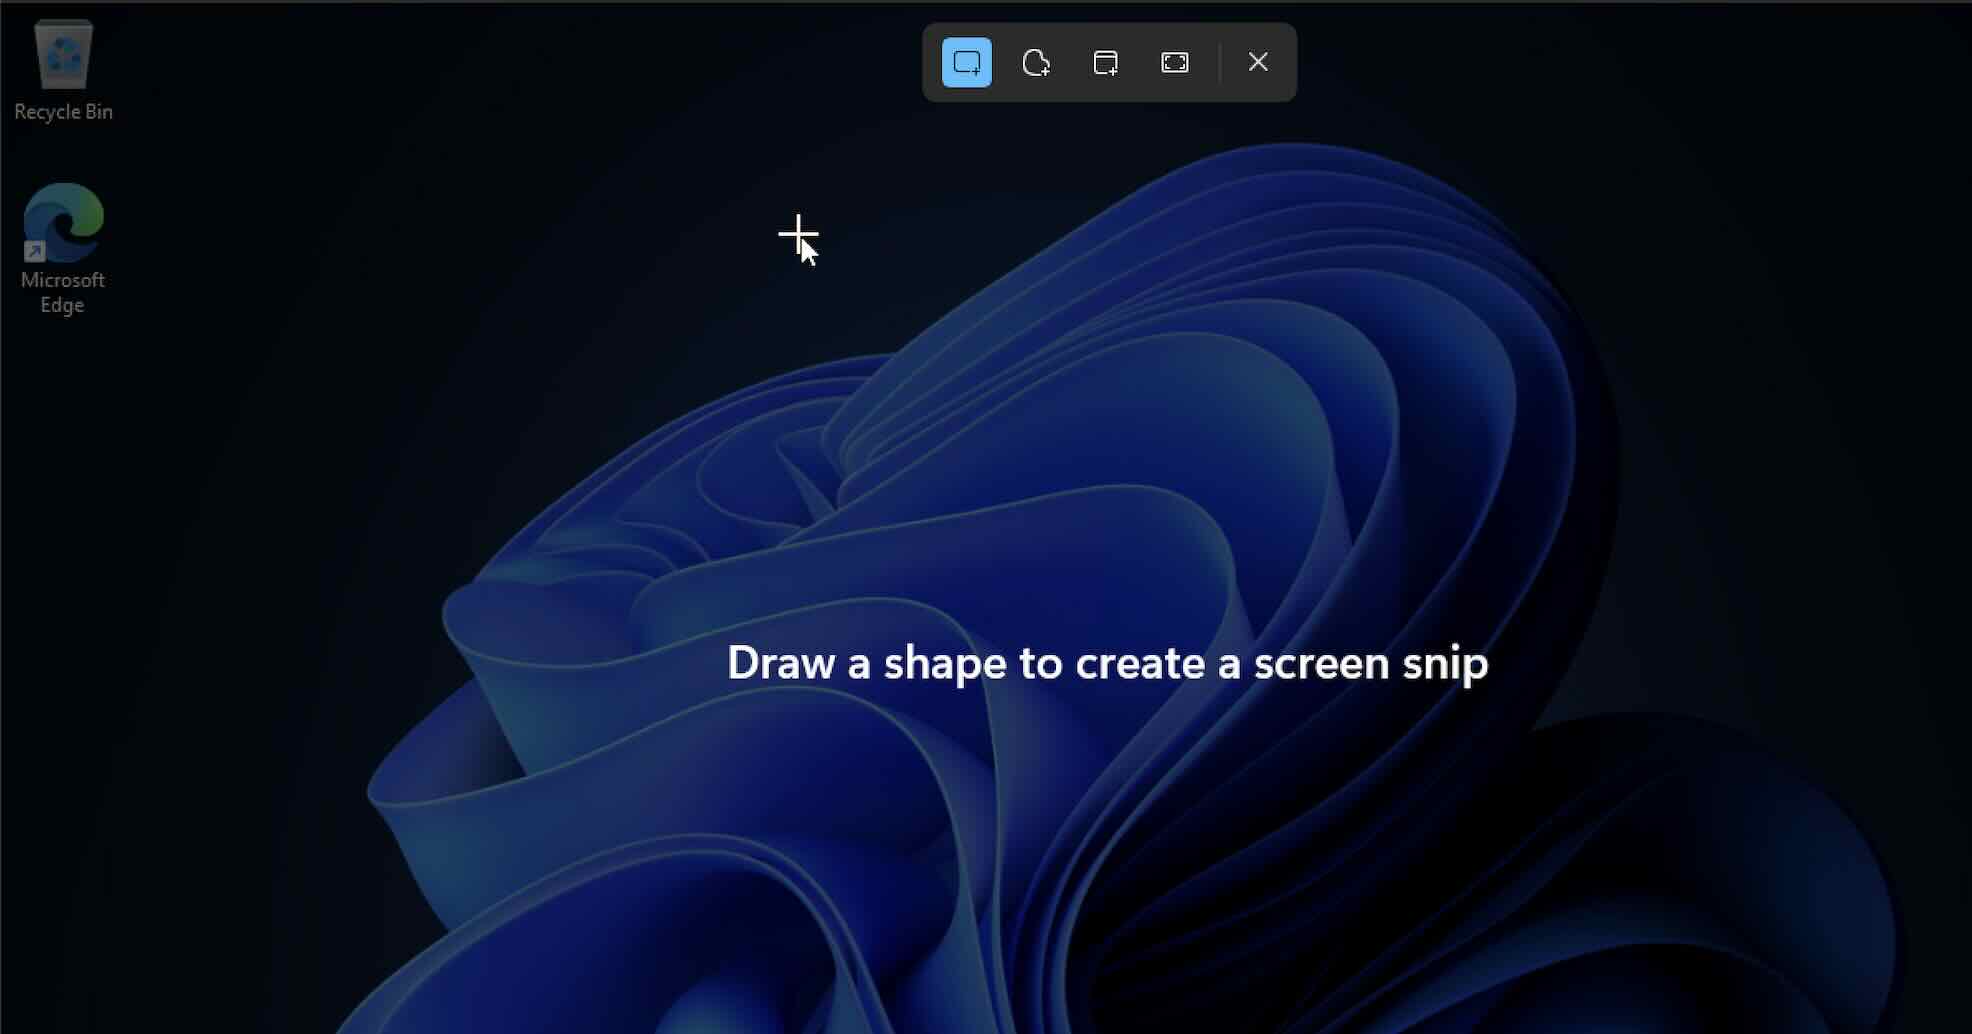
As shown in the above image, you will see that your cursor is being turned into a cross-hair using which you can draw a shape (rectangle by default) to create a screen snip.
From the top toolbar you can select different modes such as:
- Rectangular: This is the default snipping mode. You can click and drag to create a rectangular snip. This mode is the most commonly used one for capturing a specific area or region on your screen.
- Window: When you click on an open window, it captures the entire contents of that window. This is useful when you want to take a screenshot of a specific application or program window.
- Full-Screen: This mode captures the entire screen. It's handy when you need a screenshot of your entire desktop, including all open windows and icons.
- Free-Form: Here you have complete freedom to draw any shape you want around the area you want to capture. This is useful for irregular shapes or capturing specific portions of the screen that aren't rectangular.

Once you select any of the modes and take a screenshot, it is automatically copied to your clipboard. You will also see a notification appear once you're finished taking a screenshot, you can select it for more editing options.

Read More:
Comments & Discussion
Facing issues? Have questions? Post them here! We're happy to help!