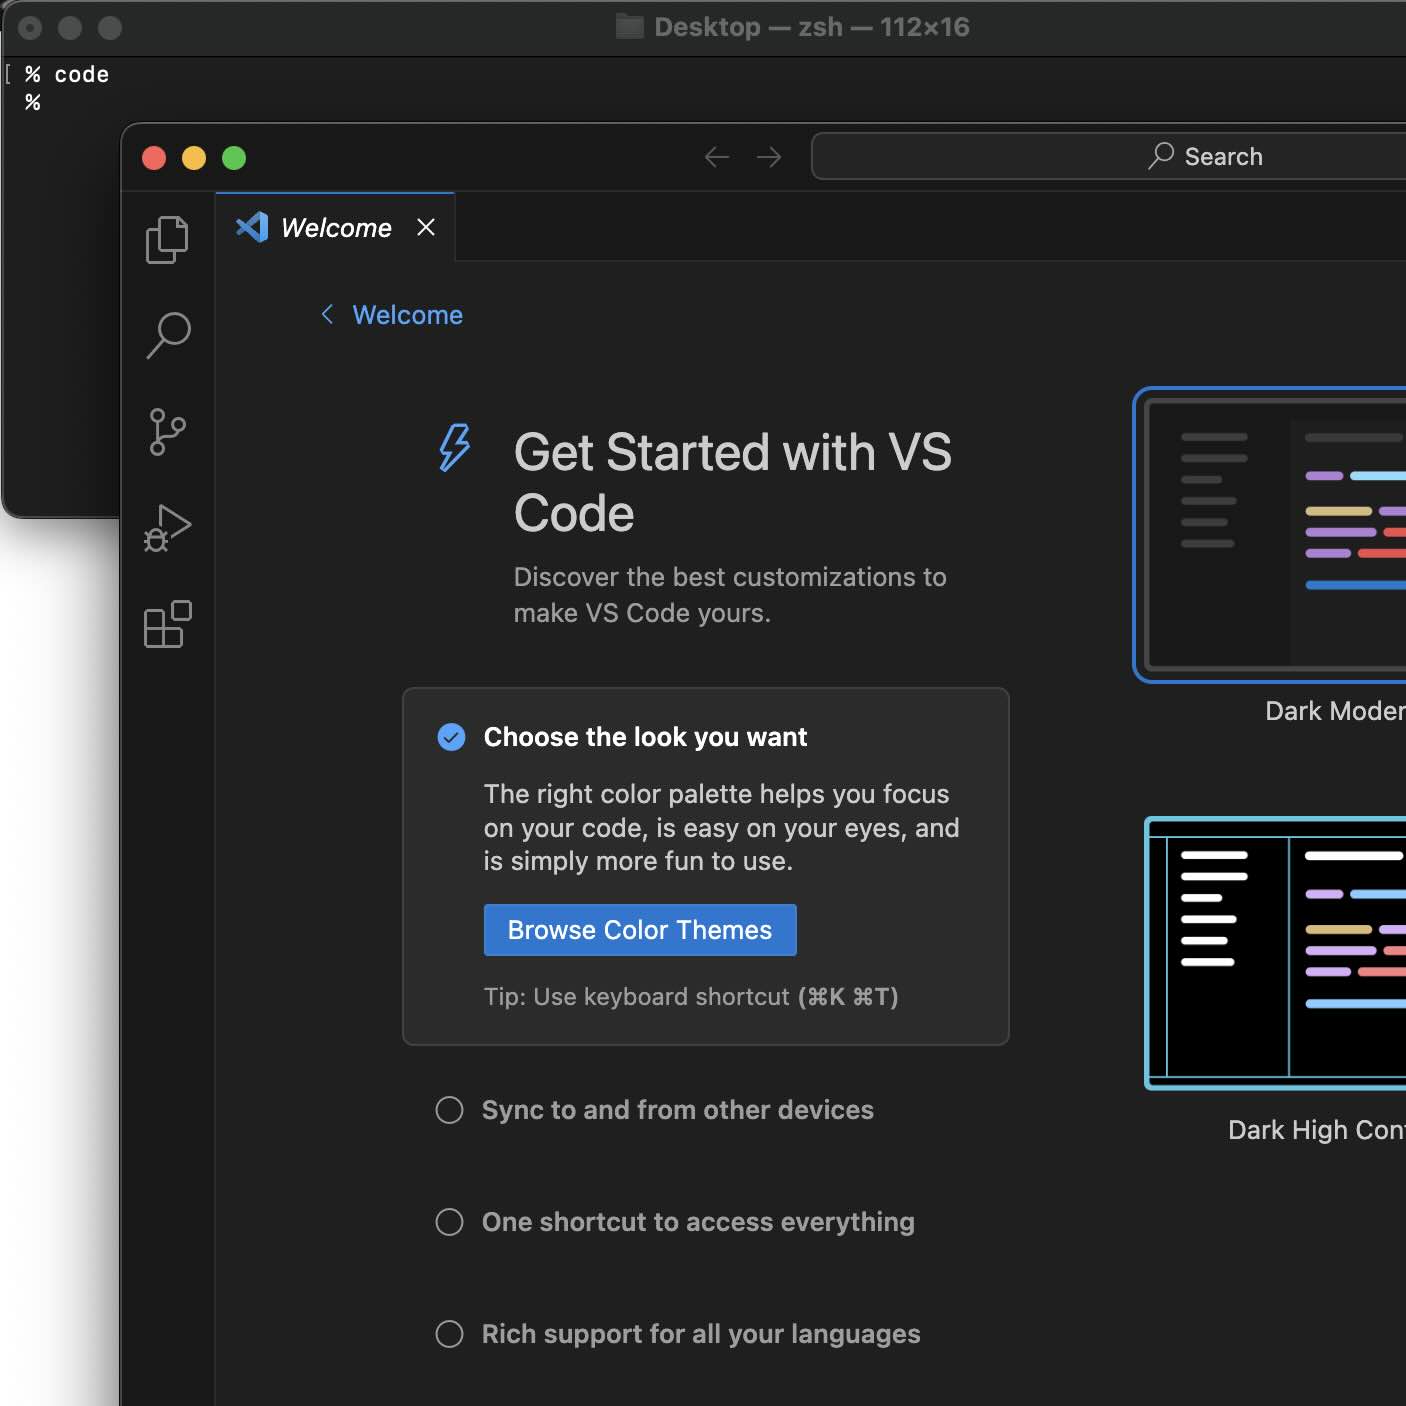
If you want to install Visual Studio Code IDE (VS Code) on your Mac, then you can make use of the Homebrew package manager.
- Open the Terminal App.
- Now run the brew Cask command,
brew install --cask visual-studio-codeLogs:
 % brew install --cask visual-studio-code
==> Downloading https://update.code.visualstudio.com/1.82.3/darwin-arm64/stable
==> Downloading from https://az764295.vo.msecnd.net/stable/fdb98833xx5a29
######## 100.0%
==> Installing Cask visual-studio-code
==> Moving App 'Visual Studio Code.app' to '/Applications/Visual Studio Code.app'
==> Linking Binary 'code' to '/opt/homebrew/bin/code'
🍺  visual-studio-code was successfully installed!
As you can see from the logs, Visual Studio Code.app file has been installed and added to the Applications folder.
- Now you can open VS Code by simply typing code in your macOS Terminal prompt or use Spotlight search to open it.

Facing issues? Have Questions? Post them here! I am happy to answer!
Author Info:
Rakesh (He/Him) has over 14+ years of experience in Web and Application development. He is the author of insightful How-To articles for Code2care.
Follow him on: X
You can also reach out to him via e-mail: rakesh@code2care.org
More Posts related to MacOS,
- Fix: grunt: command not found (Mac/Windows)
- AppleScript Example with TextEdit
- How to copy Password of Wifi on your Mac
- Install OpenJDK Java (8/11/17) versions using brew on Mac (Intel/M1/M2)
- How to check if a port is in use using terminal [Linux or macOS]
- Cut, Copy and Paste Keyboard Shortcuts on Mac Keyboard
- [macOS] NetBeans IDE cannot be installed. Java (JRE) found on your computer but JDK XX or newer is required.
- How to Remove Widgets from macOS Sonoma 14 Desktop
- Turn off Auto-Capitalization on macOS Ventura 13
- How to Go To /usr/local/bin on Mac Terminal?
- How to Open TextEdit on Mac
- Mac: How to Open Android Studio from Terminal
- How to change the default location of Mac Screenshot
- Display Seconds in Digital Clock on Mac Menu Bar [macOS]
- How to install homebrew (brew) on M1 Mac
- Must Know Homebrew Commands for Mac/Linux Users
- Steps to Uninstall Roblox on Mac (macOS)
- How to change the System Settings Sidebar icon size Mac Ventura 13
- How to set Out Of Office (OOO) on Outlook for Mac [Updated 2023]
- Trigger Notification Center Message using Mac Terminal Command
- [fix] macOS Ventura - Python3 xcrun: error: invalid active developer path missing xcrun at CommandLineTools
- How to Install Rust Language on Mac (macOS)
- How to minimize all Windows in Mac
- Display ls command file sizes in KB (kilobytes) MB (megabytes) or GB (gigabytes) [Linux/macOS]
- How to make TextEdit the default text Editor on Mac
More Posts:
- How to Enable or Disable Dark Mode on macOS Ventura 13 - MacOS
- Notepad++: How to add Quotes to CSV File - NotepadPlusPlus
- Binary, Decimal, Octal, and Hexadecimal Numbers Tables - 2022
- Create Hidden File or Directory using Shell Command - Linux
- Git: Delete Branch Locally and Remotely at Origin - Git
- How to declare Arrays in Java with Examples - Java
- How to check the version of NodeJS installed - HowTos
- Fix: ReferenceError: require is not defined in ES module scope [Node] - JavaScript