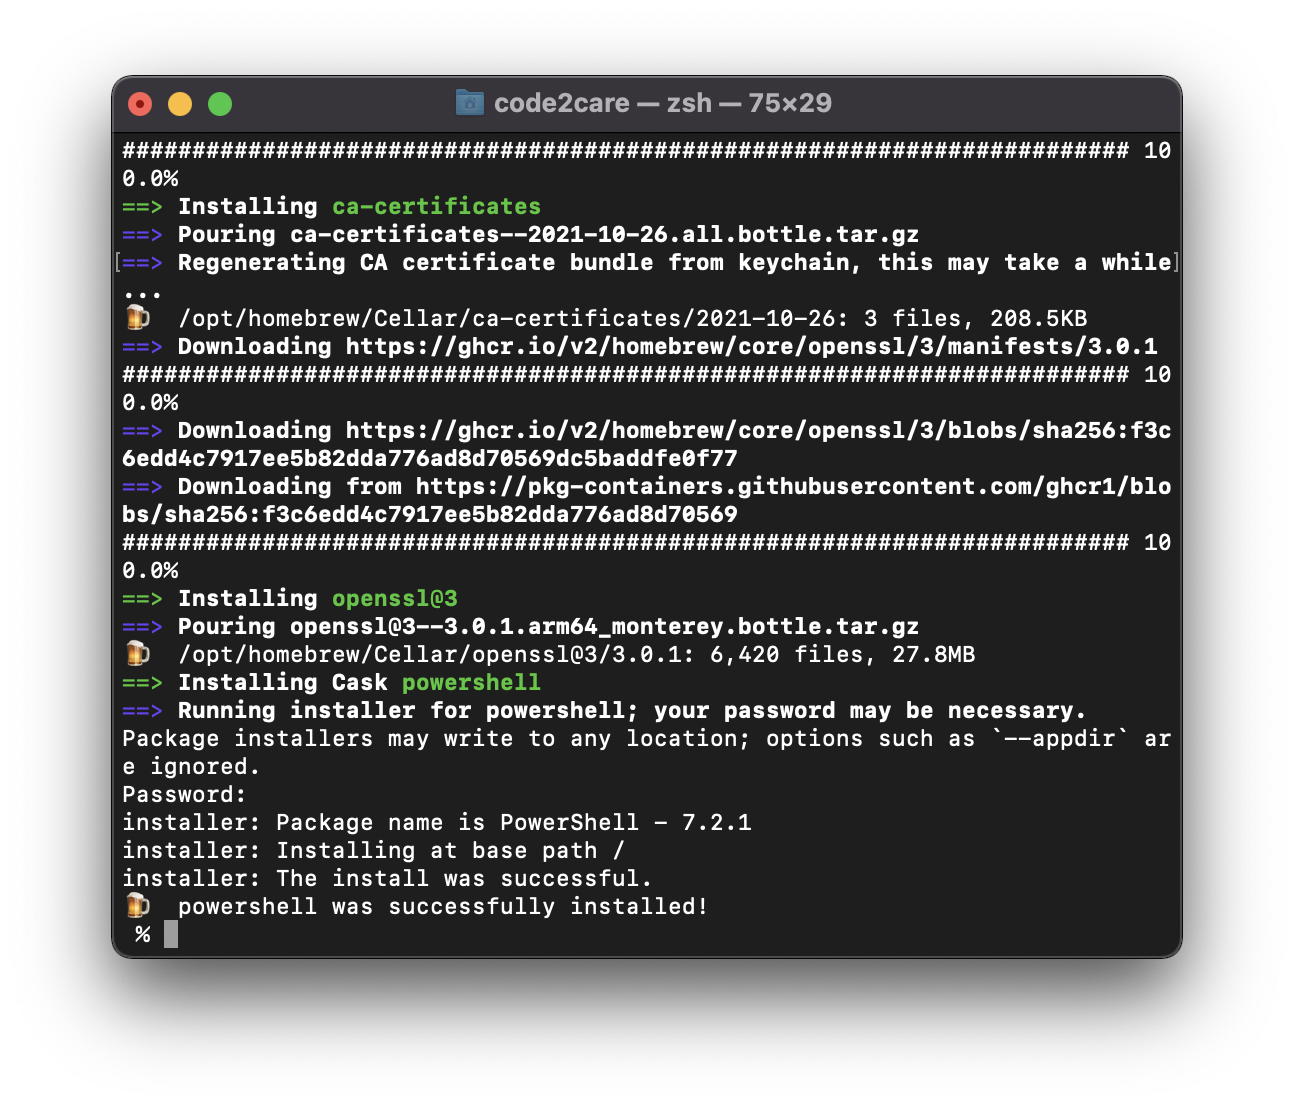
Powershell is available for macOS 10.13 or higher, you can get it installed using Brew,
- Make sure brew is installed on your macOS - Installing brew on macOS
- Run command: brew install --cask powershell
- Once the installation is completed - you can check if the installation was successful by switching to Powershell using pwsh command.
% brew install --cask powershell
Downloading https://github.com/PowerShell/PowerShell/releases/download/v7.2.1/powershell-7.2.1-osx-arm64.pkg
...
...
==> Running installer for Powershell; your password may be necessary.
Package installers may write to any location; options such as `--appdir` are ignored.
Password:
installer: Package name is PowerShell - 7.2.1
installer: Installing at base path /
installer: The installation was successful.
🍺  powershell was successfully installed!
I
If on macOS Ventura 13.0 or higher
- Run the below command in a terminal,
brew tap homebrew/cask-versions - Install PowerShell command,
brew install --cask powershell-preview - Running PowerShell Preview Prompt:
pwsh-preview
Facing issues? Have Questions? Post them here! I am happy to answer!
Author Info:
Rakesh (He/Him) has over 14+ years of experience in Web and Application development. He is the author of insightful How-To articles for Code2care.
Follow him on: X
You can also reach out to him via e-mail: rakesh@code2care.org
More Posts related to Powershell,
- How to upgrade PowerShell on Mac
- How to install AWS CLI 2 on Windows 11 using PowerShell
- How to switch to Powershell on Mac Terminal
- How to connect to Microsoft Exchange Online using PowerShell
- How to Check PowerShell Version? [Windows/Mac/Linux]
- How to Comment out Code in PowerShell Script
- How to Identify installed PowerShell version
- How to install PowerShell on macOS
- Open PowerShell Terminal in Visual Studio Code (VSCode)
- PowerShell ps1 script is not digitally signed, you cannot run this script on the current system
- Update Powershell Using Command Line
- PowerShell 1..10 foreach Example
- PowerShell Fix: Get-Help cannot find the Help files for this cmdlet on this computer
- List of PowerShell Cmdlet Commands for Mac
- Help or Man equivalent in PowerShell
- PowerShell SubString with Examples
- PowerShell: How to Get Folder Size
- PowerShell Traditional For Loop Example
- PowerShell Switch Statement with Examples
- PowerShell Concatenate String Examples
- PowerShell For Each Loop Examples
- PowerShell: Grep Command Alternative - Select-String
- How to delete a file using PowerShell [Windows/macOS]
- Fix: nano is not recognized as an internal or external command - Windows PowerShell
- PowerShell on Mac: The term get-service is not recognized as a name of a cmdlet, function, script file, or executable program
More Posts:
- Fix: pip install mysqlclient error: subprocess-exited-with-error - MySQL
- Terminal Command to get the list of available shells in macOS - MacOS
- Top 10 emerging breakthrough trending technologies - HowTos
- Is Java 20 an LTS Version? - Java
- [fix] Java Spring Boot JPA SQLSyntaxErrorException: Encountered user at line 1 column 14 - Java
- How to Install Python Modules in VS Code - Python
- Python Named Tuples Examples - Python
- How to use Autocomplete and Autosuggestion in Shell Commands - Bash