If you want to install AWS CLI 2 on your Windows 11 PC using PowerShell, you can follow the below steps.
- Open PowerShell on your Windows.
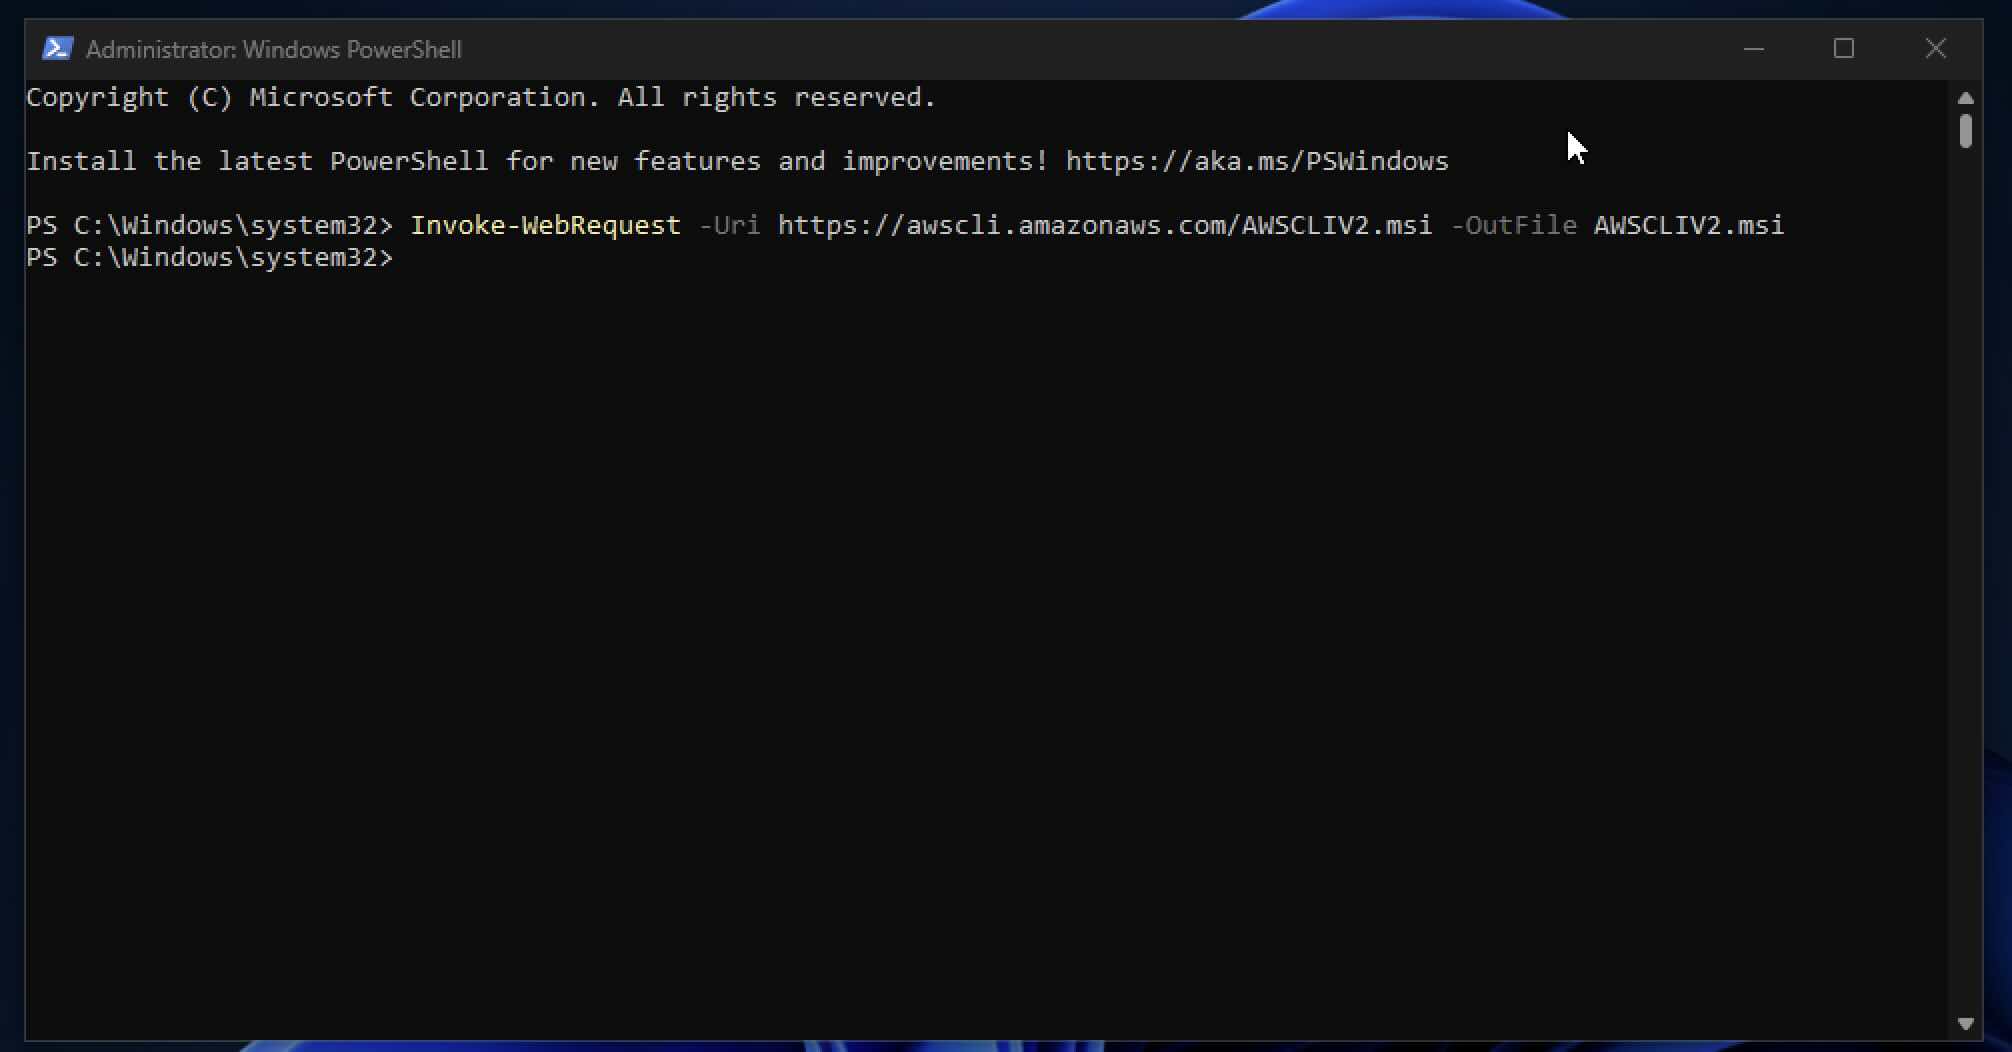
- Download AWS CLI 2 and run the below cmdlet command.
Logs:Invoke-WebRequest -Uri https://awscli.amazonaws.com/AWSCLIV2.msi -OutFile AWSCLIV2.msiWriting web request Writing request stream... (Number of bytes written: 19774898) - Next to install the setup, run the command,
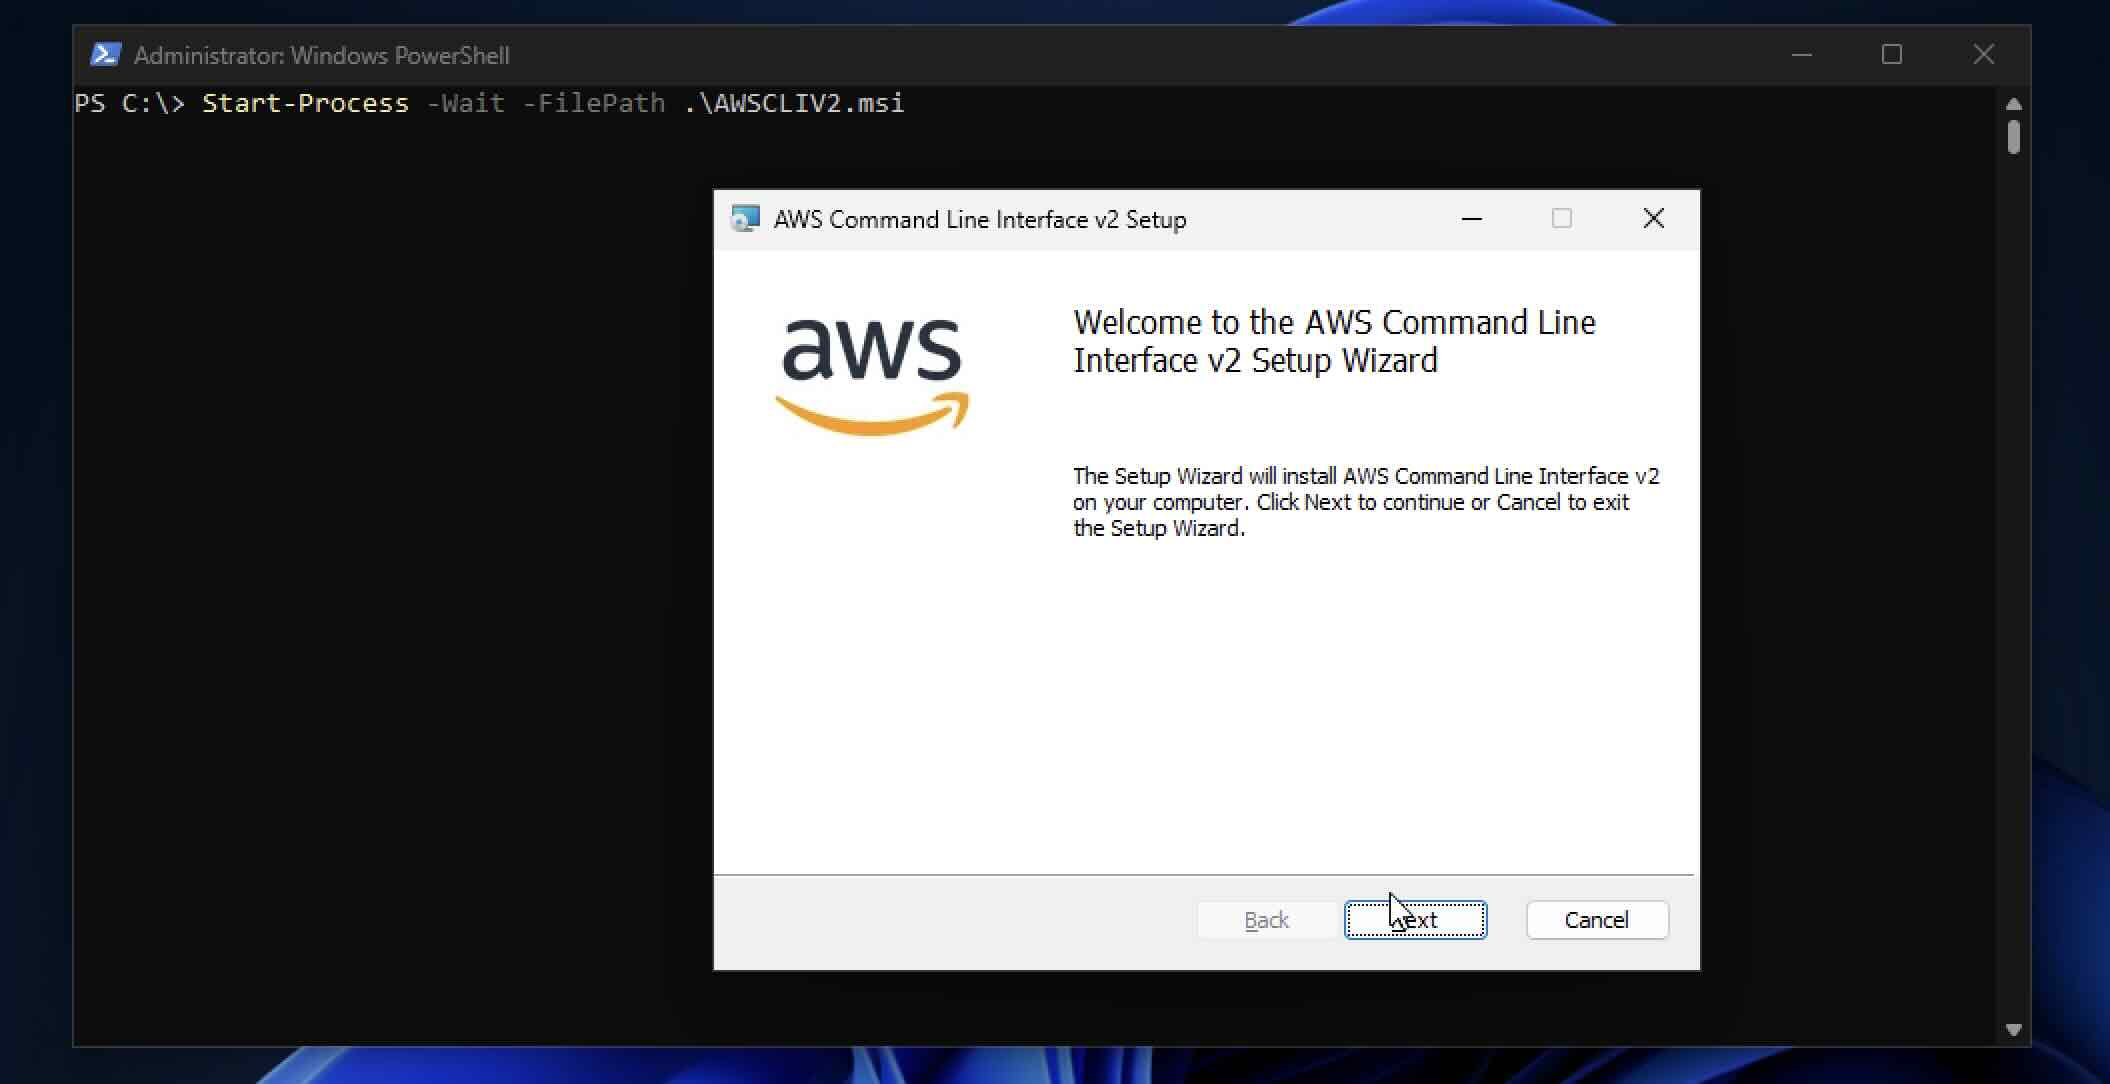
Start-Process -Wait -FilePath .\AWSCLIV2.msi - Finally to check the CLI was installed correctly, run the version command.
PS C:\Users\Sam> aws --version

aws-cli/2.13.22 Python/3.11.5 Windows/10 exe/AMD64 prompt/off


If you want to perform a silent installation, you can run the command as follows.
Start-Process -Wait -FilePath msiexec.exe -ArgumentList '/i .\AWSCLIV2.msi /qn'Facing issues? Have Questions? Post them here! I am happy to answer!
Author Info:
Rakesh (He/Him) has over 14+ years of experience in Web and Application development. He is the author of insightful How-To articles for Code2care.
Follow him on: X
You can also reach out to him via e-mail: rakesh@code2care.org
More Posts related to Powershell,
- How to upgrade PowerShell on Mac
- How to install AWS CLI 2 on Windows 11 using PowerShell
- How to switch to Powershell on Mac Terminal
- How to connect to Microsoft Exchange Online using PowerShell
- How to Check PowerShell Version? [Windows/Mac/Linux]
- How to Comment out Code in PowerShell Script
- How to Identify installed PowerShell version
- How to install PowerShell on macOS
- Open PowerShell Terminal in Visual Studio Code (VSCode)
- PowerShell ps1 script is not digitally signed, you cannot run this script on the current system
- Update Powershell Using Command Line
- PowerShell 1..10 foreach Example
- PowerShell Fix: Get-Help cannot find the Help files for this cmdlet on this computer
- List of PowerShell Cmdlet Commands for Mac
- Help or Man equivalent in PowerShell
- PowerShell SubString with Examples
- PowerShell: How to Get Folder Size
- PowerShell Traditional For Loop Example
- PowerShell Switch Statement with Examples
- PowerShell Concatenate String Examples
- PowerShell For Each Loop Examples
- PowerShell: Grep Command Alternative - Select-String
- How to delete a file using PowerShell [Windows/macOS]
- Fix: nano is not recognized as an internal or external command - Windows PowerShell
- PowerShell on Mac: The term get-service is not recognized as a name of a cmdlet, function, script file, or executable program
More Posts:
- How to add password to pdf file for opening, editing, printing, copying - HowTos
- How to call a SQL StoredProcedure from Hibernate - Java
- Save current timestamp in MySQL using PHP mysqi binding - PHP
- Merge-SPlogfile PowerShell - SharePoint Correlation ID error - SharePoint
- How to change user image icon macOS Big Sur - MacOS
- How to Sync Microsoft Teams Calendar with Mac Calendar - Microsoft
- Difference between using Scanner Class and String args for user input in Java - Java
- Mac - Steam Needs to Be Online to Update. Please confirm your network connection and try again error - News