Homebrew (brew) is the most popular package manager for macOS.
If you have purchased a new Mac or recently formatted it and want to install brew, follow the below easy steps.
Step 1: Open Terminal app
Step 2: Run the below command
/bin/bash -c "$(curl -fsSL https://raw.githubusercontent.com/Homebrew/install/HEAD/install.sh)"Step 3: Add brew to .zshrc profile
One the installation is completed just copy the lines next to "Run these two commands in your terminal to add Homebrew to your PATH" and run them in terminal.
==> Next steps:

Run these two commands in your terminal to add Homebrew to your PATH:


echo 'eval "$(/opt/homebrew/bin/brew shellenv)"' >> /Users/mac-user/.zprofile
eval "$(/opt/homebrew/bin/brew shellenv)"

Run brew help to get started
- Further documentation:
https://docs.brew.sh
Step 4: Test Brew Installation
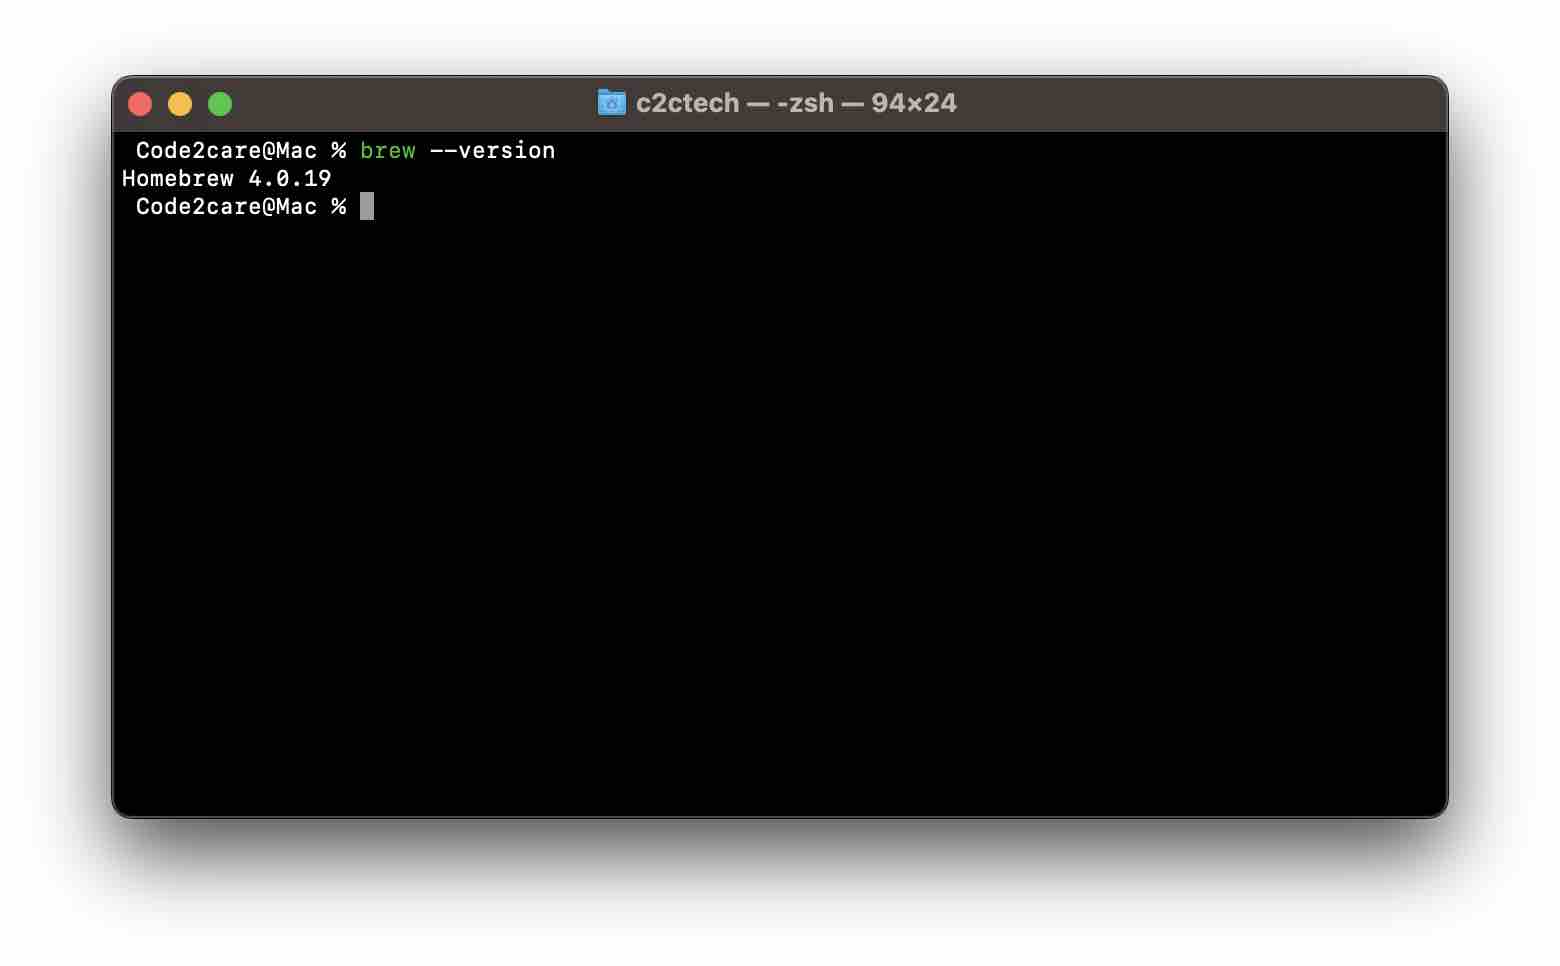
Run brew version command to see if it is installed correctly.
% brew --version

Homebrew 4.0.19
Facing issues? Have Questions? Post them here! I am happy to answer!
Author Info:
Rakesh (He/Him) has over 14+ years of experience in Web and Application development. He is the author of insightful How-To articles for Code2care.
Follow him on: X
You can also reach out to him via e-mail: rakesh@code2care.org
More Posts related to MacOS,
- Fix: grunt: command not found (Mac/Windows)
- AppleScript Example with TextEdit
- How to copy Password of Wifi on your Mac
- Install OpenJDK Java (8/11/17) versions using brew on Mac (Intel/M1/M2)
- How to check if a port is in use using terminal [Linux or macOS]
- Cut, Copy and Paste Keyboard Shortcuts on Mac Keyboard
- [macOS] NetBeans IDE cannot be installed. Java (JRE) found on your computer but JDK XX or newer is required.
- How to Remove Widgets from macOS Sonoma 14 Desktop
- Turn off Auto-Capitalization on macOS Ventura 13
- How to Go To /usr/local/bin on Mac Terminal?
- How to Open TextEdit on Mac
- Mac: How to Open Android Studio from Terminal
- How to change the default location of Mac Screenshot
- Display Seconds in Digital Clock on Mac Menu Bar [macOS]
- How to install homebrew (brew) on M1 Mac
- Must Know Homebrew Commands for Mac/Linux Users
- Steps to Uninstall Roblox on Mac (macOS)
- How to change the System Settings Sidebar icon size Mac Ventura 13
- How to set Out Of Office (OOO) on Outlook for Mac [Updated 2023]
- Trigger Notification Center Message using Mac Terminal Command
- [fix] macOS Ventura - Python3 xcrun: error: invalid active developer path missing xcrun at CommandLineTools
- How to Install Rust Language on Mac (macOS)
- How to minimize all Windows in Mac
- Display ls command file sizes in KB (kilobytes) MB (megabytes) or GB (gigabytes) [Linux/macOS]
- How to make TextEdit the default text Editor on Mac
More Posts:
- How to Disable Mac Terminal Bell Sound - MacOS
- How to Increase Mac Terminal Buffer Size - MacOS
- Rename a directory using Linux/Unix command - Linux
- Mac (macos) startup keyboard boot sequence combinations - MacOS
- How to Rename a Git Local Branch Using the --move Option - Git
- SQLite with Android Easy to Understand Tutorial that covers Select, Insert, Update and Delete - Android
- How to change directory in Git bash - Git
- 7 deadly java.lang.OutOfMemoryError in Java Programming - Java