If you want your Gradle tool to make use of a specific version of Java JDK, then you can follow the below steps.
Option 1:
- Open your Java Project that is based on Gradle Build.
- Make sure to set the JAVA_HOME environment variable to the JDK version you want to use.
- Now open the build.gradle file.
- Add the below lines.
tasks.withType(JavaCompile) {
    options.fork = true
    options.forkOptions.executable = "${System.getenv('JAVA_HOME')}/bin/javac"
}
Option 2:
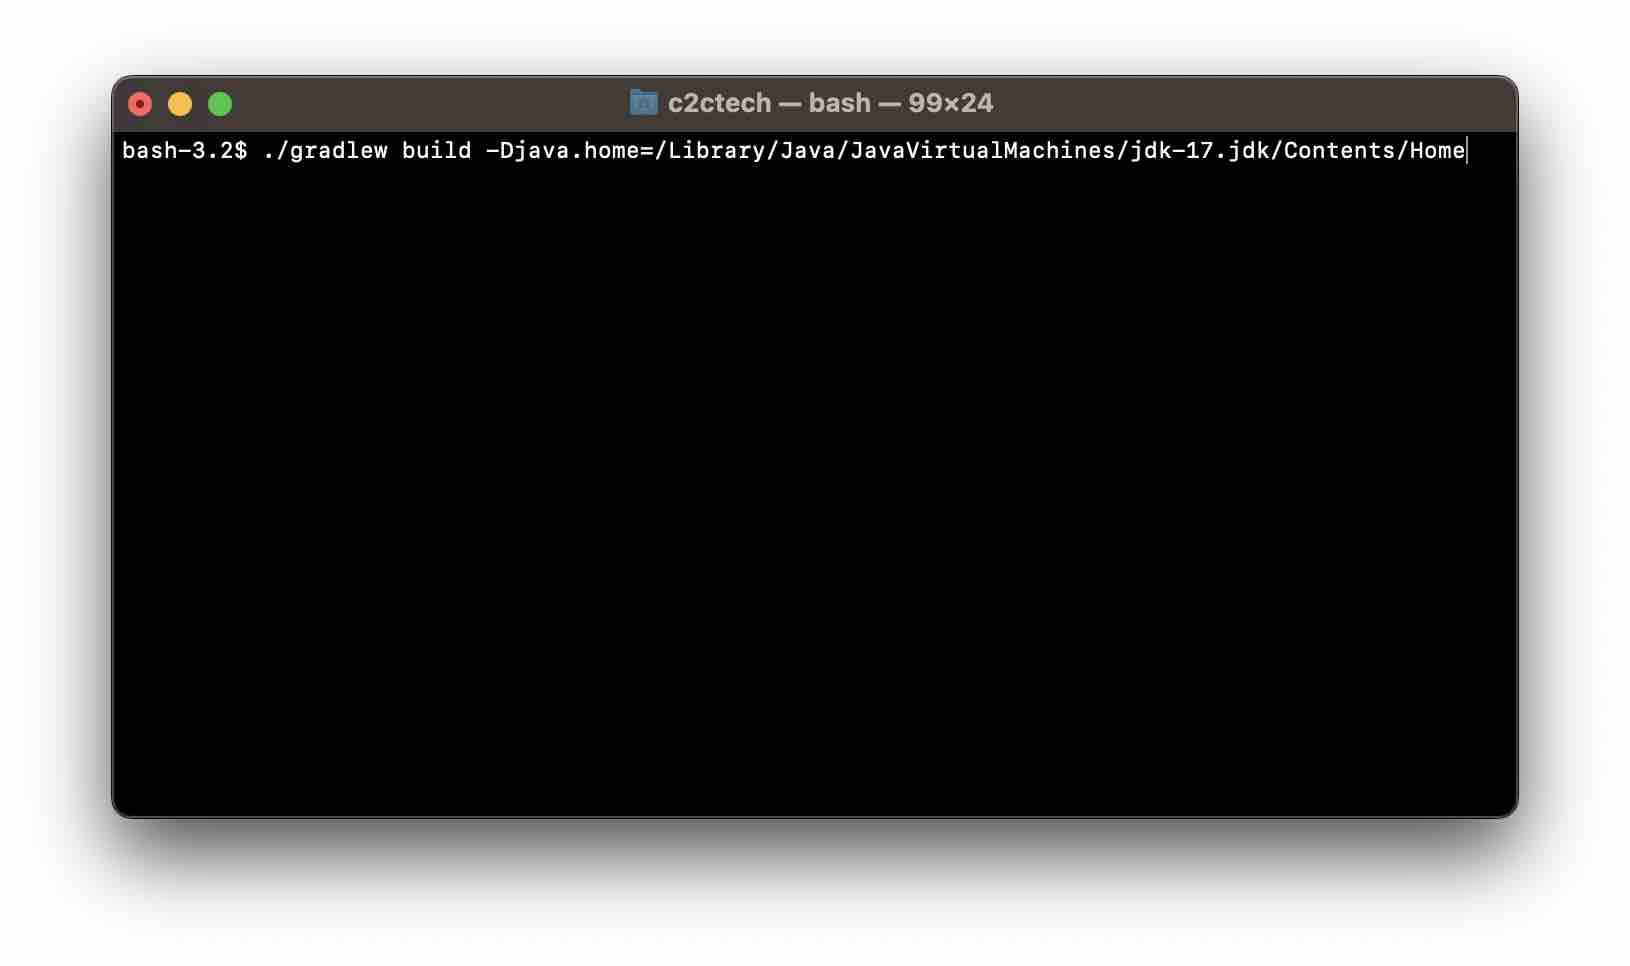
If you wish to not to change any configuration, you can do that by using the terminal to run the gradle build command with a -D option to force set the java.home temporarily.
./gradlew build -Djava.home=/path-to-your-java-jdk/
Facing issues? Have Questions? Post them here! I am happy to answer!
Author Info:
Rakesh (He/Him) has over 14+ years of experience in Web and Application development. He is the author of insightful How-To articles for Code2care.
Follow him on: X
You can also reach out to him via e-mail: rakesh@code2care.org
More Posts related to Gradle,
- Run only a Single Unit Test using Gradle
- Run IntelliJ Java main method without Gradle build
- How to force re-download Gradle Dependencies
- How to Run Gradle Build Without Unit Test Cases
- Find installed Gradle version command
- Fix: Invalid Gradle JDK configuration found. Could not find the required JavaSDK
- Generate Project Dependency tree using Gradle Command
- Installing Gradle on macOS - Gradle Tutorial
- Gradle FAILURE: Build failed with an exception - Task not found in root project
- [Fix] ./gradlew: Permission denied
- Force Gradle to use specific Java JDK Version
- [fix] Deprecated gradle features were used in this build, making it incompatible with Gradle X.0
- Create a Gradle Java Project in VS Code
- Install Gradle VS Code for Java Projects
- Fix: Unsupported Java. Your build is currently configured to use Java 17.0.5 and Gradle 7.1.
- How to create Gradle Multi-Project in IntelliJ
- Fix: Spring Boot + IntelliJ + Gradle : Unsupported class file major version 64 Error
- Fix: Error: Could not find or load main class org.gradle.wrapper. GradleWrapperMain
- [fix] bash: gradlew: command not found
- [fix] Execution failed for task :core:compileJava - Could not find tools.jar
- Run Gradle Build without test cases
- How to add maven central repository in build.gradle
- Upgrade Gradle in Android Studio
- Task is ambiguous in root project gradle-examples. Candidates are: myTask1, myTask2
- Fix: Deprecated Gradle features were used in this build, making it incompatible with Gradle
More Posts:
- Record Audio and Save on System Tool - Tools
- How to disable warnings while Python file execution - Python
- How to exit from nano command - Linux
- Turn Off Google Analytics intelligence Alert Emails - Google
- How to tar.gz a directory or folder Command - Linux
- How to Exit a File in Terminal (Bash/Zsh) - Linux
- clear is not recognized as an internal or external command operable program or batch file. - DOS
- How to change Android Titlebar theme color from Purple - Android