
Option 1: Using the Mouse/Macbook Trackpad
Steps:
- Step 1: Open the Excel Spreadsheet on using Excel for Mac.
- Step 2: Now select the complete column or columns that you want to move by clicking on the column letter at the top of the spreadsheet e.g. B, C, D...
- Step 3: Now just move the cursor to the edge of any of the selected cells, and you will see the cursor change from an arrow to a "Grabbed Glove" one, now if you press your mouse (if using iMac, or Mac Studio with a mouse) or press and hold your Macbook trackpad, you can simply move the column to the left or the right.
- Step 4: Leave holding the cursor once you get the columns where you want them.
To better understand how this works, follow the below gif (refresh the page if you do not see the gif in action)

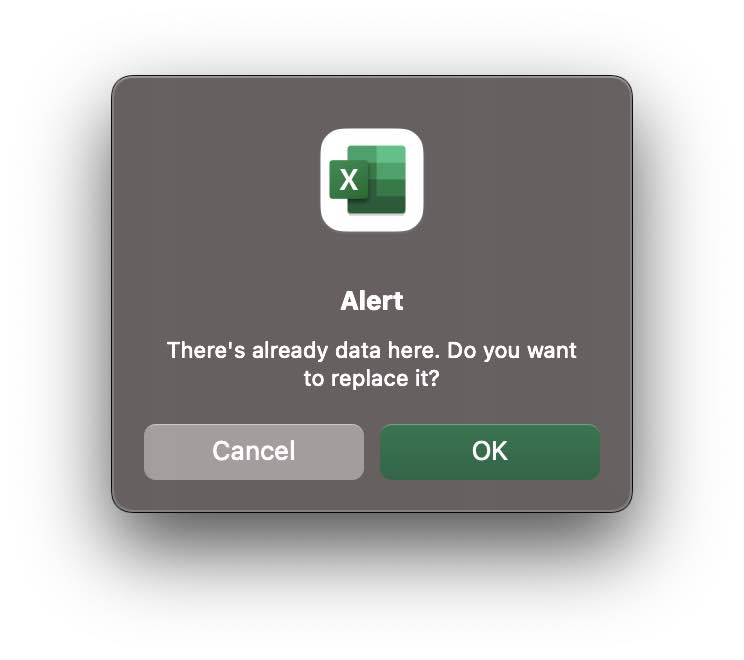
Note: If you try to move the column(s) over to existing data column(s) you will get an alert that the data will be replaced.
Let's take another way to achieve the same.
Option 2: Using Cut & Paste
Steps:- Step 1: Open the Excel Spreadsheet on using Excel for Mac.
- Step 2: Now select the complete column or columns that you want to move by clicking on the column letter at the top of the spreadsheet e.g. B, C, D...
- Step 3: Now control-click (right-click) and select option Cut.
- Step 4: Again control-click at the column(s) and select Paste to move the column(s).
Provide Feedback For This Article
We take your feedback seriously and use it to improve our content. Thank you for helping us serve you better!
😊 Thanks for your time, your feedback has been registered!
Comments & Discussion
Facing issues? Have questions? Post them here! We're happy to help!