
To display a Microsoft Excel Spreadsheet on SharePoint Site with its contents, you can make use of the File Viewer Web Part.
Steps:- Open SharePoint Page in edit mode,
- Now click on the + icon in the section where you want to display the Microsoft Excel spreadsheet,
- Now search for File Viewer and select it,

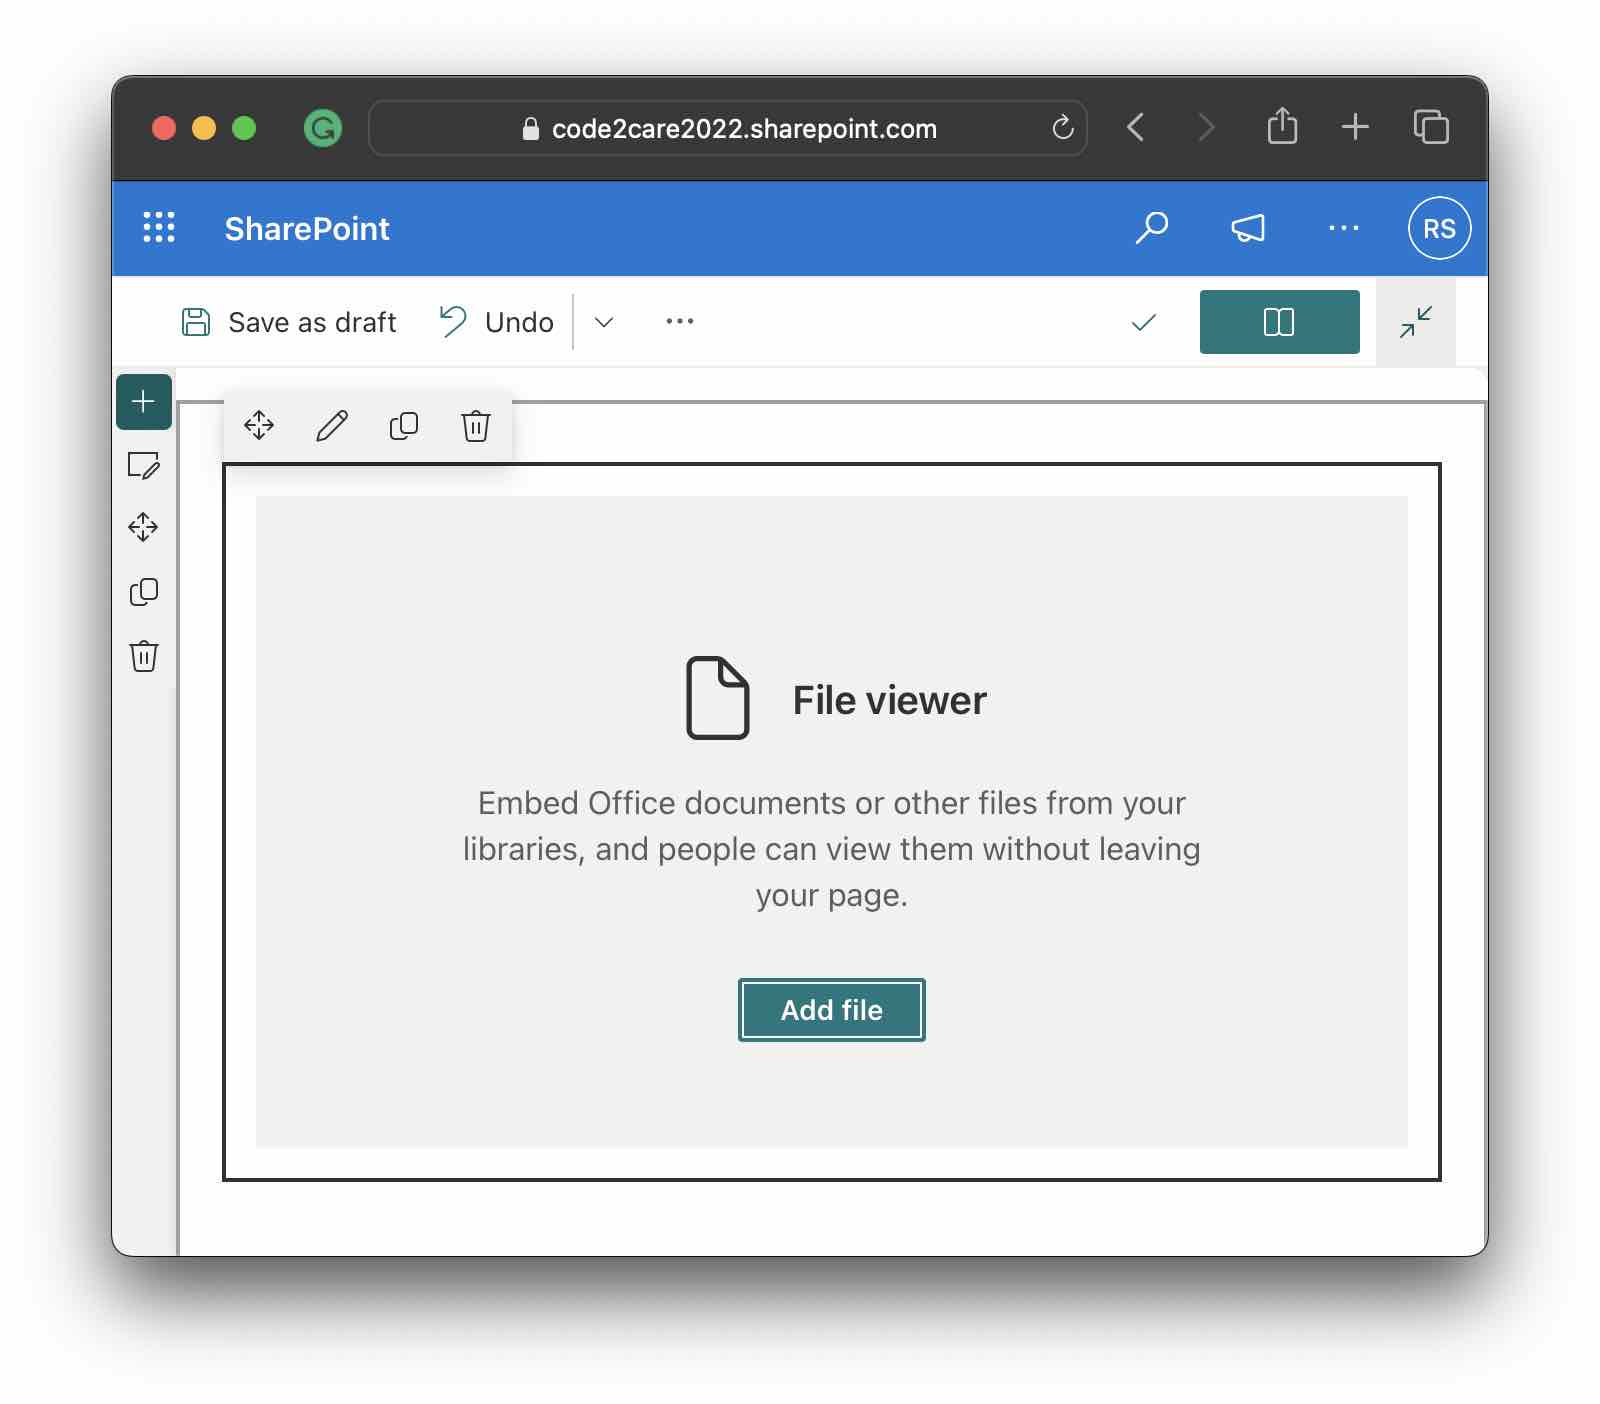
- Click on Add File and select an Excel Spreadsheet that you want to embed,
- You might see a message below just which you can select OK,
Just checking...
This item is from your OneDrive site. Files and folders in OneDrive are private unless you share them. Have you shared this file with your site members so they can access it? - The excel Spreadsheet will be embedded on the page, Republish to apply changes.
More Excel sheet display options
Click on the "Edit Web Part" icon to see extra options for embedding the spreadsheet.

You can choose from the options available to display a chart, table, range, or the entire workbook.
When you choose the entire workbook, you can choose from the below options,
- Show grid lines
- Show row and column headers
- Allow sorting and filtering columns
You will need to provide the chart/table name from the Excel sheet if you go with the chart/table option.
The Range options is the one you may use if you want to display a specific section of the sheet. You will need to provide the below details,
- Sheet name
- Starting cell
- Ending cell
If you provide an incorrect Excel sheet name you will get an error - "Unable to display named item"


Provide Feedback For This Article
We take your feedback seriously and use it to improve our content. Thank you for helping us serve you better!
😊 Thanks for your time, your feedback has been registered!
Comments & Discussion
Facing issues? Have questions? Post them here! We're happy to help!