
In this tutorial, we take a look at how to setup JUnit 4 with IntelliJ IDE and Maven.
Start typing to search commands...
Press Enter to search or Esc to close
In this tutorial, we take a look at how to setup JUnit 4 with IntelliJ IDE and Maven.
Open IntelliJ IDE and click on New Project button, or go to the menu option File -> New -> Project...

Make sure to select the Build System as Maven.

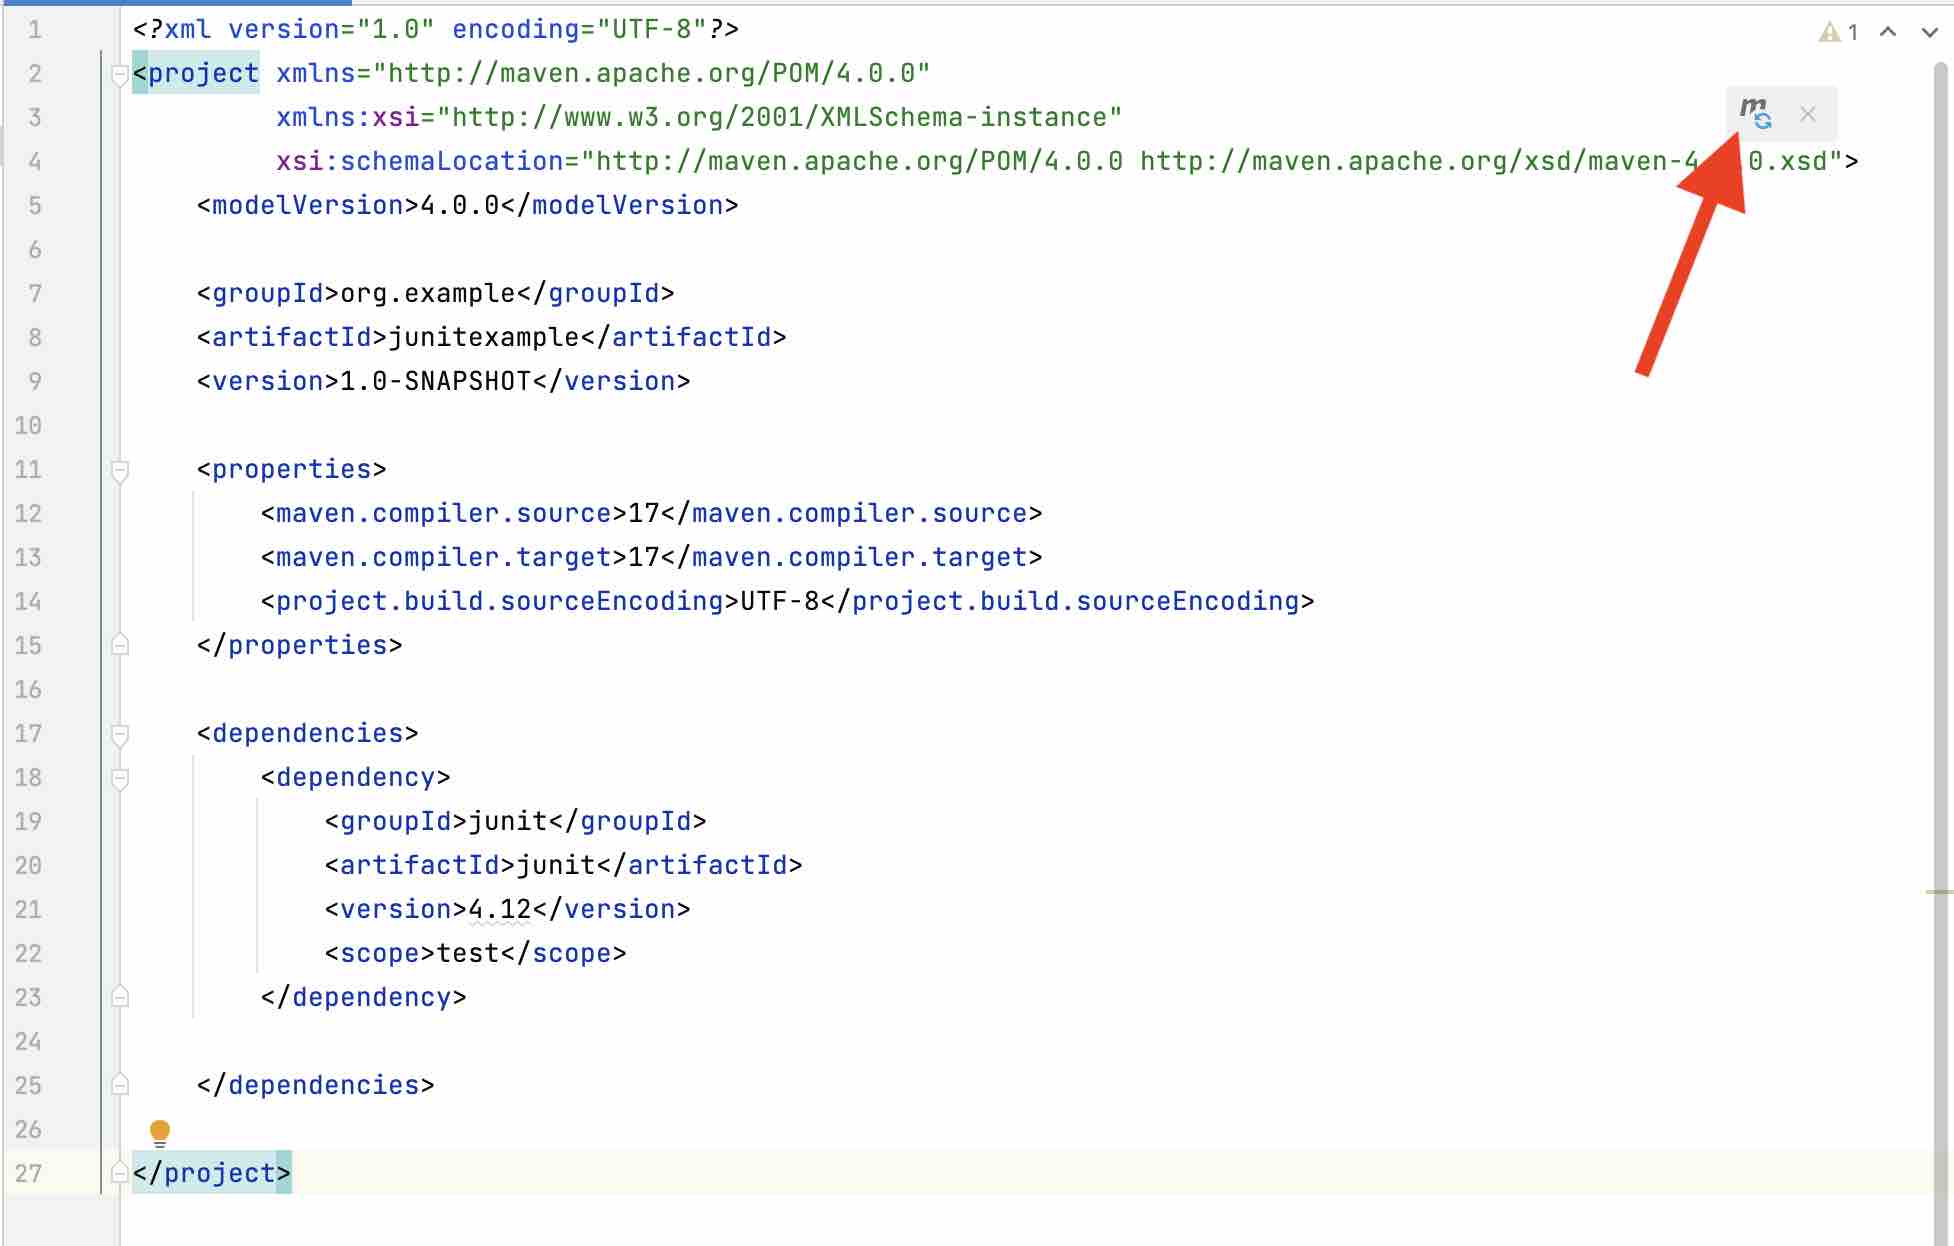
In the project folder, open the pom.xml file.
Add the below junit 4 dependency to your pom.xml file.
    <dependencies>
        <dependency>
            <groupId>junit</groupId>
            <artifactId>junit</artifactId>
            <version>4.12</version>
            <scope>test</scope>
        </dependency>
    </dependencies>
Make sure to "Load Maven Changes" so the required jar files get downloaded.
Create a class TestJunit.java under src -> test -> java
import org.junit.Test;
import static org.junit.Assert.*;

public class TestJunit {

    @Test
    public void test1() {

        int expectedResult =  20;
        int actualResult = 20; //for testing

        assertEquals(expectedResult,actualResult);
    }

    @Test
    public void test2() {

        int expectedResult =  20;
        int actualResult = 19; //for testing

        assertEquals(expectedResult,actualResult);
    }


}
Now right-click on this class file and select - "Run TestJunit with Coverage", you should see one test pass and another fails.
We take your feedback seriously and use it to improve our content. Thank you for helping us serve you better!
😊 Thanks for your time, your feedback has been registered!
Comments & Discussion
Facing issues? Have questions? Post them here! We're happy to help!