
If you are about to start with a new Java project in IntelliJ IDE and you want that project to be in a Git repository, follow the below steps,
- Open the IntelliJ IDE (I am using the Community Edition)
- Click on the New Project button.

- Select Empty Project from side bar.
- Add the name of the project.
- Make sure to click on "Create Git repository".
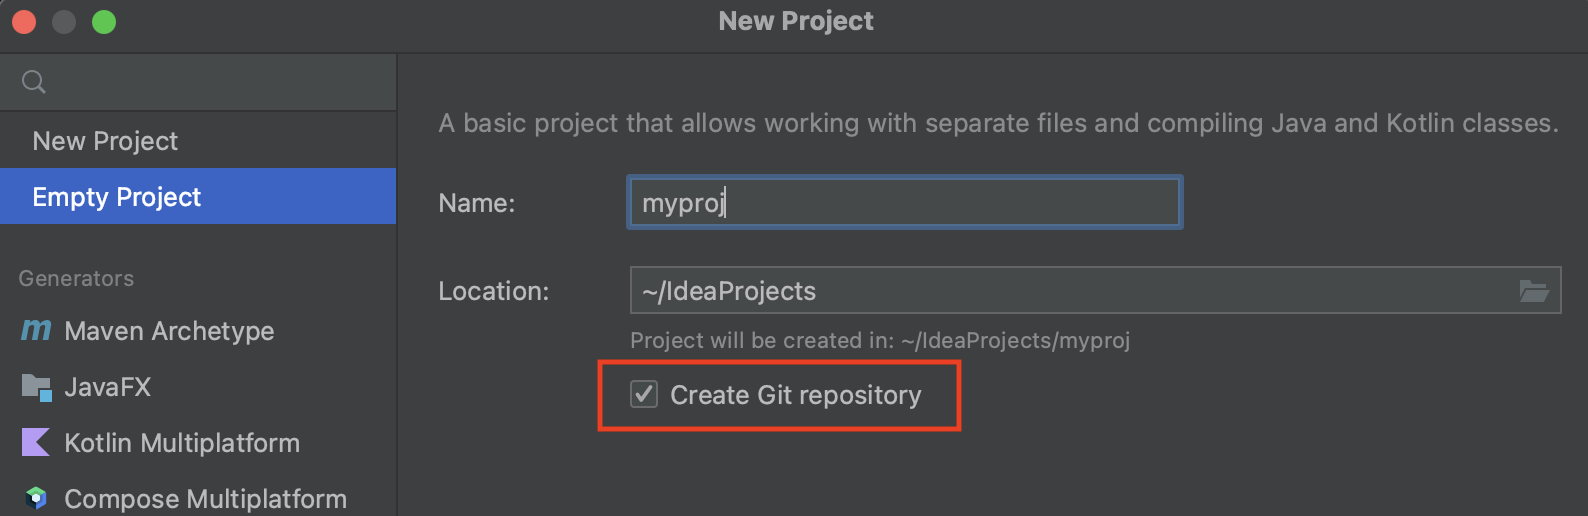
- Click create.
You will see that the project has a git branch created with a local main branch.
Once you create the first file for the project you will be prompted with "Do you want to add the following file to Git?"

Converting Existing non-version controlled Project into a Git Project
If you have an existing project that is not version controlled, you can simply open the project in IntelliJ and click on "Version Control" on the status bar and select the "Create a Git repository" option to convert it into a git repo.

Once the project is converted to a Git repo, you will see that the "Version Control" has changed to "Git"

Provide Feedback For This Article
We take your feedback seriously and use it to improve our content. Thank you for helping us serve you better!
😊 Thanks for your time, your feedback has been registered!
Comments & Discussion
Facing issues? Have questions? Post them here! We're happy to help!