
We will make use of Spring Boot RabbitMQ dependency to create our Topic Exchange and a Queue.
Make sure to add the spring-boot-starter-amqp to the build.gradle file.
implementation 'org.springframework.boot:spring-boot-starter-amqp'RabbitmqApplication.java
package org.code2care.rabbitmq;

import org.springframework.amqp.rabbit.annotation.EnableRabbit;
import org.springframework.boot.SpringApplication;
import org.springframework.boot.autoconfigure.SpringBootApplication;

@SpringBootApplication
@EnableRabbit
public class RabbitmqApplication {

	public static void main(String[] args) {
		SpringApplication.run(RabbitmqApplication.class, args);
	}
}
RabbitMQConfig.java
package org.code2care.rabbitmq;

import org.springframework.amqp.core.Queue;
import org.springframework.amqp.core.TopicExchange;
import org.springframework.amqp.rabbit.connection.ConnectionFactory;
import org.springframework.amqp.rabbit.core.RabbitAdmin;
import org.springframework.context.annotation.Bean;
import org.springframework.context.annotation.Configuration;

@Configuration
public class RabbitMQConfig {

    private static final String EXCHANGE_NAME = "processor_exchange";
    private static final String QUEUE_NAME = "collector_queue";

    @Bean
    public TopicExchange exchange() {
        System.out.println("Topic Exchange created!");
        return new TopicExchange(EXCHANGE_NAME);
    }

    @Bean
    public Queue queue() {
        return new Queue(QUEUE_NAME, true);
    }

    @Bean
    public RabbitAdmin rabbitAdmin(ConnectionFactory connectionFactory) {
        return new RabbitAdmin(connectionFactory);
    }

}
TopicMessageConsumer.java
package org.code2care.rabbitmq;

import org.springframework.amqp.rabbit.annotation.RabbitListener;
import org.springframework.stereotype.Component;

@Component
public class TopicMessageConsumer {

    @RabbitListener(queues = "collector_queue")
    public void processMessage(String message) {
        System.out.println("Received a message: " + message);
    }
}
Let's test by publishing a message to our queue via the RabbitMQ Management Console on http://localhost:15672
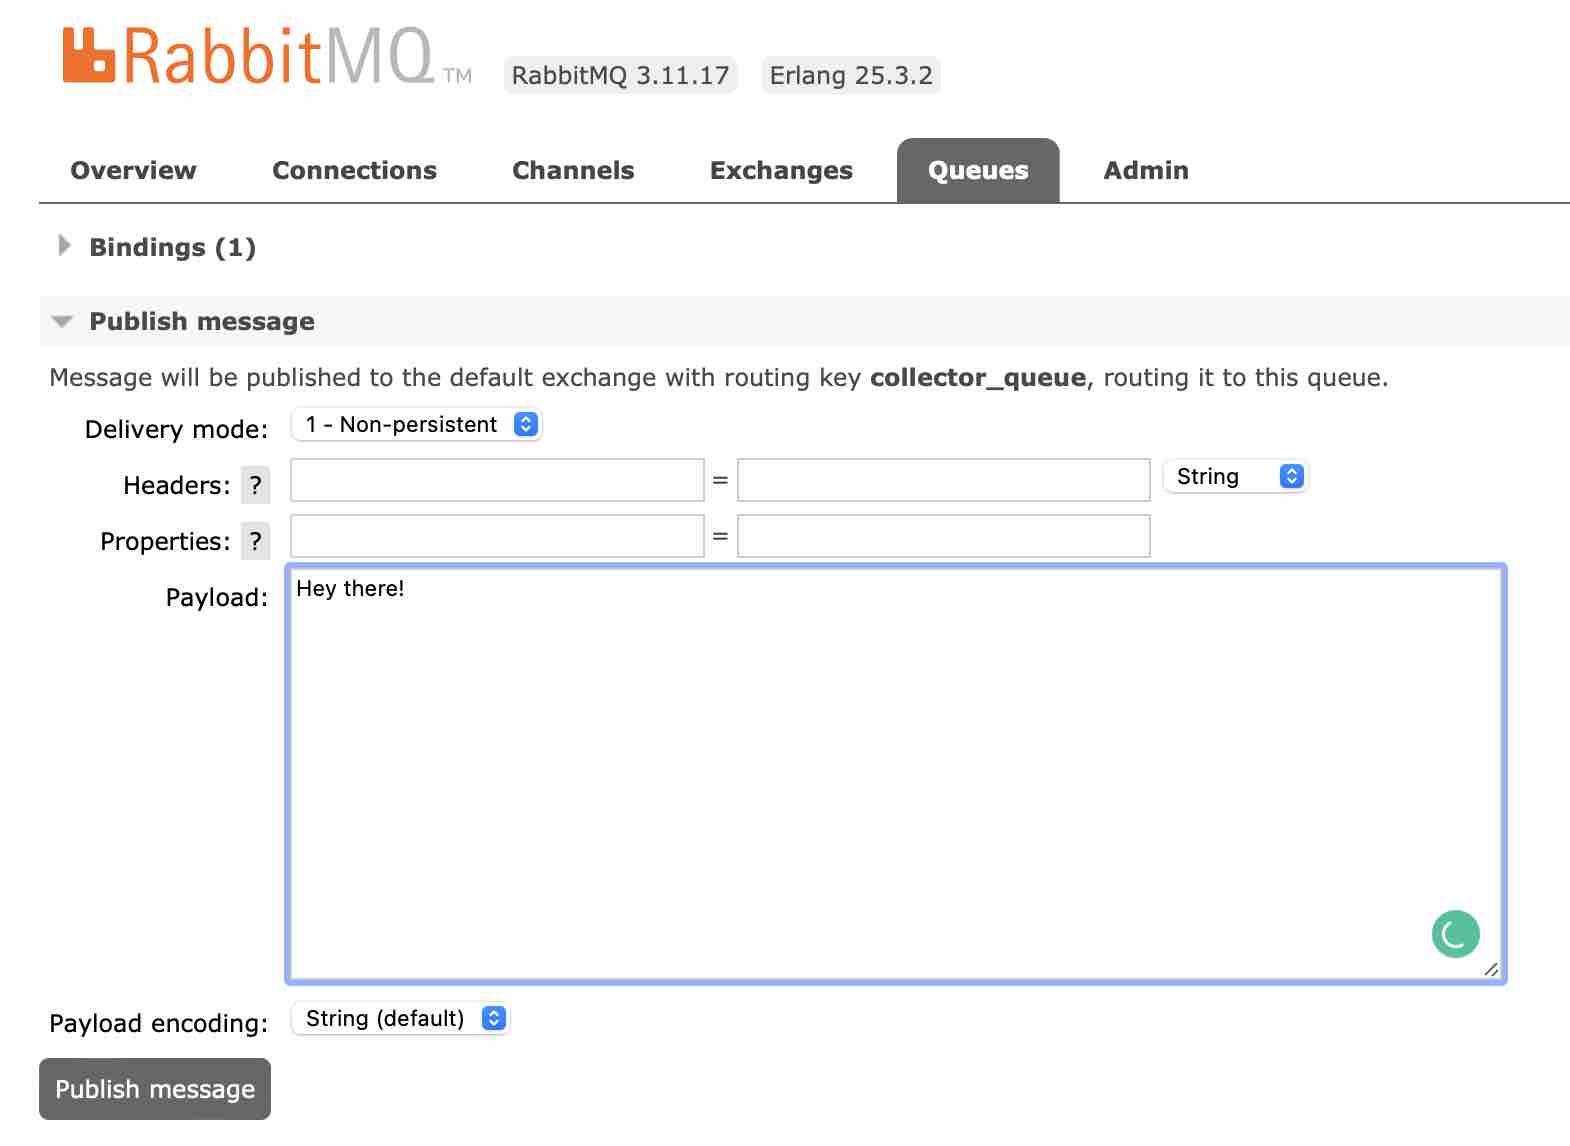
Received a message: Hey there!Provide Feedback For This Article
We take your feedback seriously and use it to improve our content. Thank you for helping us serve you better!
😊 Thanks for your time, your feedback has been registered!
Comments & Discussion
Facing issues? Have questions? Post them here! We're happy to help!