If you have a requirement to develop a simple application using Spring Boot that runs on the Console (Terminal) then you can follow below two easy steps to get started,
Step 1: Project Dependencies
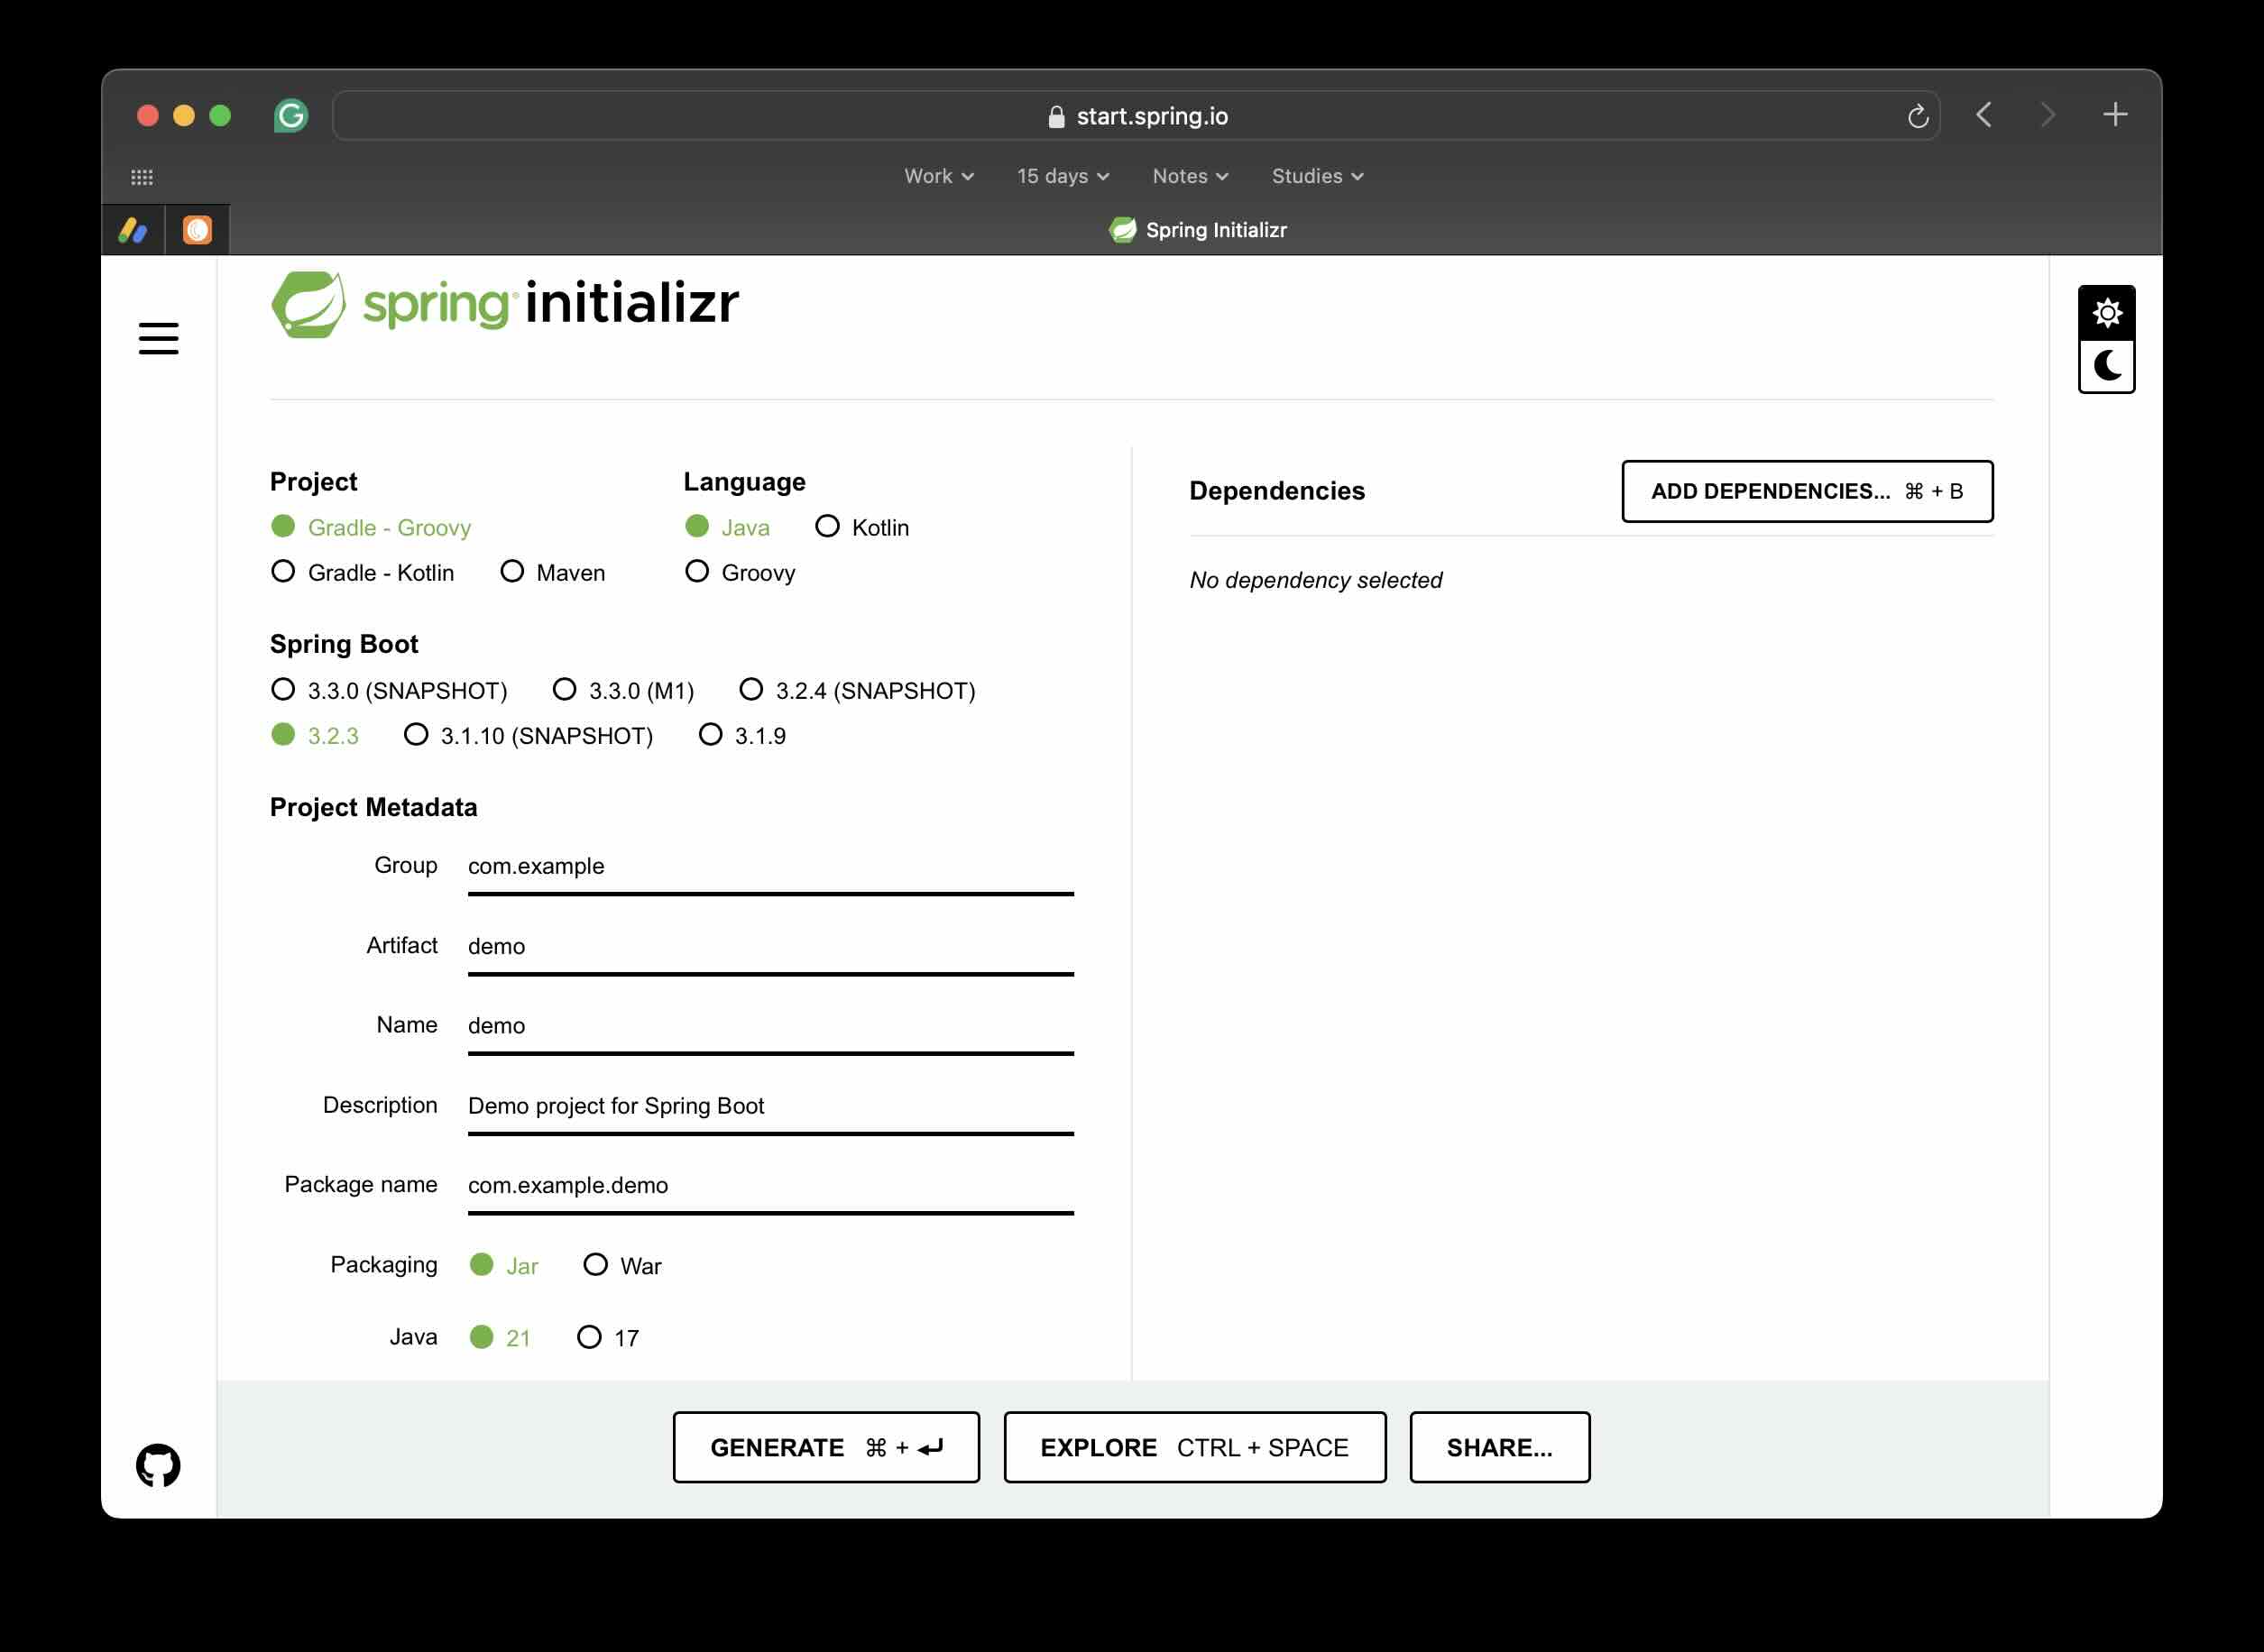
Go to start.spring.io and do not choose any dependencies and hit Generate.
You only need one starter dependency i.e. 'org.springframework.boot:spring-boot-starter'
Build.gradle:dependencies {
implementation 'org.springframework.boot:spring-boot-starter'
}<dependencies>
<dependency>
<groupId>org.springframework.boot</groupId>
<artifactId>spring-boot-starter</artifactId>
</dependency>
</dependencies>Step 2: Make Application class implement CommandLineRunner
Now all you need to do is open the Application class (one with annotation @SpringBootApplication) and make it implement CommandLineRunner.
Next, you need to override the run() method where you add your logic for your command-line application.
package org.code2care.demo;

import org.springframework.boot.CommandLineRunner;
import org.springframework.boot.SpringApplication;
import org.springframework.boot.autoconfigure.SpringBootApplication;
import org.springframework.context.ApplicationContext;
import org.springframework.context.support.ClassPathXmlApplicationContext;

@SpringBootApplication
public class DemoApplication implements CommandLineRunner {

    public static void main(String[] args) {
        SpringApplication.run(DemoApplication.class, args);

        ApplicationContext applicationContext = new ClassPathXmlApplicationContext("applicationConfig.xml");
        Employee employee = applicationContext.getBean("employee", Employee.class);

    }

    @Override
    public void run(String... args) throws Exception {
        System.out.println("This is it!");
    }
}

This is not an AI-generated article but is demonstrated by a human using Java 21, IntelliJ, and Spring Boot 3.
Please support independent contributors like Code2care by donating a coffee.
Buy me a coffee!
Comments & Discussion
Facing issues? Have questions? Post them here! We're happy to help!