
Below are steps with screenshots on how to install MySQL Workbench on Mac running on M1/M2 ARM Apple Chip.
Step 1: Download the Setup for M1/M2 ARM Mac
Visit the download page: https://dev.mysql.com/downloads/workbench/ and make sure to select the below option,
> Select Operating System: macOS
> Select OS Version: macOS (ARM, 64-bit)
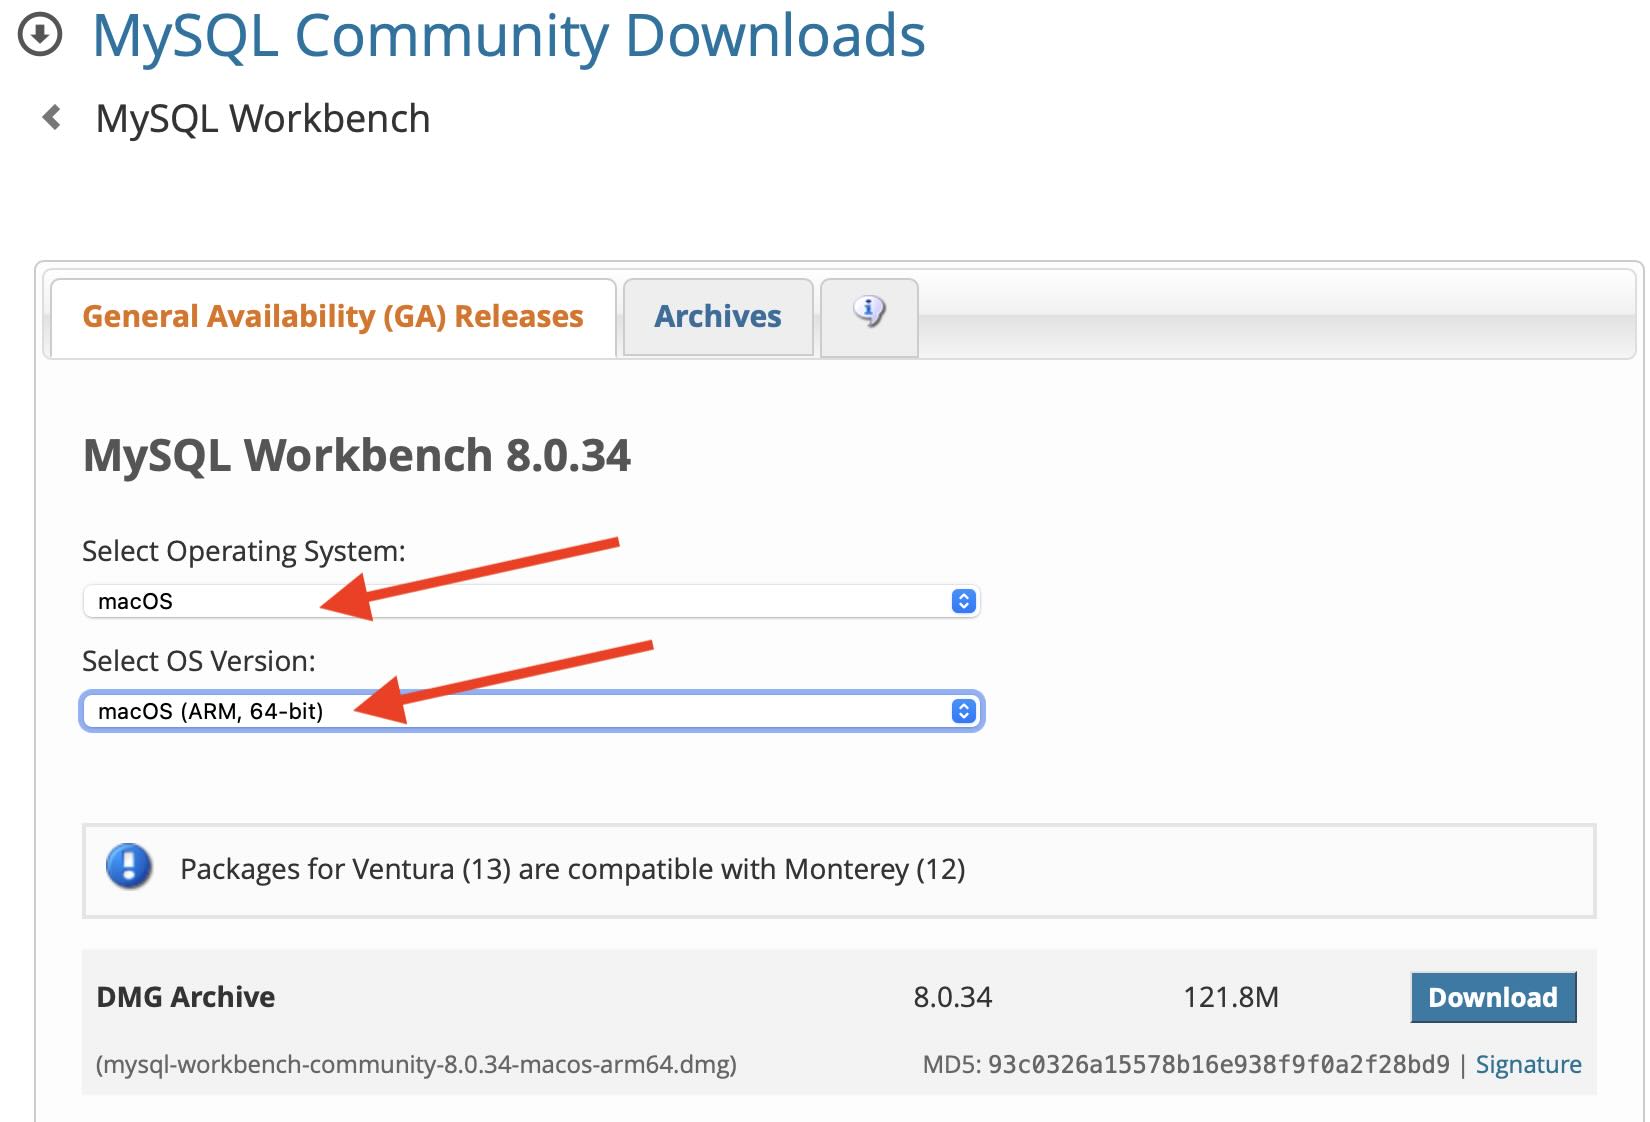
Hit the download button and you would be asked to log in with your MySQL account, but you can skip this step by clicking the link "No thanks, just start my download."
Step 2: Installing MySQL
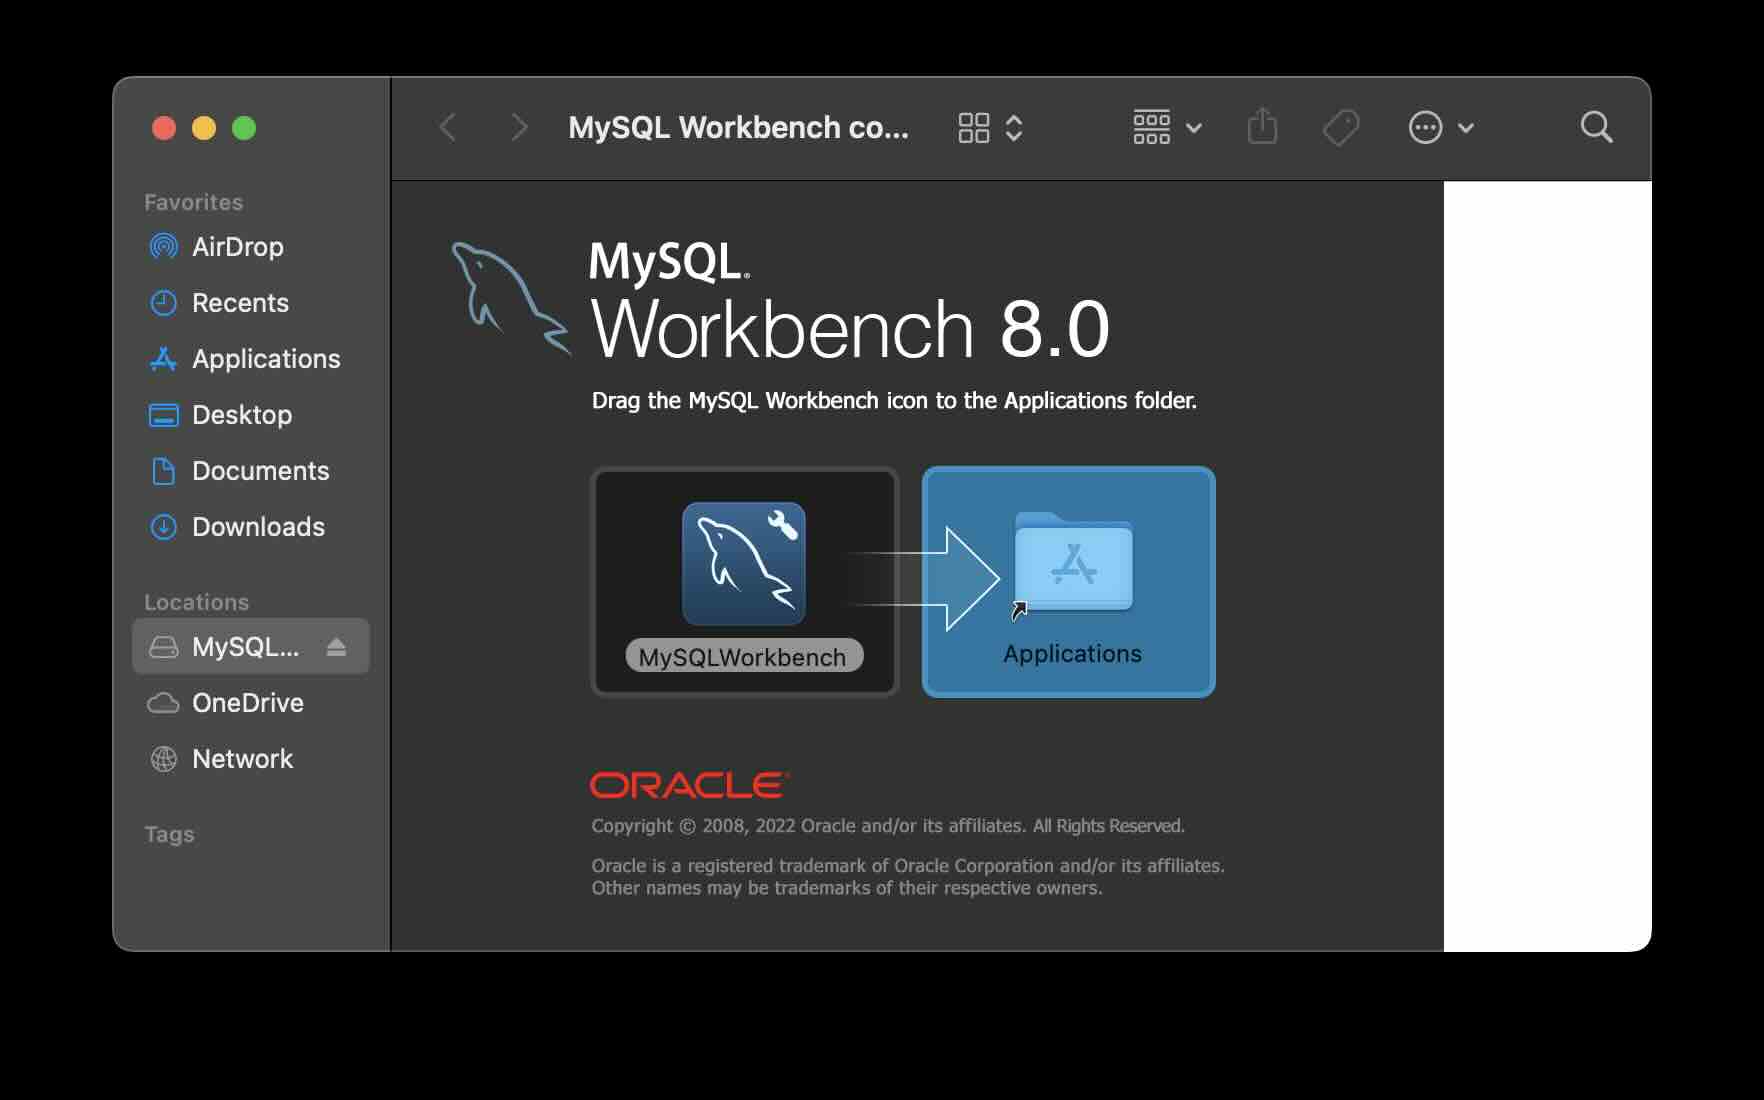
You should have the dmg setup downloaded mysql-workbench-community-8.x.xx-macos-arm64.dmg. Double-click on the installer and simply drag and drop it to the Applications folder.
Step 3: Eject the MySQL Setup
Control-Click (right-click) on the setup icon on your Mac desktop and select Eject.

Step 4: Open MySQL Workbench Application
Now open Stoplight Search (F4 on your Macbook or Command + Spacebar) and type MySQLWorkbench and open the app.
For the first time you will see a message ""MySQLWorkbench” is an app downloaded from the Internet. Are you sure you want to open it?", click on Open
You should now see the Welcome to MySQL Workbench page!
Provide Feedback For This Article
We take your feedback seriously and use it to improve our content. Thank you for helping us serve you better!
😊 Thanks for your time, your feedback has been registered!
Comments & Discussion
Facing issues? Have questions? Post them here! We're happy to help!