
Not long ago did Android developers came up with appcompat_v7 library that added Android Action-bar backward compatibility to devices that were running an older versions of Android OS (below Gingerbread). ActionBar has now be replaced by Toolbar since API level 21 (yeah Lollipop 5.0). The toolbar is a part of the Material Design UI that was introduced in L Preview, using appcompat-v7 version 21 you can make use of it to support older devices.
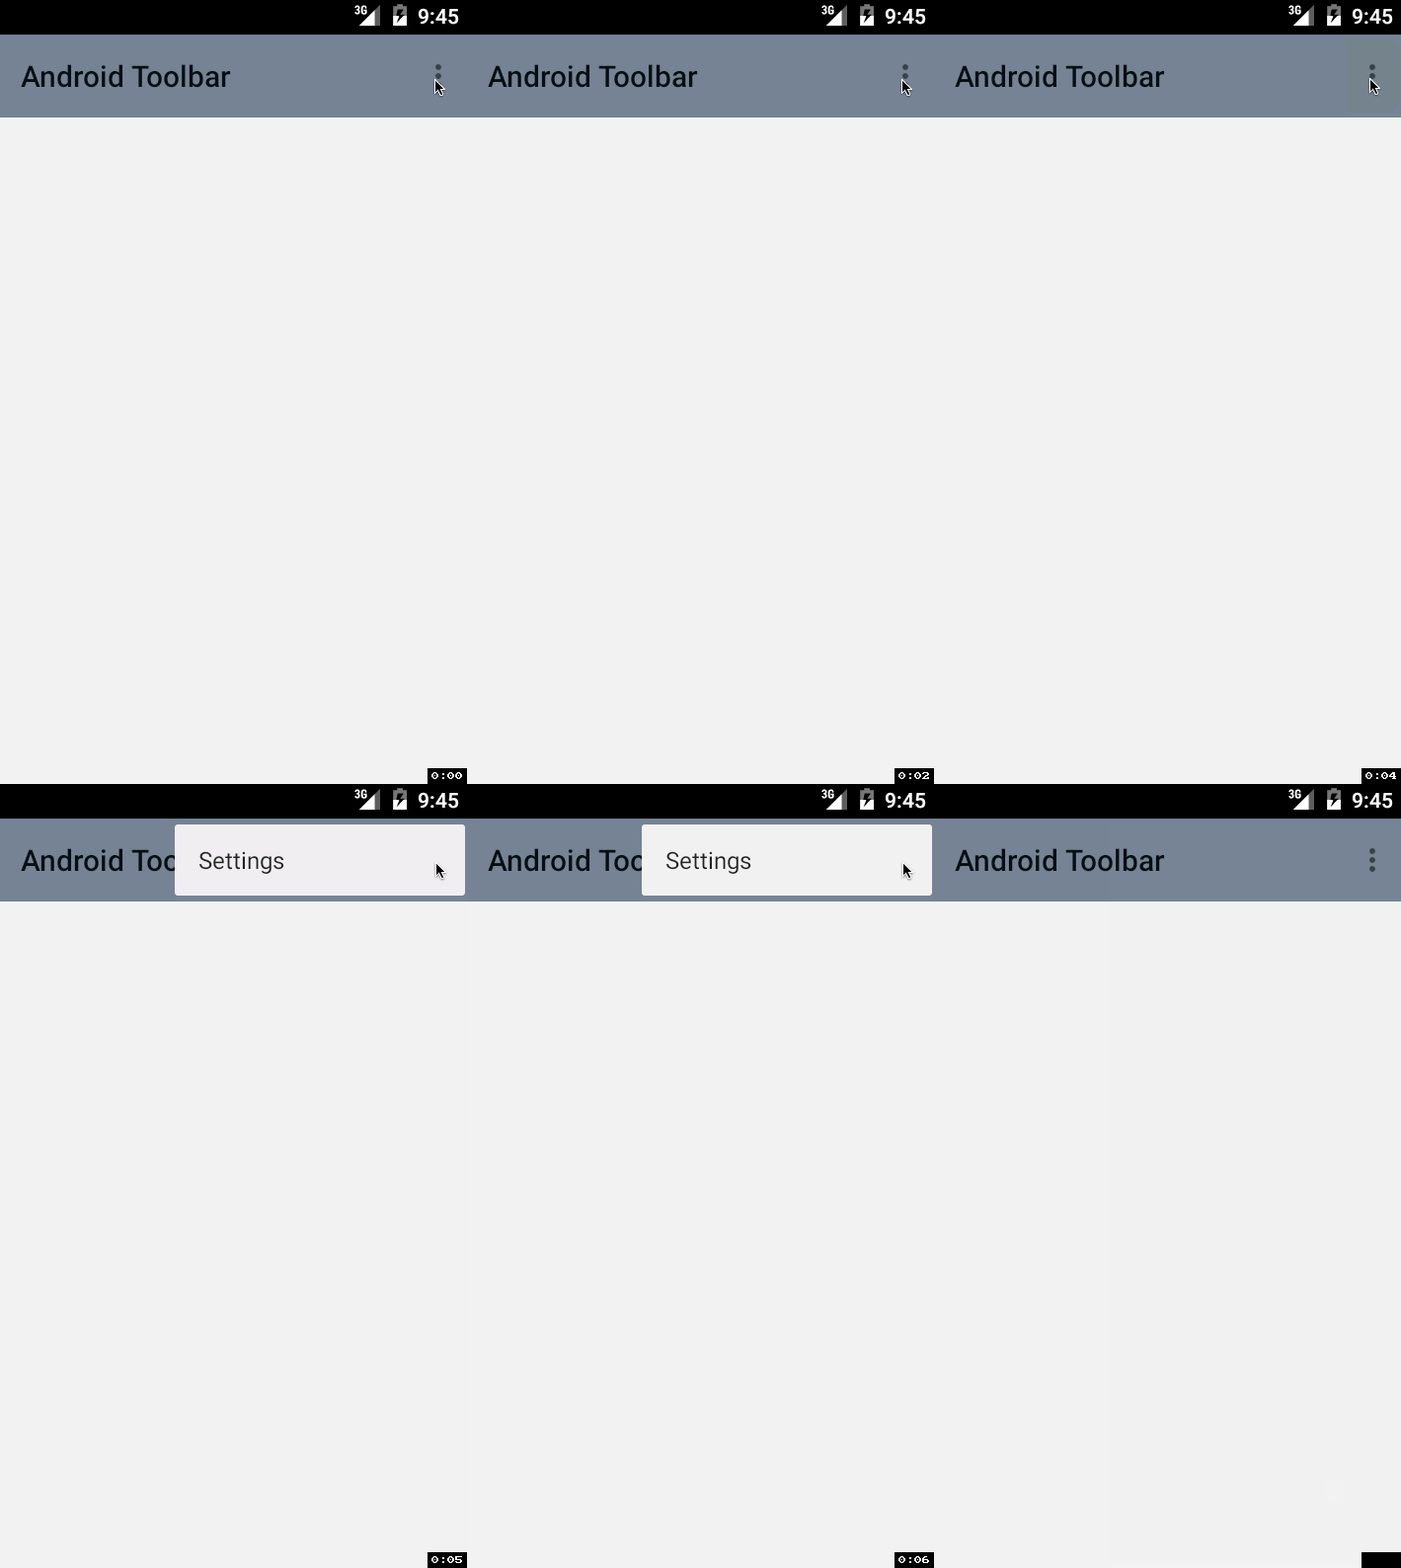
Toolbar is a general version of ActionBars. It can be used at any location of the Android View Layout (Activity), but in this tutorial, we will only see how we can use it as an Actionbar.
Implementing Toolbar using appcompat_v7 version 21Just create a new Android Project in Android Studio IDE as we usually do. Now go to build.gradle and check under dependencies that the compile version of appcompat-v7 is 21.0.0 or higher, this will not work if you do not have support for API level 21 or higher. Once this is done, now go to the style.xml file which you will find under res->values->style.xml, and add the the following two item tags within AppTheme,
<resources>

    <!-- Base application theme. -->
    <style name="AppTheme" parent="Theme.AppCompat.Light.DarkActionBar">
        <item name="android:windowNoTitle">true</item>
        <item name="windowActionBar">false</item>
    </style>

</resources>
The above tags will remove the TitleBar, but the better way is to change the ActionBar parent theme Theme.AppCompat.Light.DarkActionBar to Theme.AppCompat.Light.NoActionBar
<resources>

    <!-- Base application theme. -->
    <style name="AppTheme" parent="Theme.AppCompat.Light.DarkActionBar">

    </style>

</resources>
Now we need to add Toolbar View in our layout.xml file, Toolbar is a part of android.support.v7.widget package of appcompact, Let's create a parent LinearLayout View and add Toolbar under it,
File : layout_android.xmlLanguage : xml<LinearLayout xmlns:android="http://schemas.android.com/apk/res/android"
xmlns:tools="http://schemas.android.com/tools"
android:layout_width="match_parent"
android:layout_height="match_parent"
tools:context=".MainActivity">
<android.support.v7.widget.Toolbar
android:id="@+id/toolbar"
android:background="#637382"
android:layout_width="match_parent"
android:layout_height="wrap_content">
</android.support.v7.widget.Toolbar>
</LinearLayout>The last part is to set the Toolbar as our ActionBar we will have to create an object of Toolbar and map its layout element, just as we do for any View element, and within the onCreate method pass this object to setSupportActionBar(); function
File : MainActivity.javapackage com.code2care.tools.toolbarexample;
import android.os.Bundle;
import android.support.v7.app.ActionBarActivity;
import android.support.v7.widget.Toolbar;
import android.view.Menu;
import android.view.MenuItem;
import android.widget.Button;
public class MainActivity extends ActionBarActivity {
private Toolbar toolbar;
private Button myButton;
@Override
protected void onCreate(Bundle savedInstanceState) {
super.onCreate(savedInstanceState);
setContentView(R.layout.activity_main);
toolbar = (Toolbar) findViewById(R.id.toolbar);
setSupportActionBar(toolbar);
}
@Override
public boolean onCreateOptionsMenu(Menu menu) {
// Inflatfded the menu; this adds items to the action bar if it is present. dsfsadfs
getMenuInflater().inflate(R.menu.menu_main, menu);
return true;
}
@Override
public boolean onOptionsItemSelected(MenuItem item) {
// Handle action bar item clicks here. The action bar will
// automatically handle clicks on the Home/Up button, so long
// as you specify a parent activity in AndroidManifest.xml.
int id = item.getItemId();
//noinspection SimplifiableIfStatement
if (id == R.id.action_settings) {
return true;
}
return super.onOptionsItemSelected(item);
}
}Provide Feedback For This Article
We take your feedback seriously and use it to improve our content. Thank you for helping us serve you better!
😊 Thanks for your time, your feedback has been registered!
Comments & Discussion
Facing issues? Have questions? Post them here! We're happy to help!