
In order to add Conda (Anaconda) Environment to Jupyter Notebook, you can follow the below easy steps.
- Step 1: Open Terminal/Command Prompt (based on your device Mac/Windows)
- Step 2: Now create a new Conda Environment using the
conda createcommand.conda create --name env-name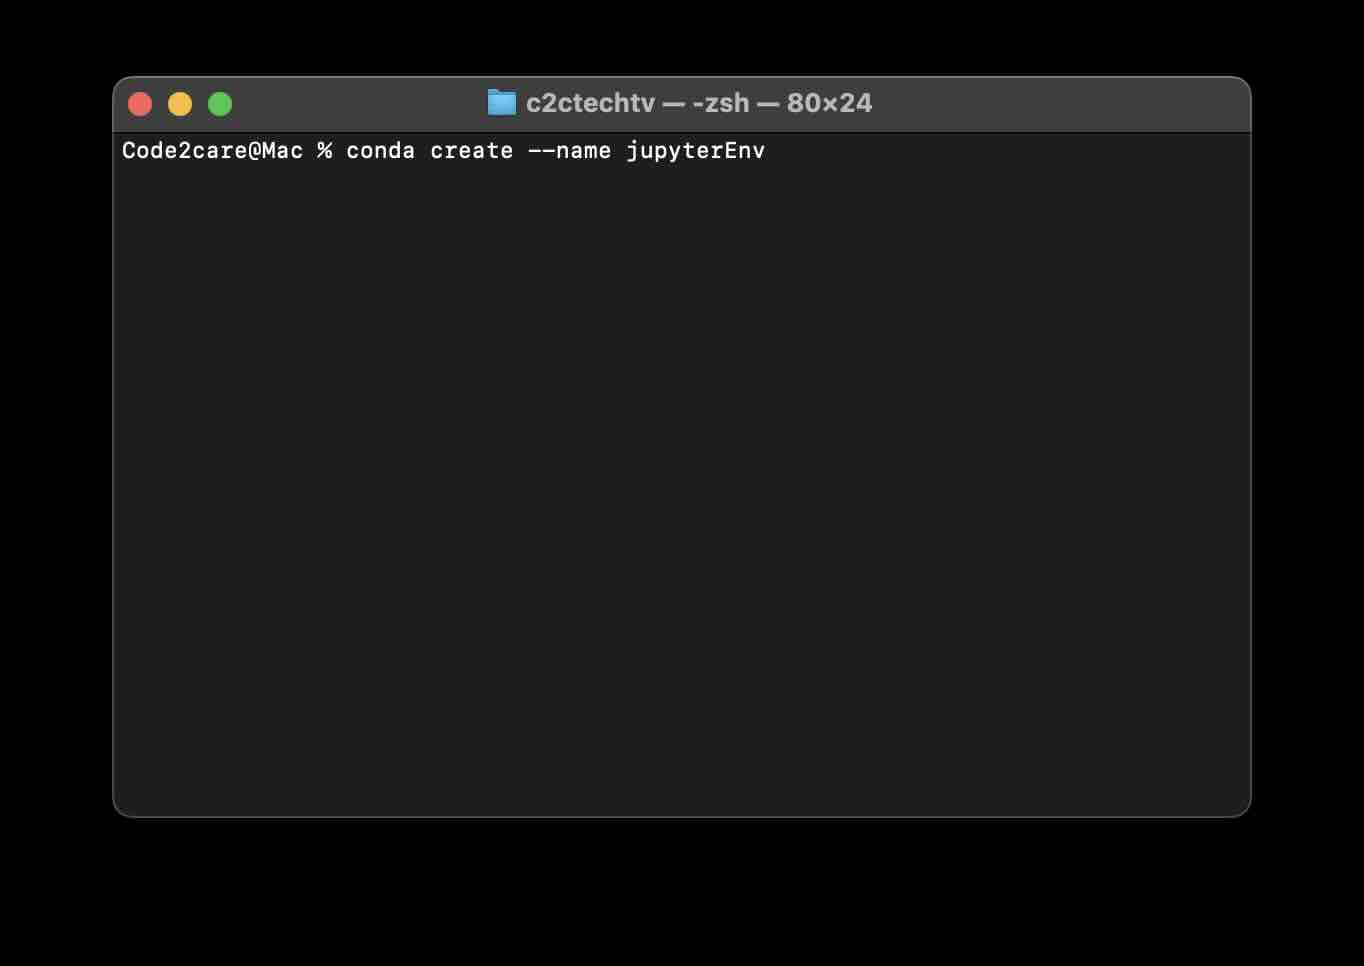
Solving environment: done ## Package Plan ## environment location: /Users/code2care/anaconda3/envs/jupyterEnv Proceed (Ly]/n)? y Preparing transaction: done Verifying transaction: done Executing transaction: done # # To activate this environment, use # # $ conda activate firstEnv # To deactivate an active environment, use # # $ conda deactivate - Step 3: Now we are good to set the conda environment with Jupyter, run the below command.
conda install -c anaconda ipykernel - Step 4: Finally, lets start our Jupyter Notebook.
python3 -m ipykernel install --user --name=jupyterEnv

Provide Feedback For This Article
We take your feedback seriously and use it to improve our content. Thank you for helping us serve you better!
😊 Thanks for your time, your feedback has been registered!
Comments & Discussion
Facing issues? Have questions? Post them here! We're happy to help!