This tutorial will guide you through the steps to create a RabbitMQ exchange using the RabbitMQ Management Interface in your web browser.
Prerequisites:
- RabbitMQ server installed and running.
- RabbitMQ Management Plugin enabled.
- Access to the RabbitMQ Management Interface via a web browser.
Steps to Create an Exchange:
- Open the RabbitMQ Management Interface:
Launch your web browser and navigate to the RabbitMQ Management Interface. By default, you can access it at:
Log in with your credentials. The default username is
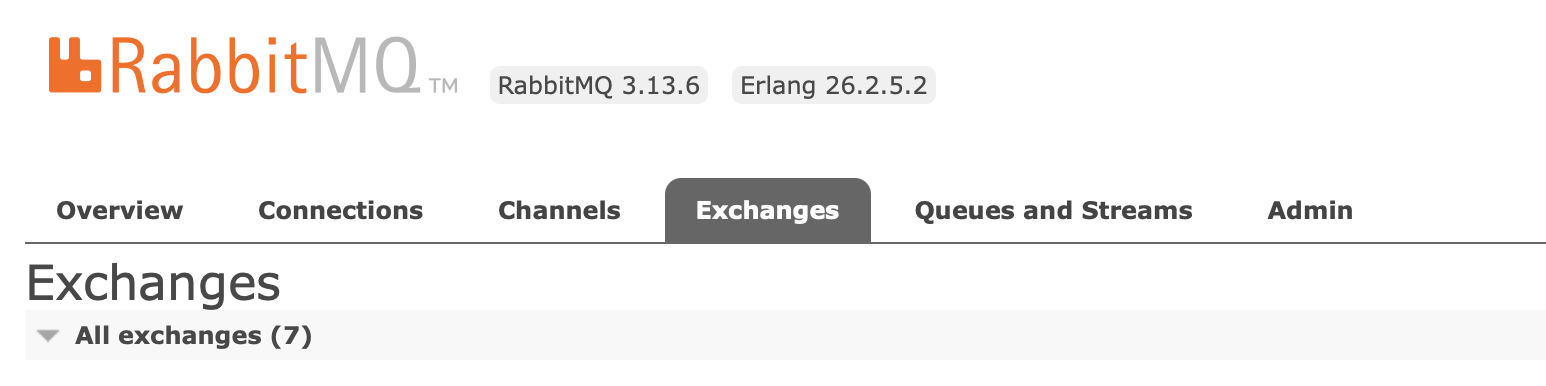
guestand the password isguestunless changed. - Navigate to the Exchanges Tab:
Once logged in, you will see the RabbitMQ Management dashboard. Click on the "Exchanges" tab in the top menu.
- Create a New Exchange:
Expand the "Add a new exchange" section, you will see a form where you need to provide the following details:
- Exchange Name: Enter a name for your exchange. For example,
my_exchange. - Type: Select the type of exchange from the dropdown menu. Common types are:
- Direct: Routes messages with a specific routing key.
- Fanout: Routes messages to all bound queues.
- Topic: Routes messages based on a pattern match in the routing key.
- Headers: Routes messages based on header attributes.
- Durable: Check this box if you want the exchange to survive server restarts.
- Auto-Delete: Check this box if you want the exchange to be deleted when no longer in use.
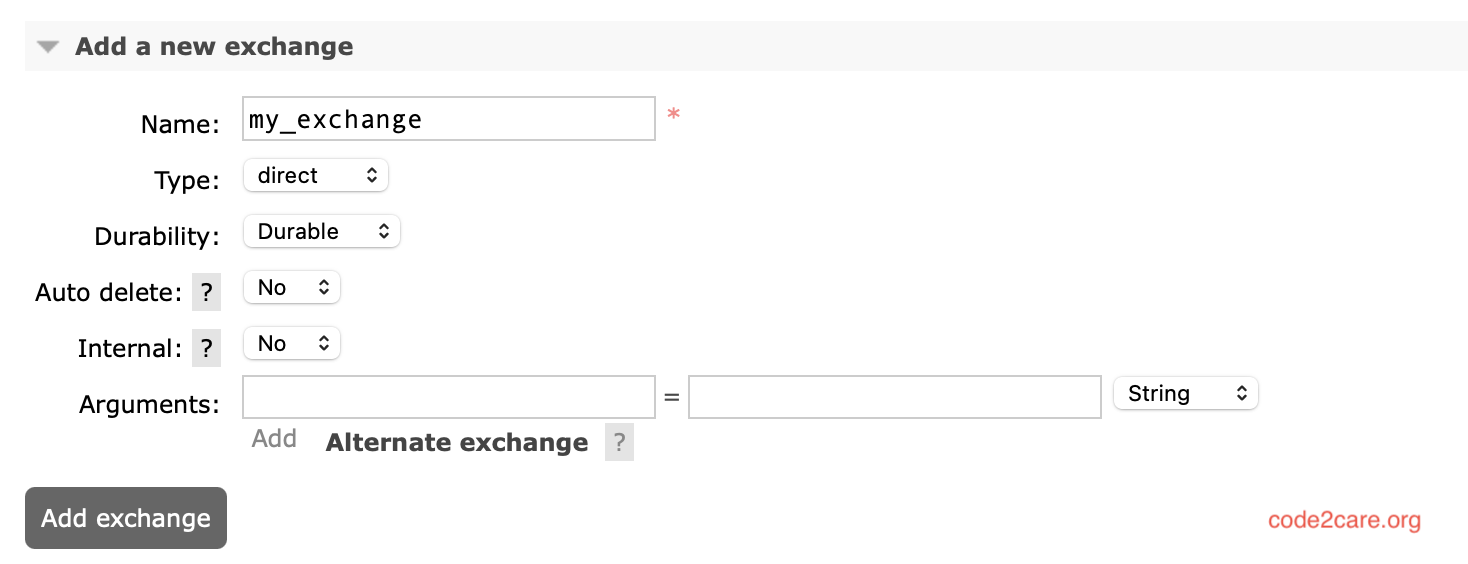
After filling out the form, click the "Add Exchange" button to create the exchange.
- Exchange Name: Enter a name for your exchange. For example,
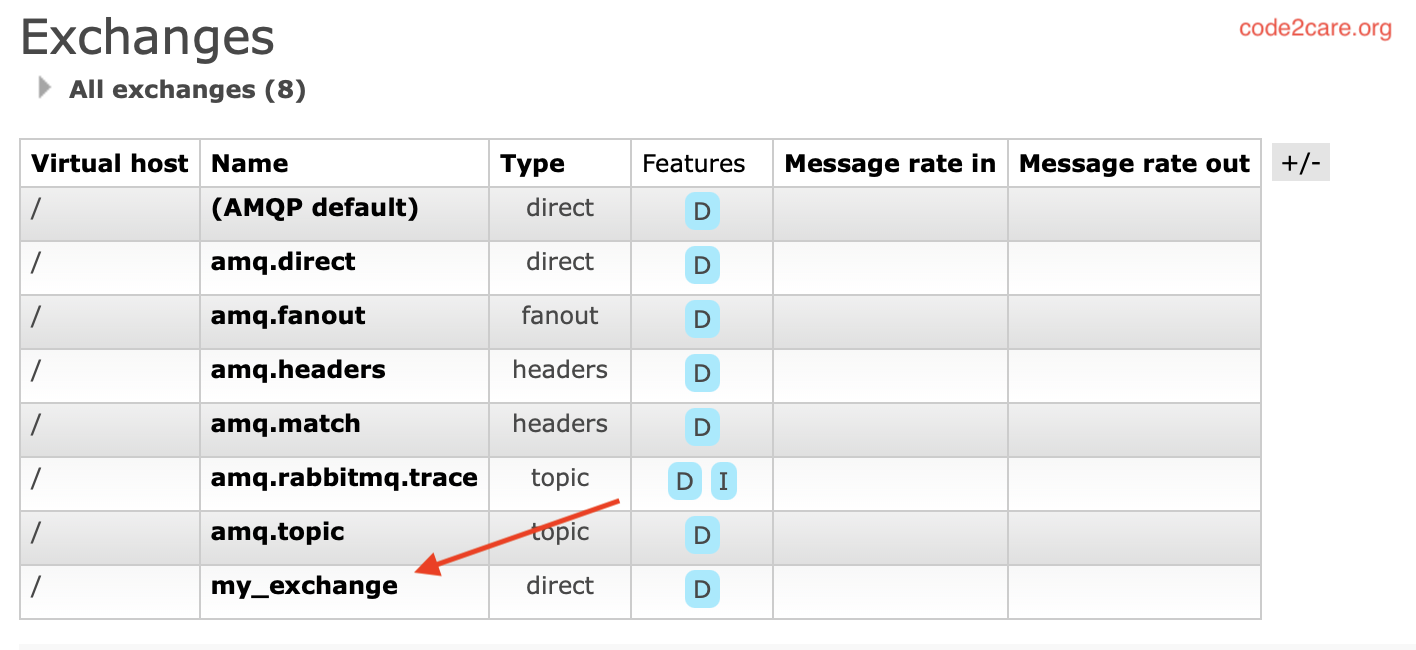
- Verify the Exchange:
You will be redirected back to the Exchanges tab where you should see your newly created exchange listed. Verify that the details are correct.
Additional Information:
- Editing an Exchange: To edit an existing exchange, click on the exchange name in the Exchanges tab, and then click the "Update" button after making changes.
- Deleting an Exchange: To delete an exchange, click on the exchange name, then click the "Delete" button. Be cautious, as this will remove the exchange and any bindings associated with it.
Congratulations! You have successfully created a RabbitMQ exchange using the Management Interface. This exchange can now be used to route messages according to the type and settings you configured.

This is not an AI-generated article but is demonstrated by a human on an M1 Mac running RabbitMQ version 3.13.6.
Please support independent contributors like Code2care by donating a coffee.
Buy me a coffee!
Comments & Discussion
Facing issues? Have questions? Post them here! We're happy to help!