Configuring proxy settings in Eclipse is crucial for developers who need to access the internet through a proxy server, especially in corporate environments. Below are detailed instructions for setting up proxy settings in Eclipse on both macOS and Windows.
Setting Up Proxy in Eclipse on macOS
- Open Eclipse and go to the Eclipse menu in the top left corner.
- Select Preferences from the dropdown menu.
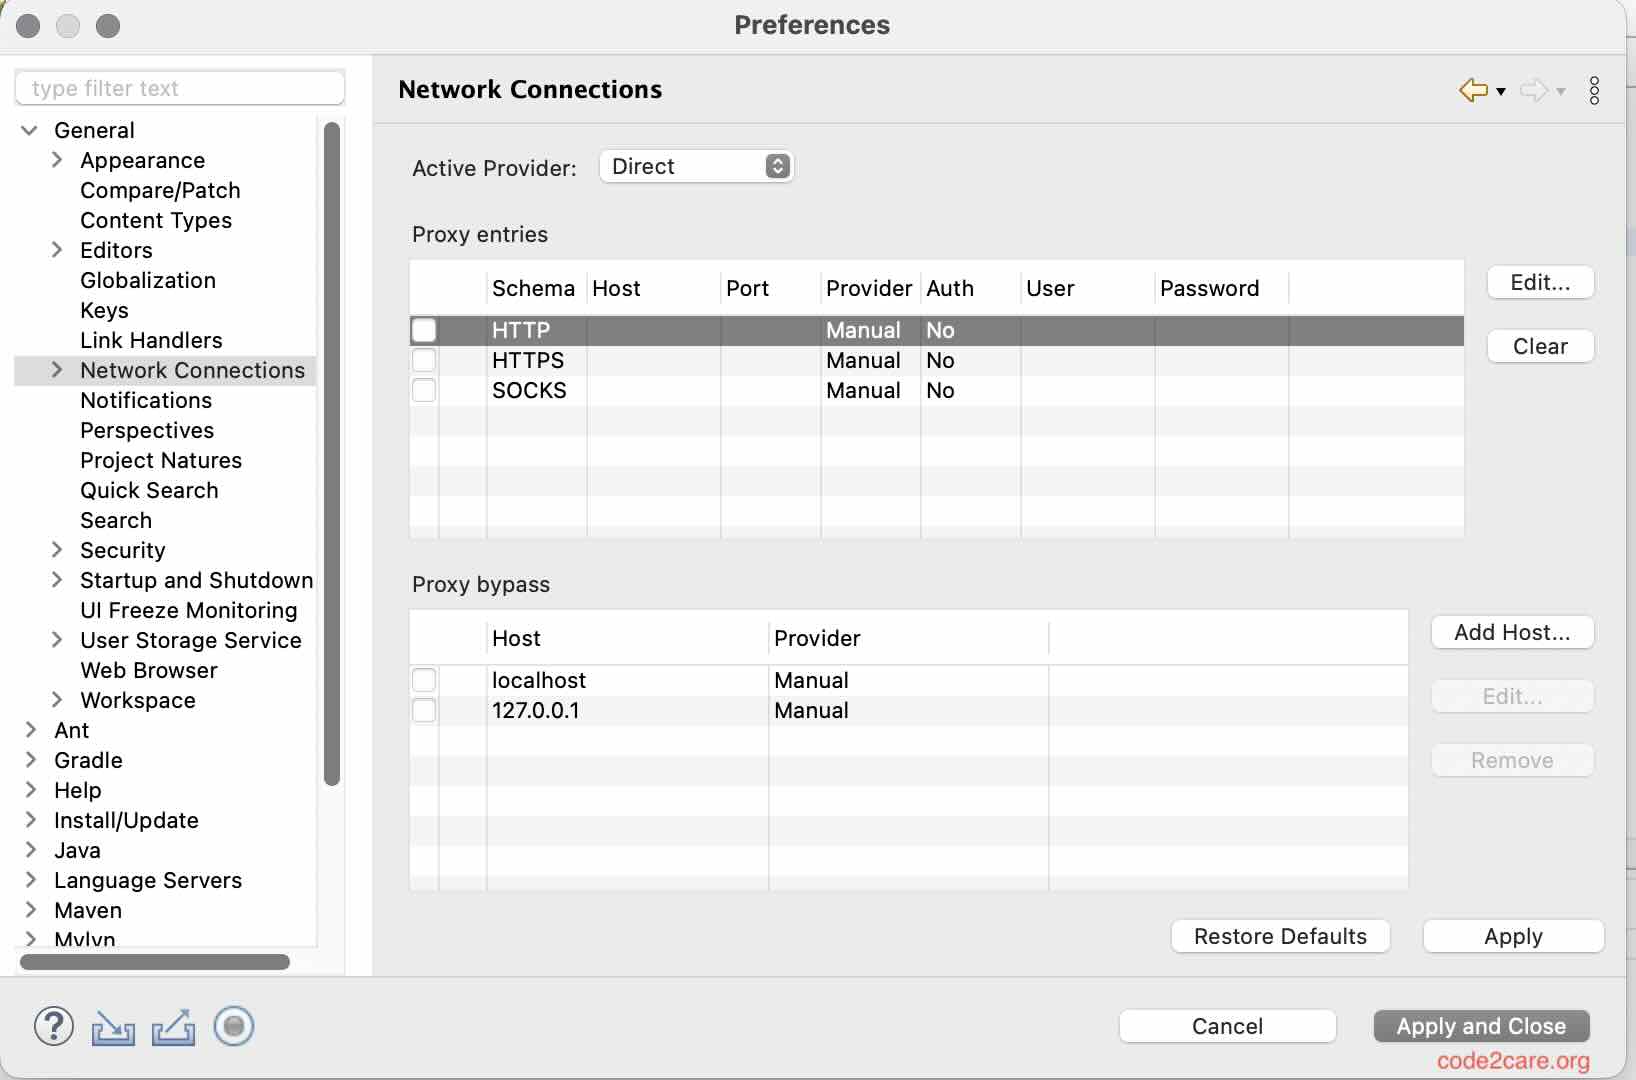
- In the Preferences window, expand the General section and click on Network Connections.
- In the Network Connections settings, you will see several options:
- Active Provider: Choose
Manualto set up your proxy manually. - HTTP: Enter your proxy server's hostname and port number.
- HTTPS: Similarly, enter the proxy server details for secure connections.
- If your proxy requires authentication, check the box for Use this proxy for all protocols and enter your username and password.
- Click Apply and then OK to save your settings.
Setting Up Proxy in Eclipse on Windows
- Launch Eclipse and navigate to the Window menu.
- Select Preferences from the dropdown.
- In the Preferences dialog, expand the General section and click on Network Connections.
- Set the Active Provider to
Manual. - Fill in the HTTP and HTTPS proxy settings with your server's details.
- If necessary, check the option for Use this proxy for all protocols and provide your credentials if required.
- Click Apply and then OK to finalize the configuration.
After configuring the proxy settings, you may need to restart Eclipse for the changes to take effect. This setup will help you connect to the internet seamlessly while working on your projects.
Example Proxy Settings for code2care.org
To configure your proxy settings for accessing code2care.org, follow these example settings:
- Active Provider:
Manual - HTTP Proxy:
proxy.code2care.org - HTTP Port:
8080 - HTTPS Proxy:
proxy.code2care.org - HTTPS Port:
8080 - Use this proxy for all protocols: Check this box if you want to use the same proxy for all connections.
- Username:
your_username(if required) - Password:
your_password(if required)

This is not an AI-generated article but is demonstrated by a human on an M1 Mac running macOS Sonoma 14.0 & Windows 11.
Please support independent contributors like Code2care by donating a coffee.
Buy me a coffee!
Comments & Discussion
Facing issues? Have questions? Post them here! We're happy to help!