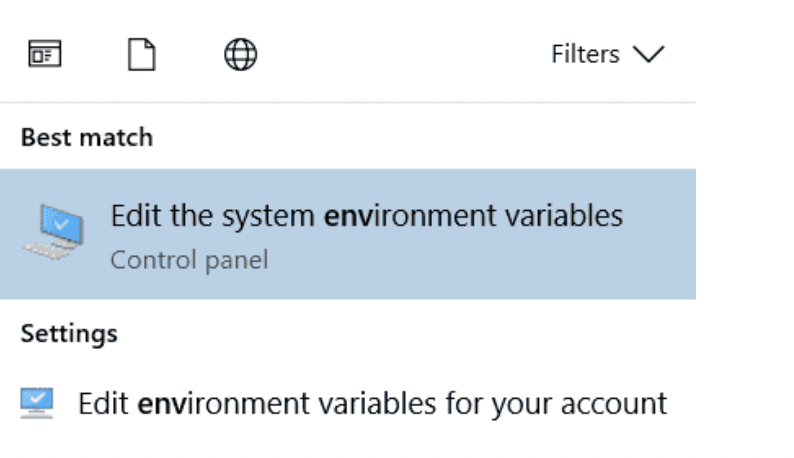
Prerequisite : You have installed Java Runtime Environment (any version jre6, jre7, or jre8)
Let's see how you can set the JAVA_HOME Environment variable for Windows Operating systems,
Step 1. Find out where JRE has been installedOnce you install JRE you need to locate where java has been installed on your system. And the folder that you need to look for is Program Files
Note: If you have a 64-bit Windows Operating system installed then you will have 2 program files folders under C:/
- Program Files
- Program Files(x86)
If you find the Java folder under "Program Files(x86)" then the installed java version is 32-bit if you find it under "C:/Program Files/Java" means the Java version is 64-bit.
Look that you can see jre6 folder under java directory, i.e. : C:/Program Files/Java/jre6 or C:/Program Files(86)/Java/jre6
Step 2. Setting-up JAVA_HOME
- Right Click on My Computer icon and select Properties option and Select Advance tab.
- Now look for the Environment Variable button and Click on it.
- Now look for System Variables and click on New,
- Add Variable name => JAVA_HOME and Variable value => C:/Program Files/Java/jre7 or C:/Program Files(86)/Java/jre7
- Click OK and Apply Changes.
For Windows 7/Window 10/Windows 11
- Go to Start menu and select Computer
- Select System Properties from the context menu
- Now click on Advanced System Settings and go to Advanced tab
- Now click on Environment Variables
- Under System Variables look for PATH.
- Modify PATH by adding the location of the class to the value for PATH.
- Reopen Command prompt window, and run your java code, if the code works, the path is been set correctly.

Setting JAVA_HOME using Eclipse
You can set the Java environment variable in eclipse by going to,
Eclipse -> Window -> Preferences -> Java -> Installed JREs
Now here you can search for the location where the JRE is been installed and select it.
- Get the current timestamp in Java
- Java Stream with Multiple Filters Example
- Java SE JDBC with Prepared Statement Parameterized Select Example
- Fix: UnsupportedClassVersionError: Unsupported major.minor version 63.0
- [Fix] Java Exception with Lambda - Cannot invoke because object is null
- 7 deadly java.lang.OutOfMemoryError in Java Programming
- How to Calculate the SHA Hash Value of a File in Java
- Java JDBC Connection with Database using SSL (https) URL
- How to Add/Subtract Days to the Current Date in Java
- Create Nested Directories using Java Code
- Spring Boot: JDBCTemplate BatchUpdate Update Query Example
- What is CA FE BA BE 00 00 00 3D in Java Class Bytecode
- Save Java Object as JSON file using Jackson Library
- Adding Custom ASCII Text Banner in Spring Boot Application
- [Fix] Java: Type argument cannot be of primitive type generics
- List of New Features in Java 11 (JEPs)
- Java: How to Add two Maps with example
- Java JDBC Transition Management using PreparedStatement Examples
- Understanding and Handling NullPointerException in Java: Tips and Tricks for Effective Debugging
- Steps of working with Stored Procedures using JDBCTemplate Spring Boot
- Java 8 java.util.Function and BiFunction Examples
- The Motivation Behind Generics in Java Programming
- Get Current Local Date and Time using Java 8 DateTime API
- Java: Convert Char to ASCII
- Deep Dive: Why avoid java.util.Date and Calendar Classes
- Java code to check Internet Connection on Android Device Programmatically - Android
- How to Open Trash on Mac - MacOS
- How to create a SharePoint list from an existing list with same columns, views, formatting, data - SharePoint
- Install RabbitMQ on Docker - Docker
- Cannot access Windows application shortcuts on Start menu and Taskbar - Windows
- Install Homebrew (brew) on Mac M2 - MacOS
- Clear browsing history in Safari on Mac Ventura 13 - MacOS
- WARNING: pip is being invoked by an old script wrapper. This will fail in a future version of pip. - PIP