If you want to connect to Azure AD using PowerShell on Mac then follow the below steps.
- Step 1: Open the Terminal App and switch to PowerShell using pwsh command.
- Step 2: We install the Install Azure PowerShell Module using the below command,
Install-Module -Name AzType Y when prompted.
Untrusted repository You are installing the modules from an untrusted repository. If you trust this repository, change its InstallationPolicy value by running the Set-PSRepository cmdlet. Are you sure you want to install the modules from 'PSGallery'? [Y] Yes [A] Yes to All [N] No [L] No to All [S] Suspend [?] Help (default is "N"): Y - Step 3: Once complete, to connect to Azure AD Account, run the below command,
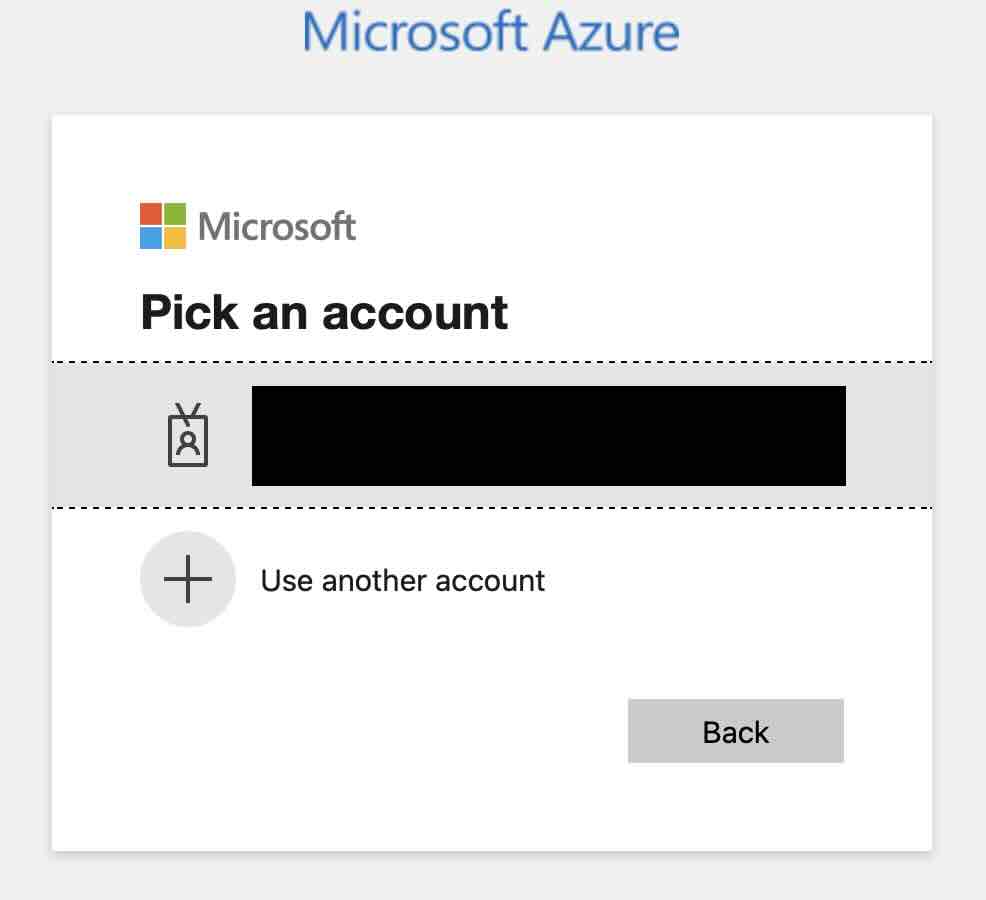
Connect-AzAccount - Step 4: You will be taken to your browser and asked to sign into the Microsoft Azure Account.

- Step 5: That's it you are now connected to the Azure AD Account.
Facing issues? Have Questions? Post them here! I am happy to answer!
Author Info:Rakesh (He/Him) has over 14+ years of experience in Web and Application development. He is the author of insightful How-To articles for Code2care.
Follow him on: X
You can also reach out to him via e-mail: rakesh@code2care.org
More Posts related to Powershell,- How to upgrade PowerShell on Mac
- How to install AWS CLI 2 on Windows 11 using PowerShell
- How to switch to Powershell on Mac Terminal
- How to connect to Microsoft Exchange Online using PowerShell
- How to Check PowerShell Version? [Windows/Mac/Linux]
- How to Comment out Code in PowerShell Script
- How to Identify installed PowerShell version
- How to install PowerShell on macOS
- Open PowerShell Terminal in Visual Studio Code (VSCode)
- PowerShell ps1 script is not digitally signed, you cannot run this script on the current system
- Update Powershell Using Command Line
- PowerShell 1..10 foreach Example
- PowerShell Fix: Get-Help cannot find the Help files for this cmdlet on this computer
- List of PowerShell Cmdlet Commands for Mac
- Help or Man equivalent in PowerShell
- PowerShell SubString with Examples
- PowerShell: How to Get Folder Size
- PowerShell Traditional For Loop Example
- PowerShell Switch Statement with Examples
- PowerShell Concatenate String Examples
- PowerShell For Each Loop Examples
- PowerShell: Grep Command Alternative - Select-String
- How to delete a file using PowerShell [Windows/macOS]
- Fix: nano is not recognized as an internal or external command - Windows PowerShell
- PowerShell on Mac: The term get-service is not recognized as a name of a cmdlet, function, script file, or executable program
More Posts:- Division between two numbers - C-Program
- How to install Microsoft Teams on Mac using Terminal (Silently) - Teams
- How to lock Notepad++ tabs? - NotepadPlusPlus
- Add or remove users from sudo group - Ubuntu - Ubuntu
- Shortcut: How to delete a complete line in Nano Editor - Linux
- Java JDBC Connection with Database using SSL (https) URL - Java
- Json Serialization and Deserialization using Java Jackson - Java
- [Java Threads] Should we extend Thread Class or implement Runnable interface - Java