In this article, we will see how to install Git (the distributed version control system) on Windows Operating System.
There are over 15 steps that need to be followed to get Git for Windows (Git Bash) installed and a student who is about to start learning git may feel a bit lost, so I have tried to put down each step and walk-through what option you can select while the installation,
Steps to install Git on Windows
- First, you need to download the Git Setup from Official Git Website: https://git-scm.com/ and click on the Monitor link that says "Latest Source Release"
Step 1 - Download Git Setup for Windows
The current version I have downloaded is 2.29.2, you can also check the release notes to see what's new,
Git v2.29.2 Release Notes ========================= This release is primarily to fix brown-paper-bag breakages in the 2.29.0 release. Fixes since v2.29.1 ------------------- * In 2.29, "--committer-date-is-author-date" option of "rebase" and "am" subcommands lost the e-mail address by mistake, which has been corrected. - Now once you have download the setup, double-click on the exe file: Git-2.29.2.2-64-bit.exe,
- You would see a screen that says,
User Account Control
Do you want this allow this app to make changes to your devices?Click on yes!
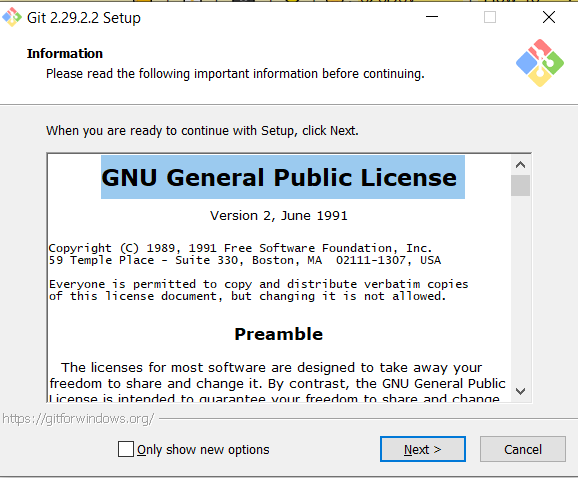
- Now you should see the setup window:GNU General Public License, read it and click Next,
- Selet the Components that you want to be installed or ignored, you can keep it the default - but if you want to keep Git up-to-date you can check "Check daily for Git for Windows updates" option. Click Next,
- Here, Choose the default text editor for Git - you can choose from various options like Nano, Vim, Notepad++, Visual Studio Code (VS Code), Sublime Text, Atom or select some other by browsing, I choose Notepad++, Click Next,
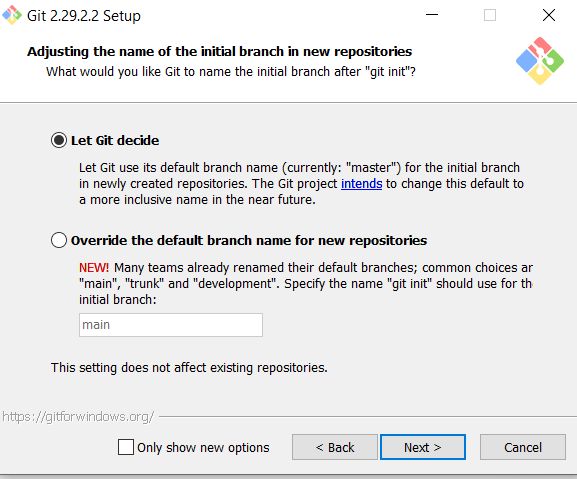
- Adjusting the name of the initial Branch in new repositories:
If you go a git init as we know the default branch that's created is master, if you wish to change that to something like main, trunk, development, or any custom name you can select Override the default branch. Click Next,
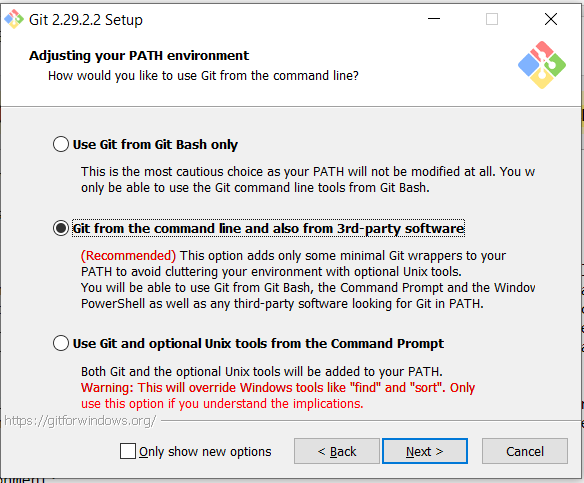
- Adjust your Path Environment:
Here you will get three options,
- Use Git from Git Bash Only: If you select this the PATH environment variable will not be changed and you can only use the Git command using the Git Bash tool.
- Git from Command Line and 3-party Softwares: This is recommended. This will let the git command run from CMD and Powershell as well as 3-party tools.
- Use Git from optional Unix tools from the Command Prompt: This is not recommended as it messes with Windows CMD commands like find and sort, click Next.
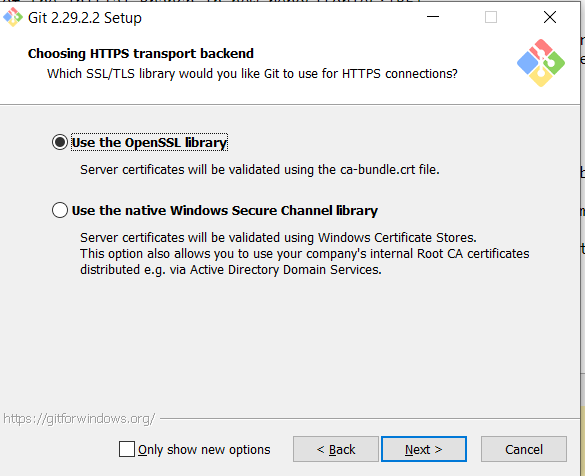
- Choosing HTTPS transport backend: I kept this as default, Next,
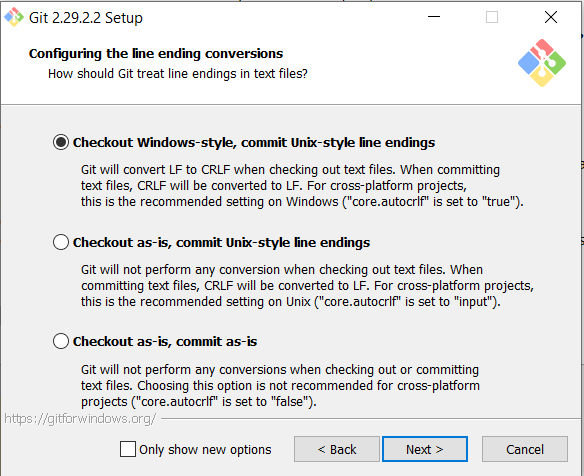
- Configure the line ending conversions:
As a developer, you must be aware that most EOL Encoding issues - CRLF, CR, or LF that arise while working with cross-platforms. Writing code on Windows/macOS, deploying on Unix. So choose the option according to your use-case or leave it to default, Next,
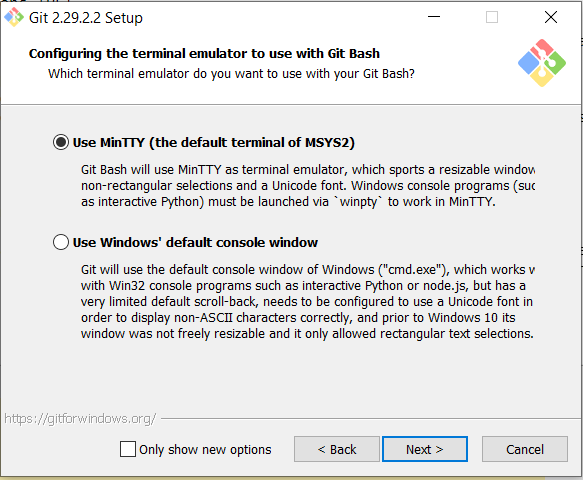
- Choose the Terminal emulator to use with Git Bash: You can keep it default, Next
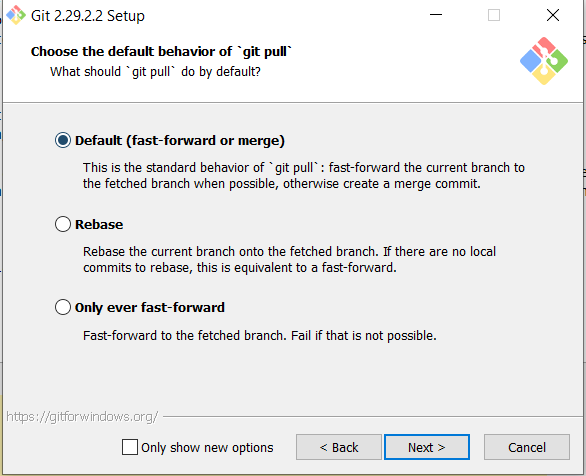
- Choose the default behavior of git pull: Choose the default option, Next
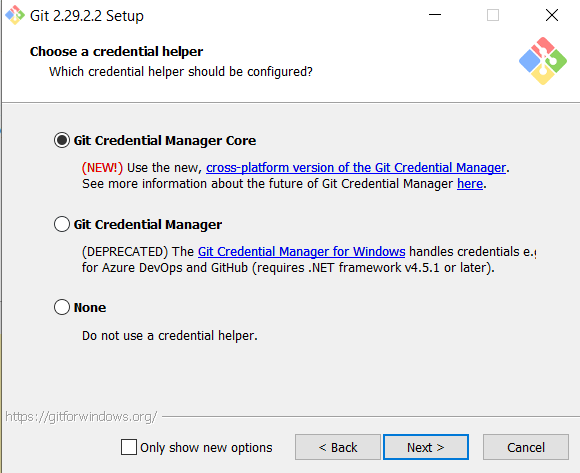
- Choose a credential helper: Choose the Git Credential Manager Core, Note Git Credential Manager is deprecated, Next,
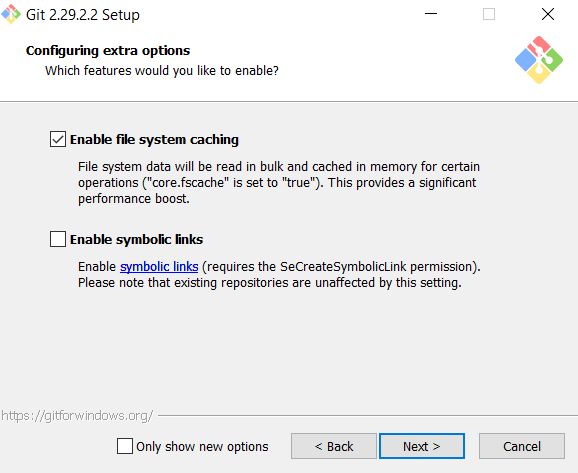
- Configure Extra Options: You can keep this one as default as well "Enable file system Caching", Next,
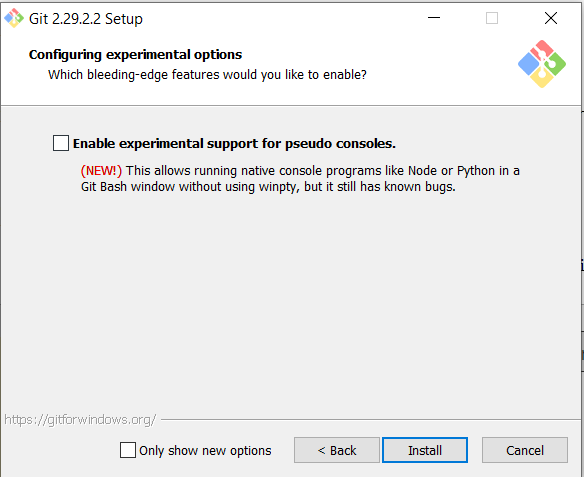
- Configuring experimental options: This is a new feature, you can enable it if you do Node or Python development. Click Finish
⛏️ If you are looking for an older and specific version release of git then you can get them from GitHub: https://github.com/git-for-windows/git/releases, you can find 32-bit, 64-bit, Portable Git as well as the source code here.
How to test Git after installation:
Type Git Bash in Windows search and open it, try the below commands,
$ git --version
git version 2.21.0.windows.1

$ mkdir my_git_repo

$ git init
Initialized empty Git repository in C:/Users/c2c/.git/

c2c@LAPTOP-XXXX MINGW64 ~ (master)
Have Questions? Post them here!
- Change the default git branch name from master to main
- [Fixed] Git Clone git@github.com: Permission denied (publickey) Could not read from remote repository Fatal error
- [Solution] fatal: not a git repository (or any of the parent directories): .git
- [fix] zsh: command not found: git
- How to Install Git on Windows
- Setup Git + Visual Studio Code Tutorial
- How to undo last Git Commit on Local Repository?
- Install GitHub Command Line Tool on Mac
- How to Create a Git Branch in 6 Different ways
- Fix Git: Warning: could not find UI helper GitHub.UI on Windows
- Git Config Command - A Deep Dive
- Step-by-Step: How to delete a git branch from local as well as remote origin
- How to Add Git Bash Option to Windows Terminal List
- Command to Clone Repository Using Git Bash
- How to remove or unstage a file from git staged area
- Get the file location of git config values
- GitHub: How to Search Code
- How to check your installed version of Git
- Fix: error: src refspec master does not match any failed to push some refs to Git
- Git: Step-by-Step - How to Push Local Brach to GitHub
- How to Merge Branch into Master Branch
- fix fatal: --local can only be used inside a git repository error
- Fix: Git Pull Error: unable to resolve reference refs/remotes/origin/master: reference broken
- Change the default diff or commit editor for git
- Git Fix: fatal: refusing to merge unrelated histories Error
- How to find current logged-in user in Linux Terminal - Linux
- bash: ls command to see list files in current directory all subdirectories - Bash
- Run only a Single Unit Test using Gradle - Gradle
- [Fix] Steam Friends Network Unreachable Error - HowTos
- How to make use of SQLite Module in Python? - Python
- How to turn off Dark Mode in Excel App for Mac - Windows
- How to show console in Eclipse IDE - Eclipse
- Fix Power BI 404 not found error when connecting SharePoint Online List as Data Source - SharePoint
